So you want to use ribbon for your tree this year? Did you know there are a number of design choices that are so simple, but look professional? Today I’m going to show you some of my favorites so you can try them at home! Before you try out these designs, don’t forget to check out my list of the best places to find ribbon for your tree. Having good ribbon will make these designs so much easier to do!
What You’ll Need:
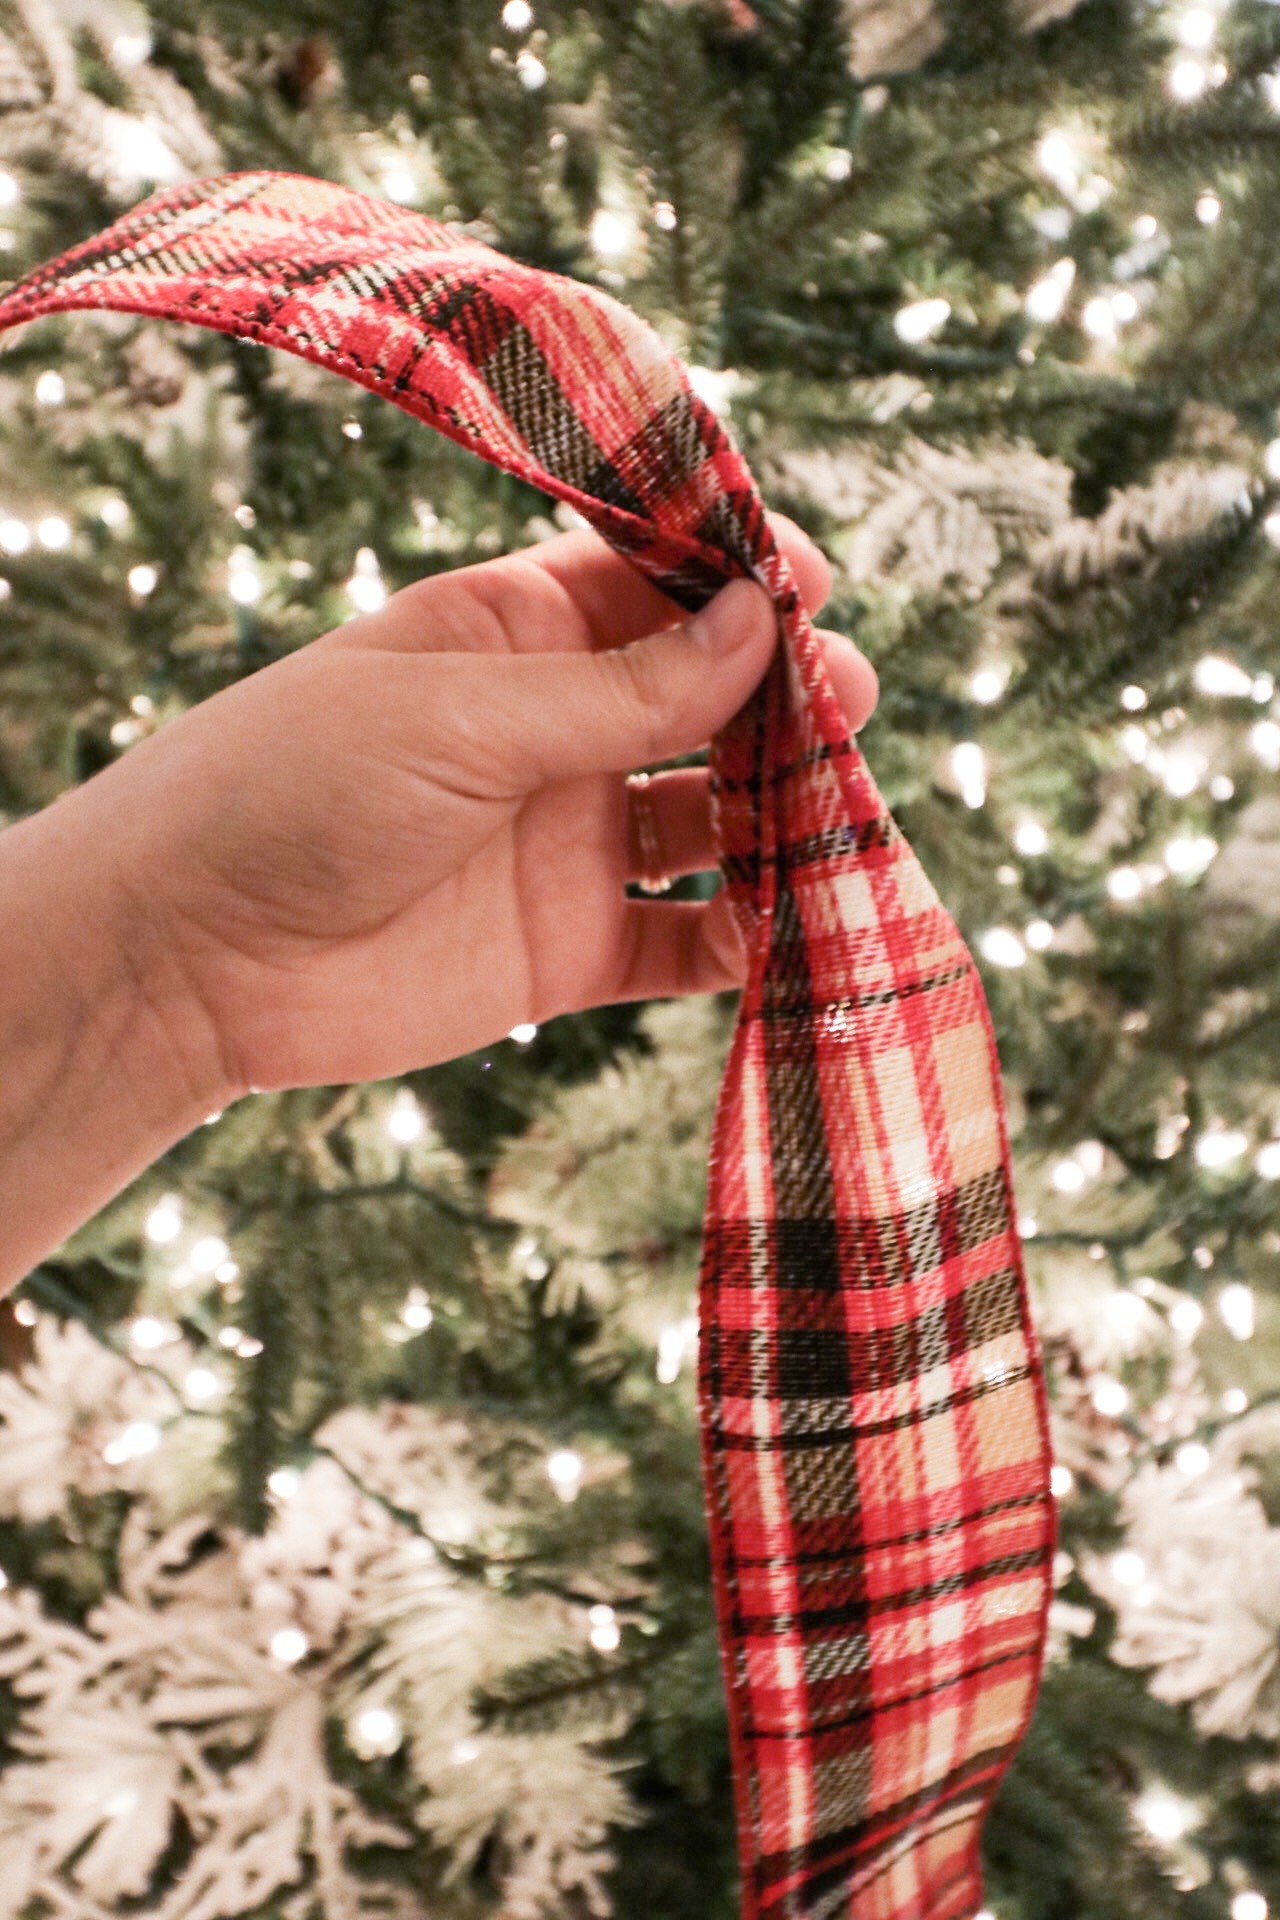
1. Ribbon
2. Scissors
That’s it! Ribbon is so easy to add to your tree, but it looks so professional.
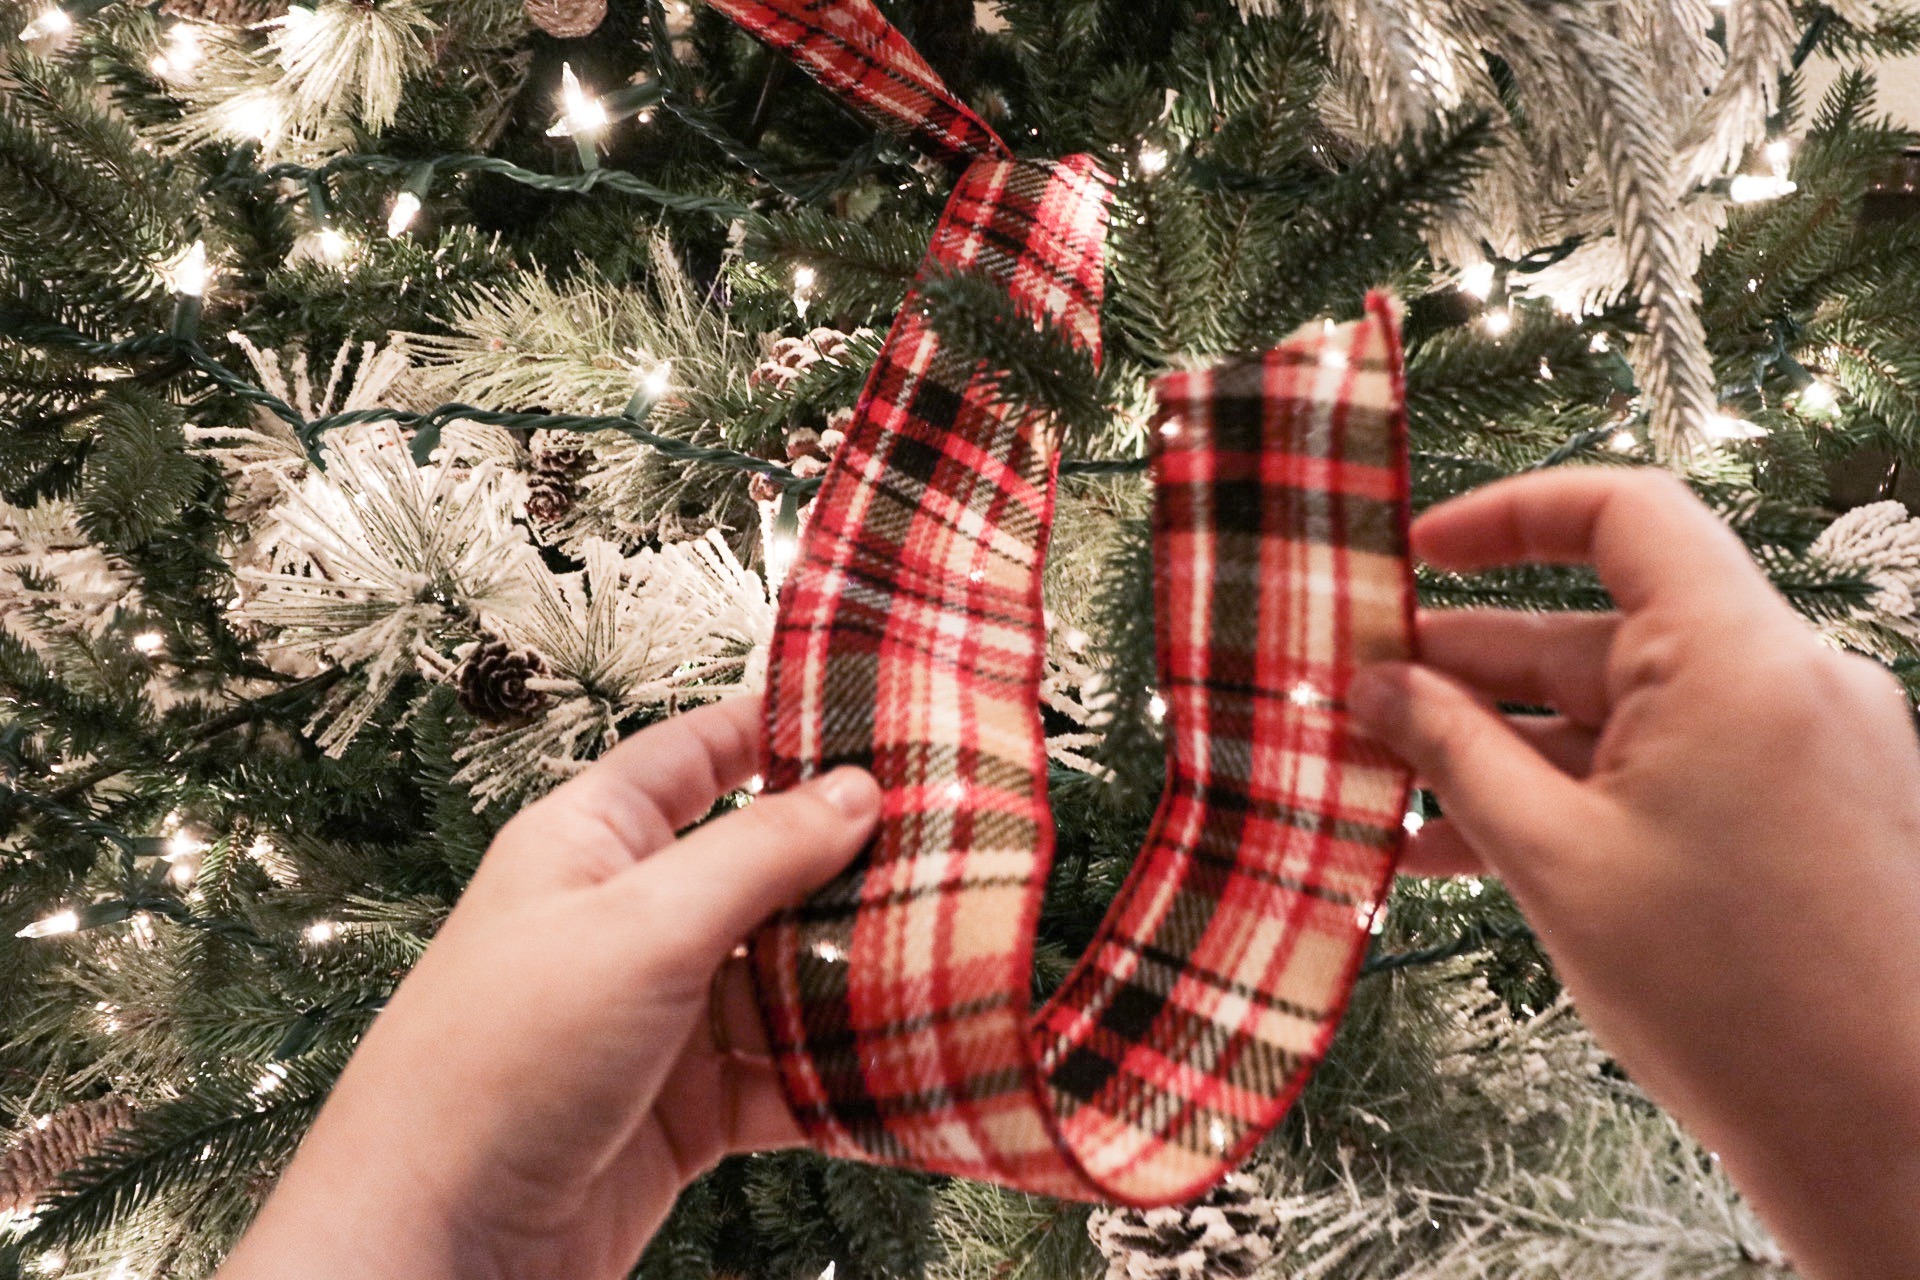
Ribbon Design 1. First Steps
This is the most common method of ribbon wrapping on a tree. There’s two different ways to do it: cutting strips and tucking them randomly or using the way I’m about to explain. I prefer this way because cutting the ribbon into strips doesn’t give you the option to use it for something else later. When I decide to switch ribbon, I like to reuse my old tree ribbon for gift bows or threading through garland. If you don’t want to cut strips, here’s how to achieve this look. (I like to add the ribbon before ornaments so it doesn’t hide any of them)
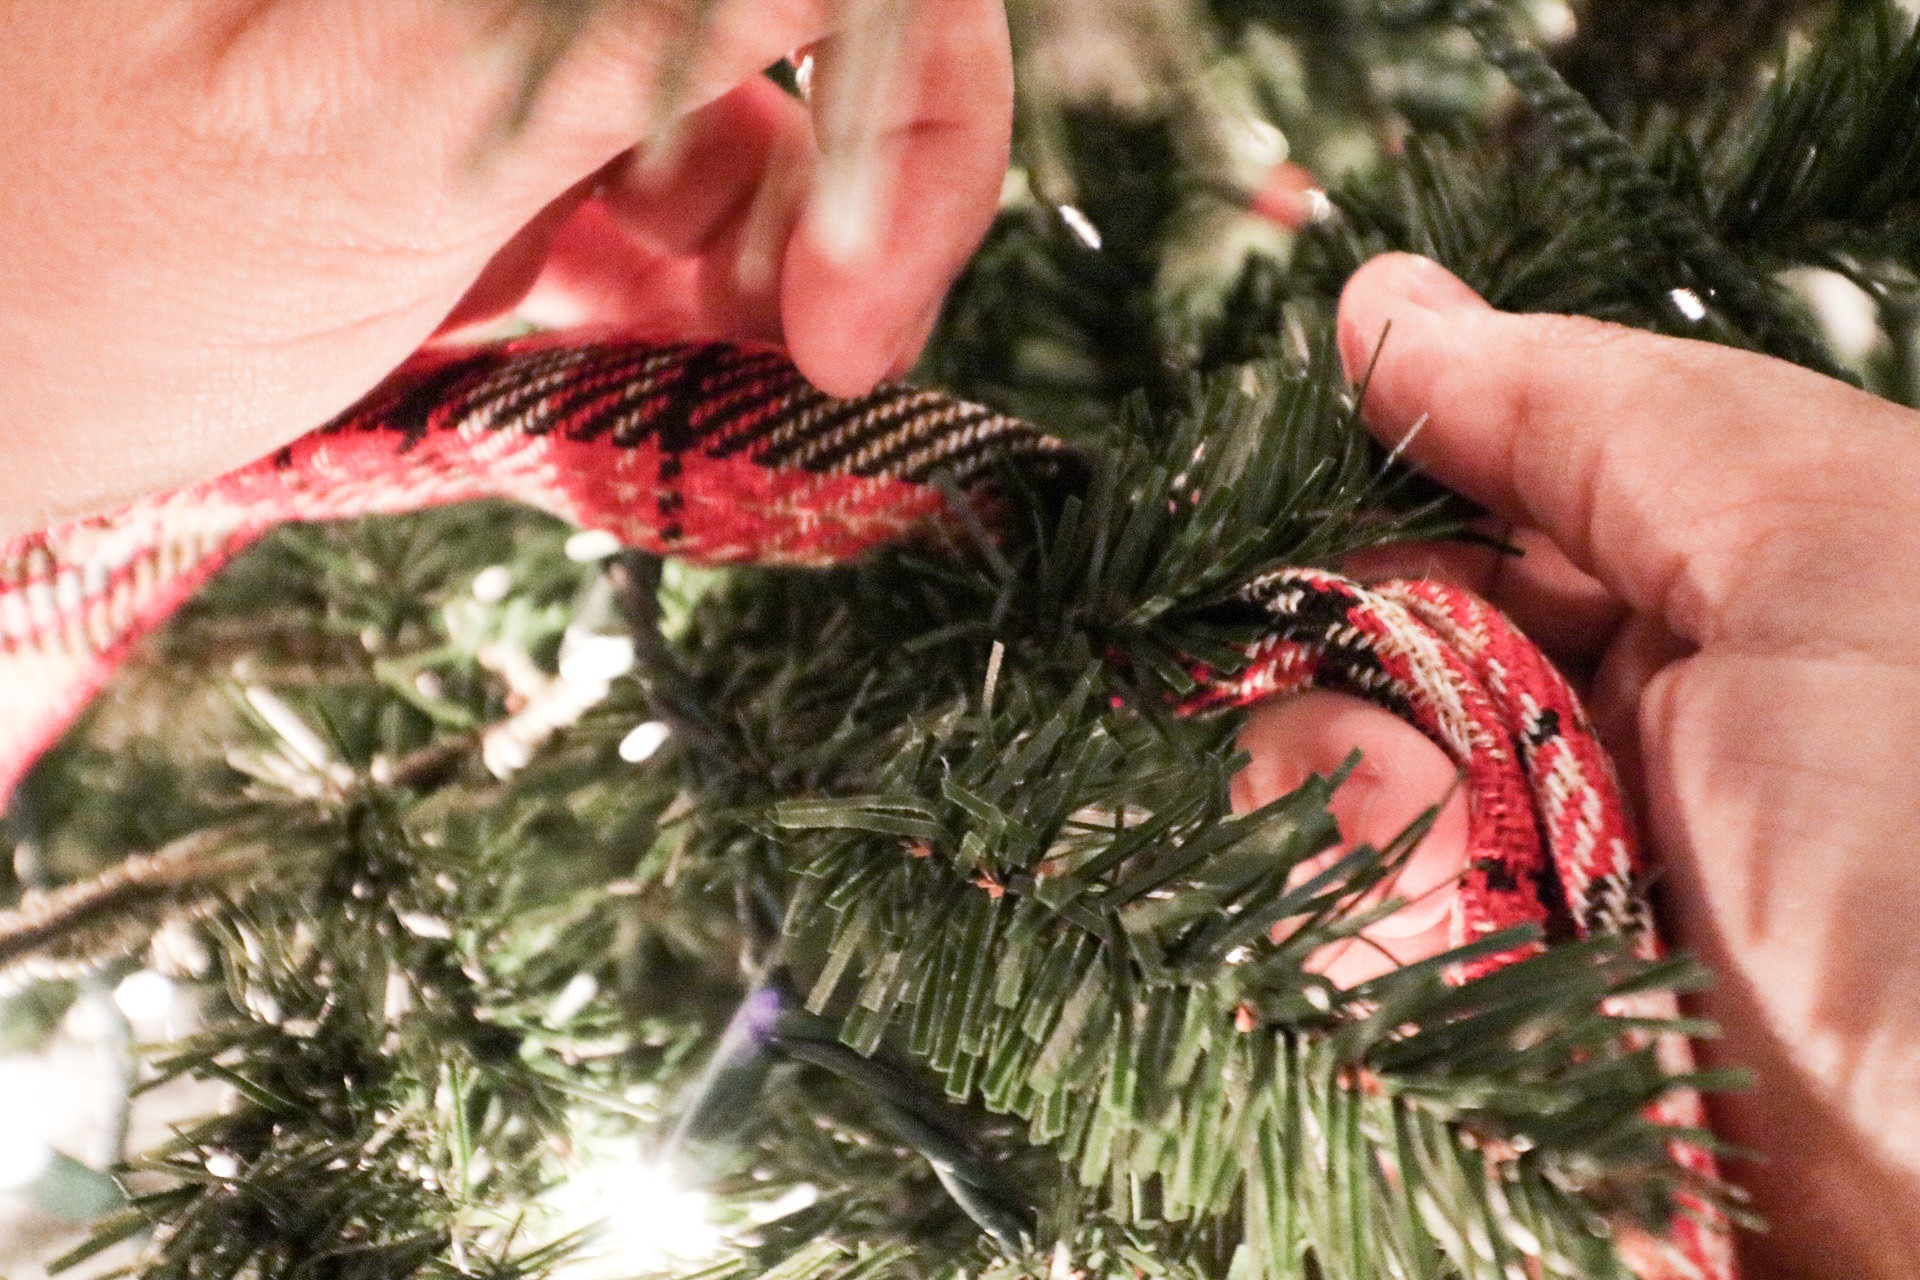
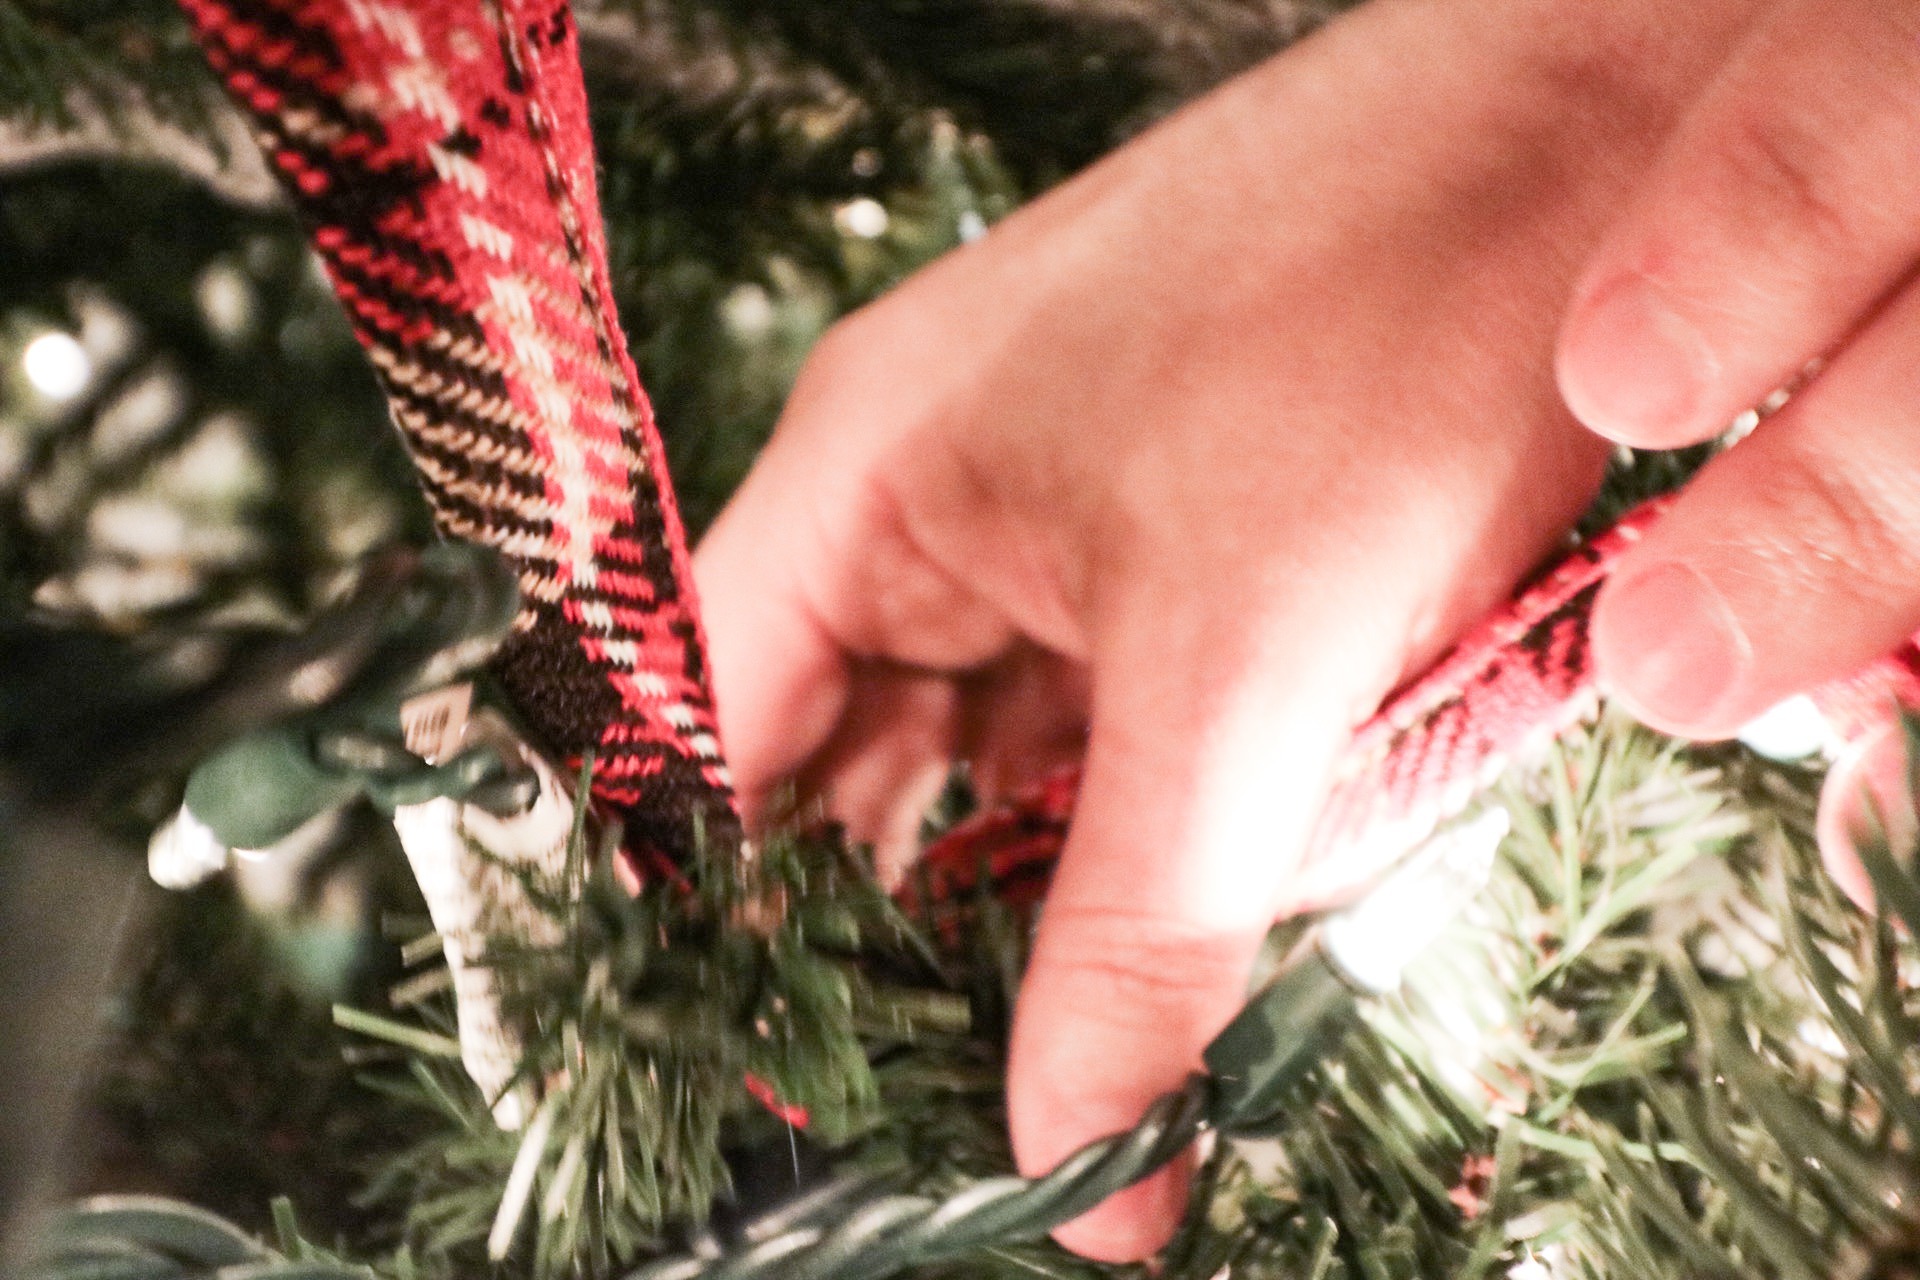
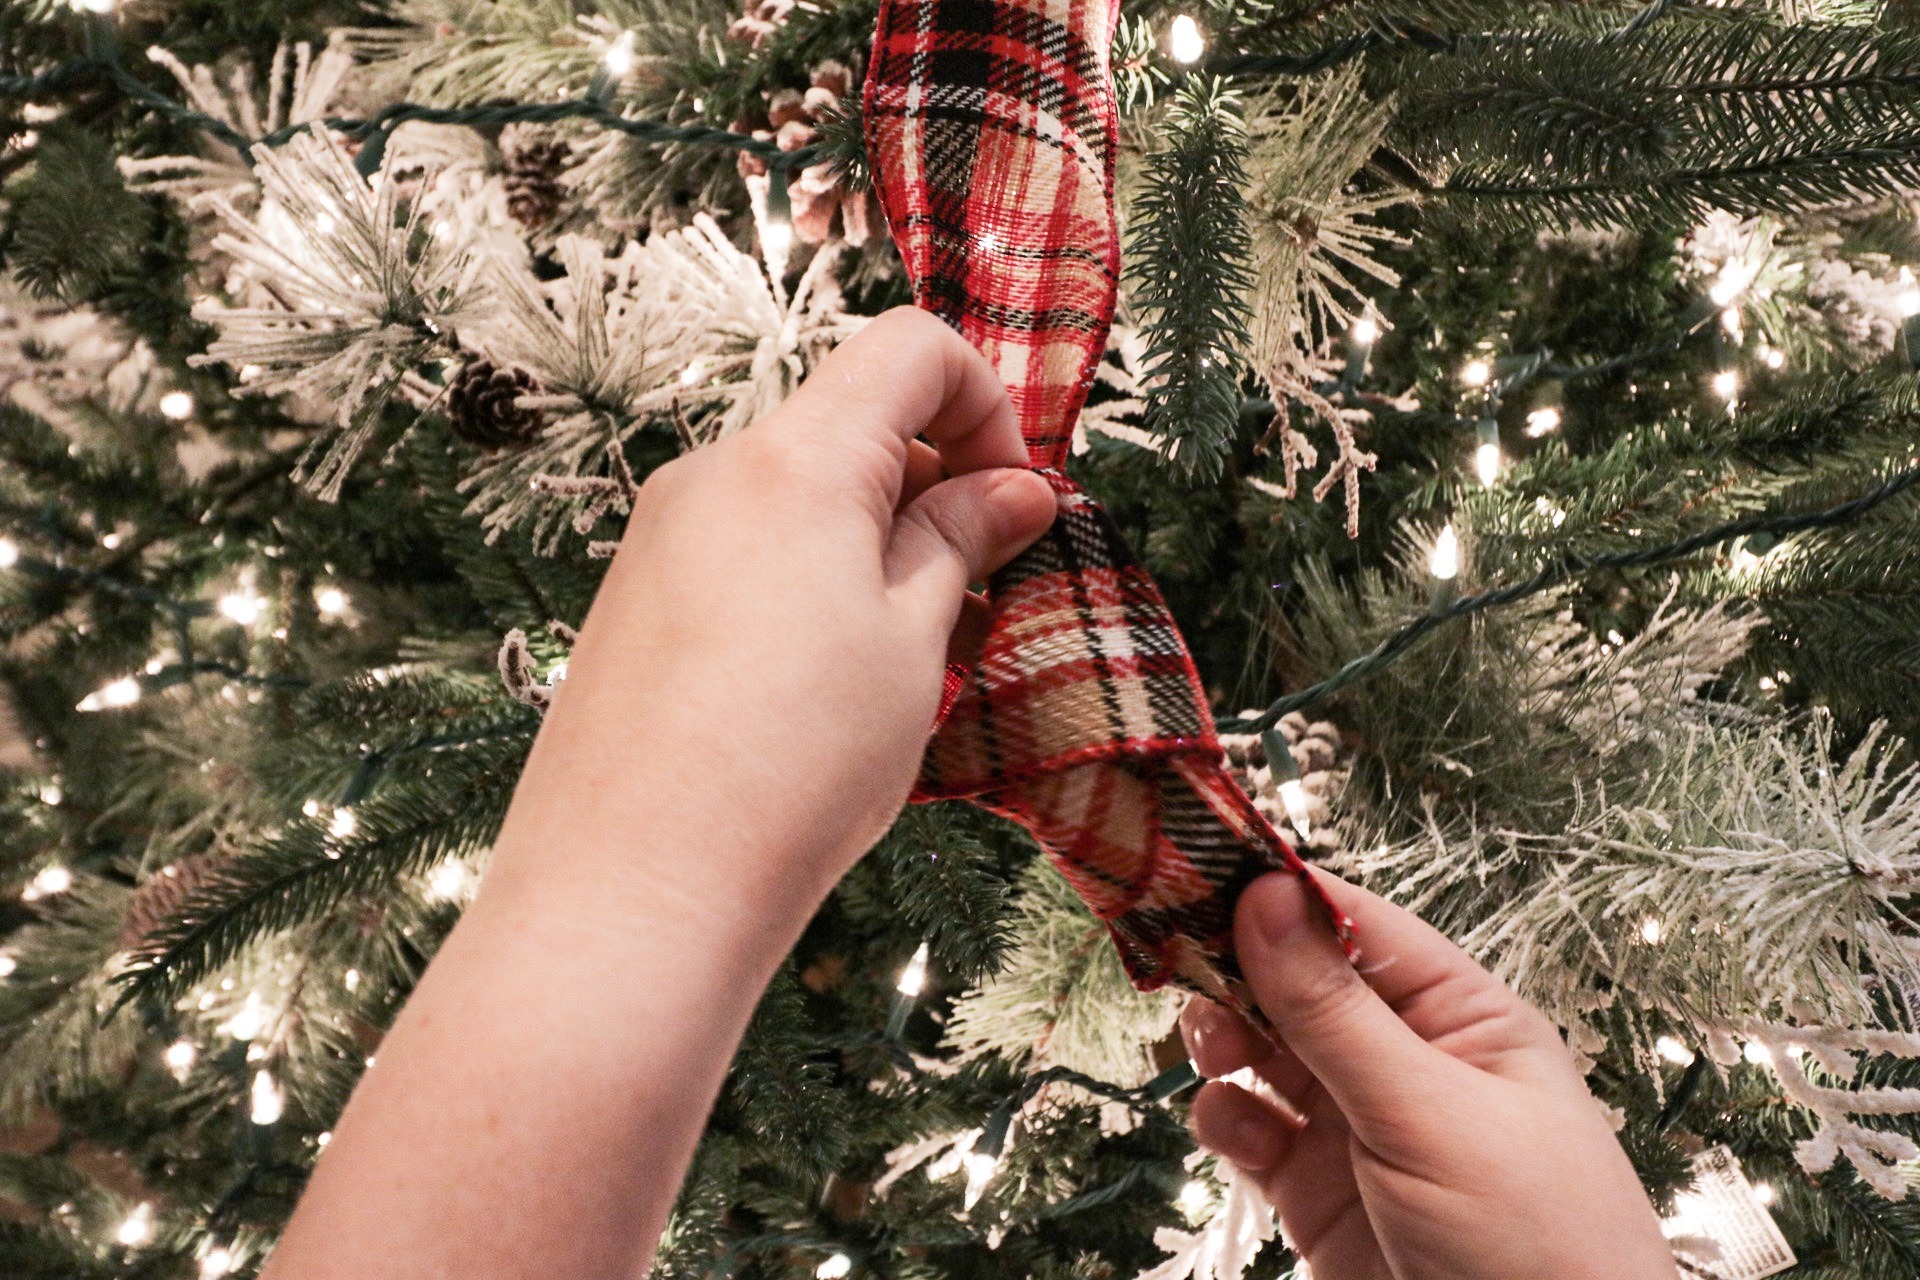
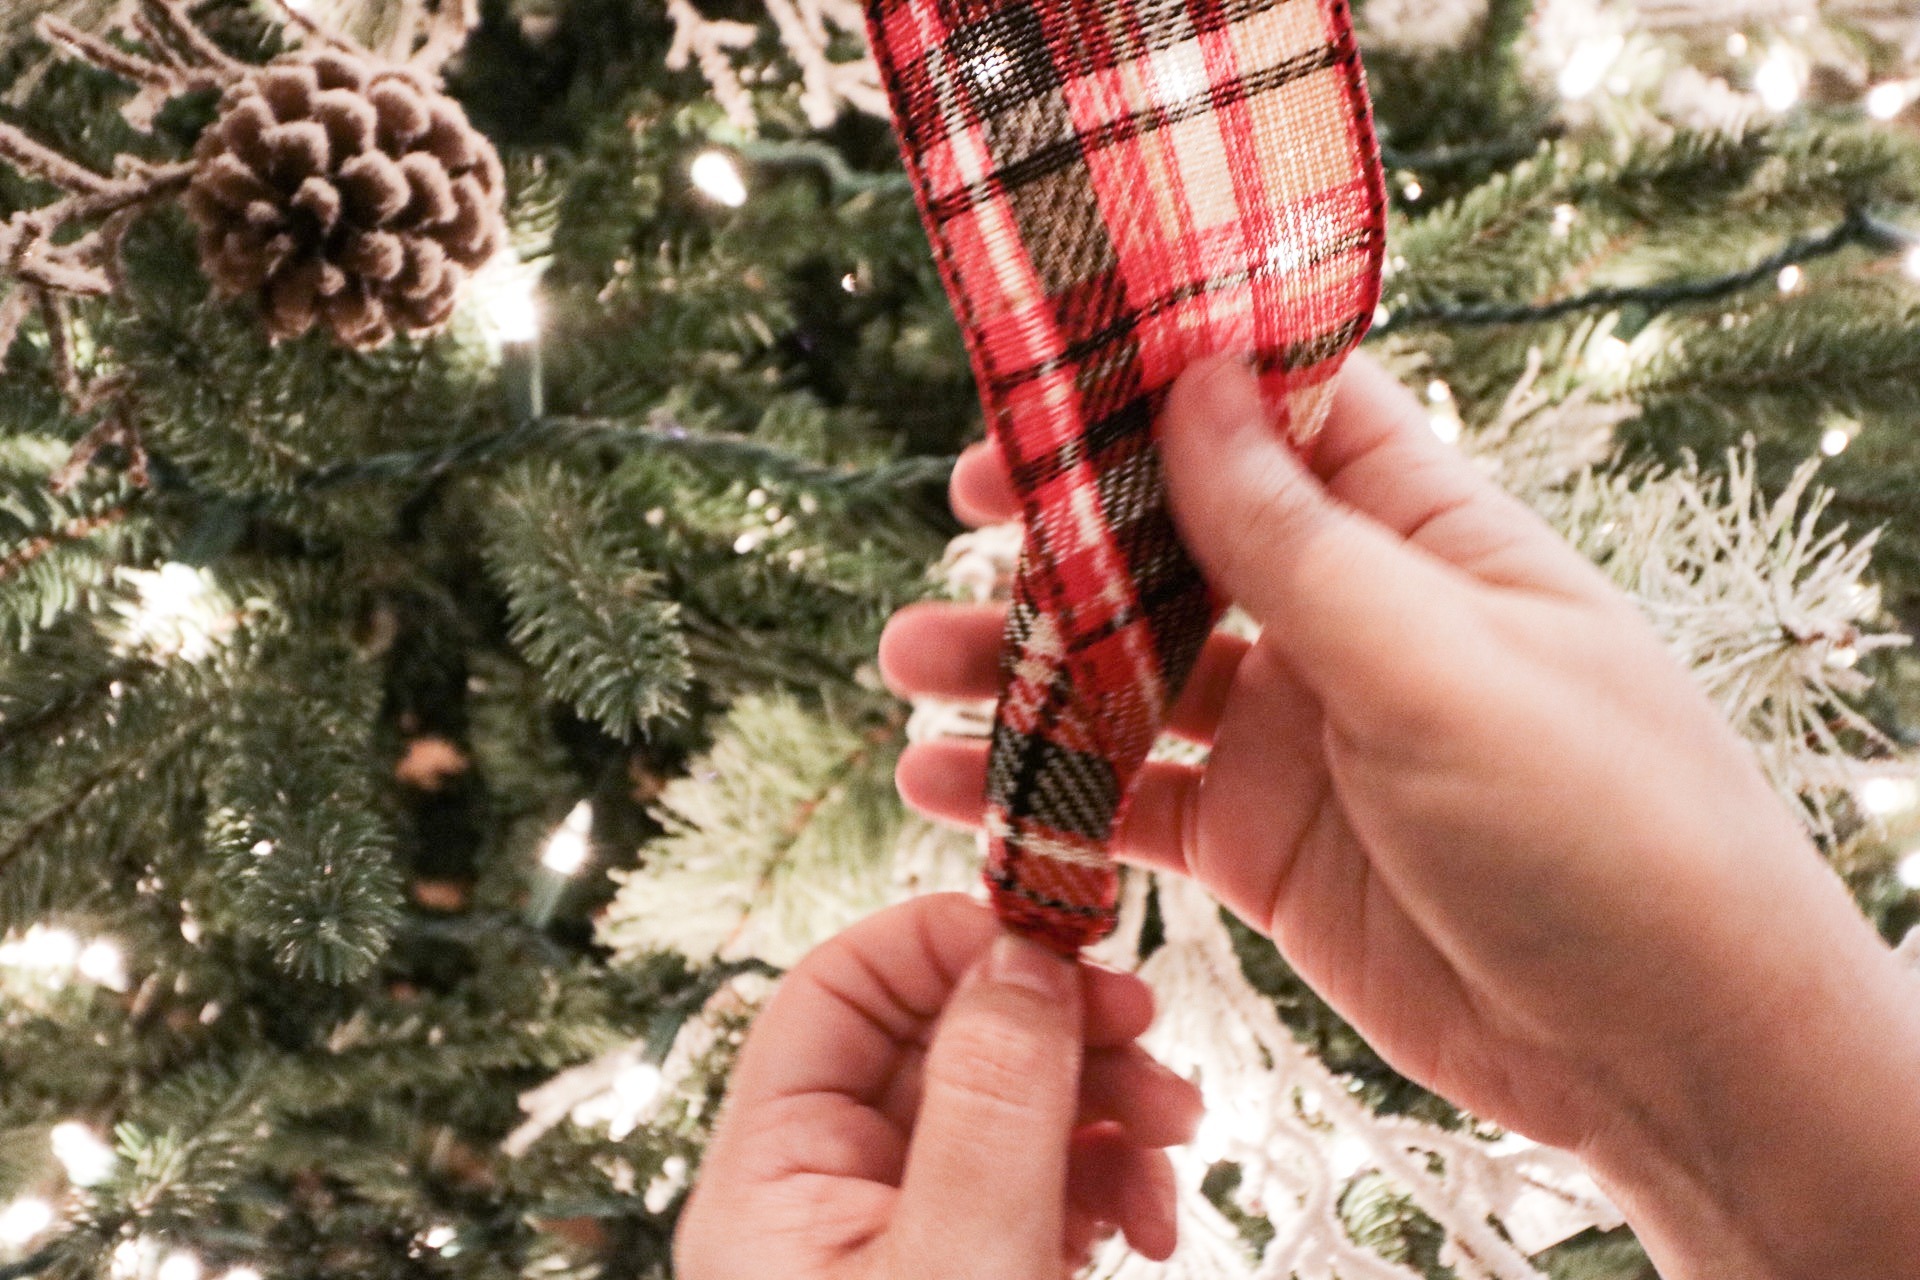
-Pinch the start of your ribbon a few inches down.
-Tuck into your tree far enough that it’s hidden, but keep in mind ornaments will be added and hide it more.
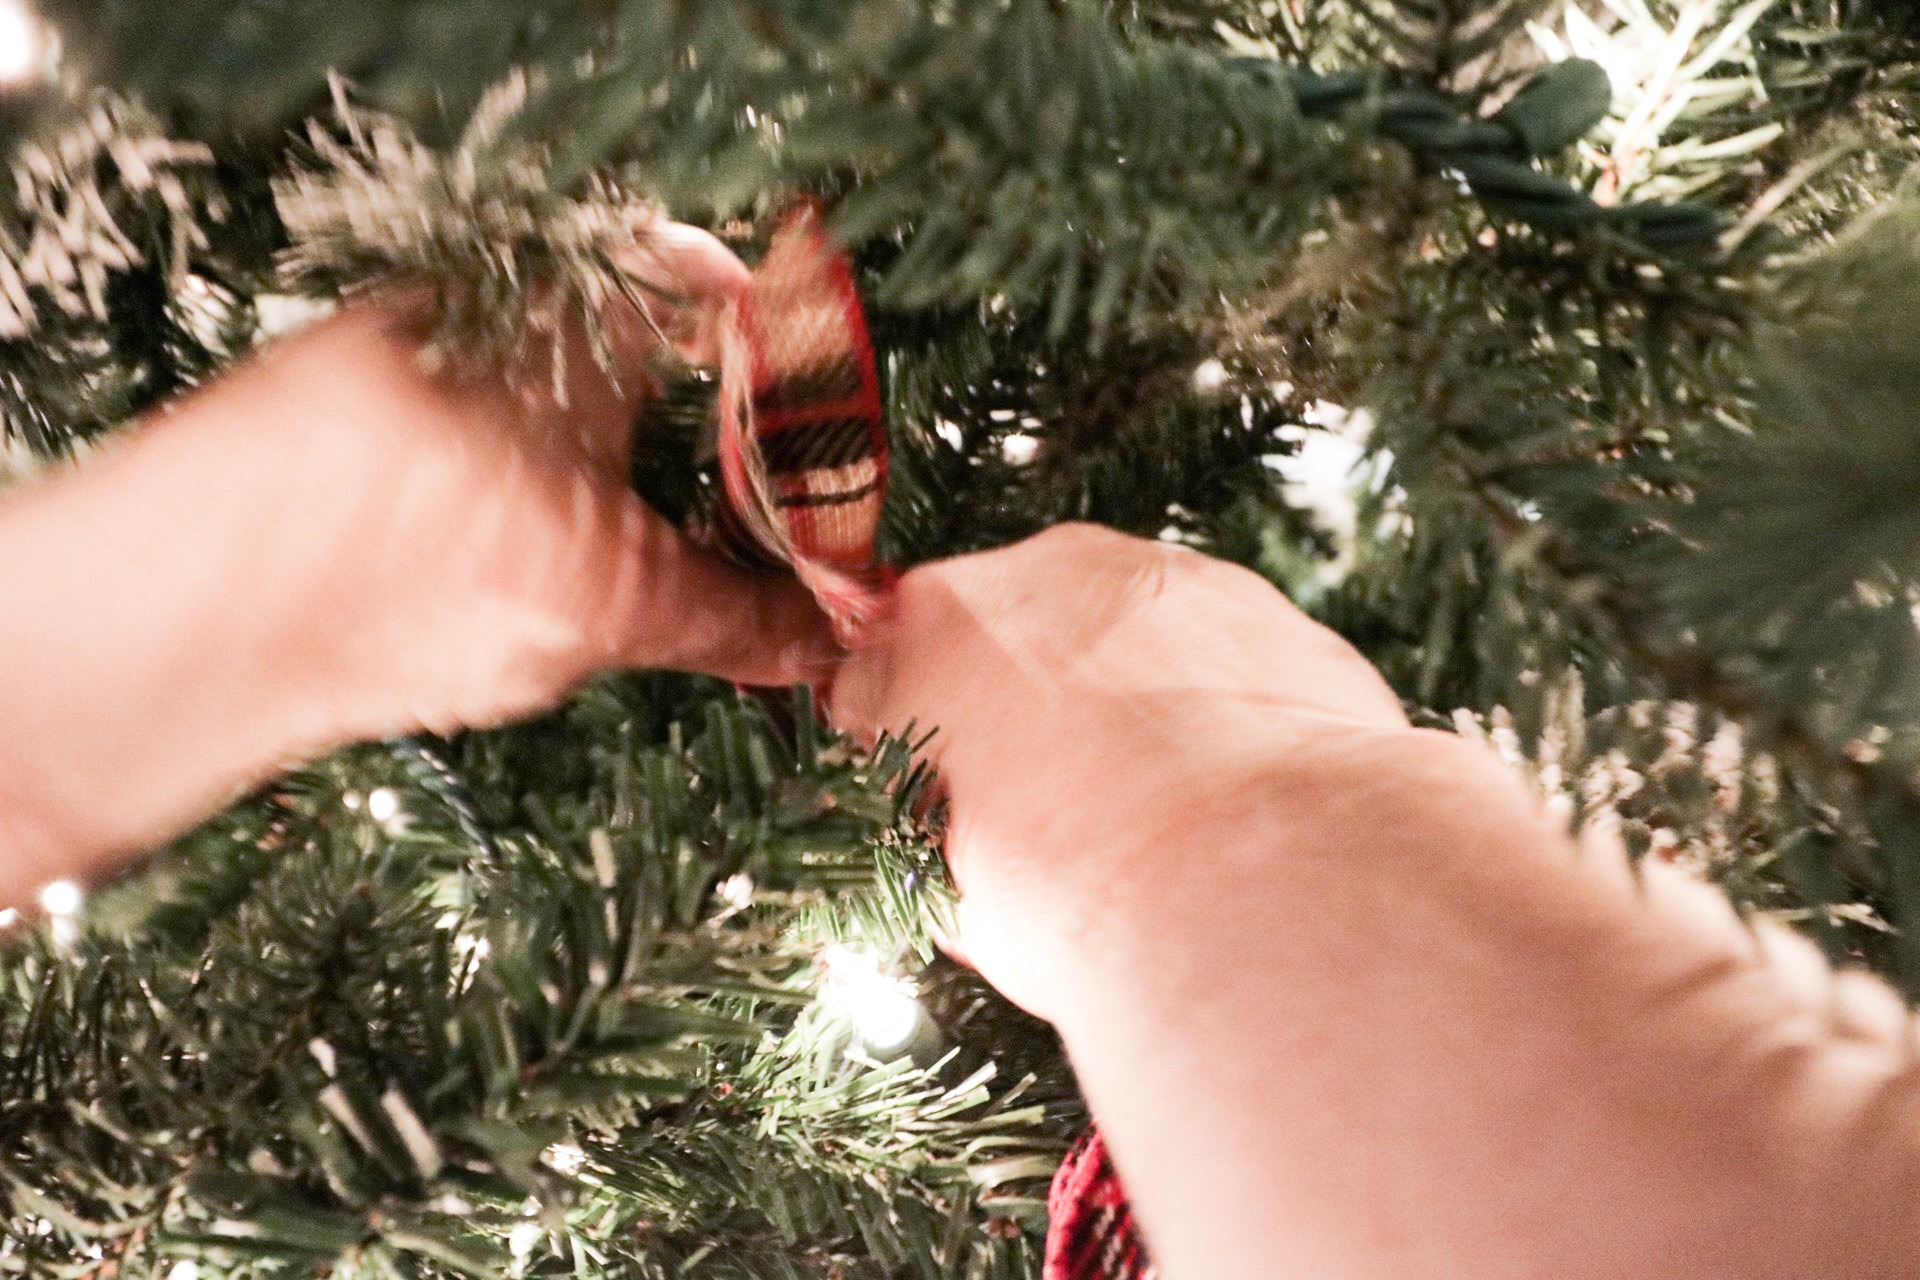
-Use a branch to wrap around the ribbon and secure it in the tree. If you have a real tree, use floral wire to secure it to a branch.
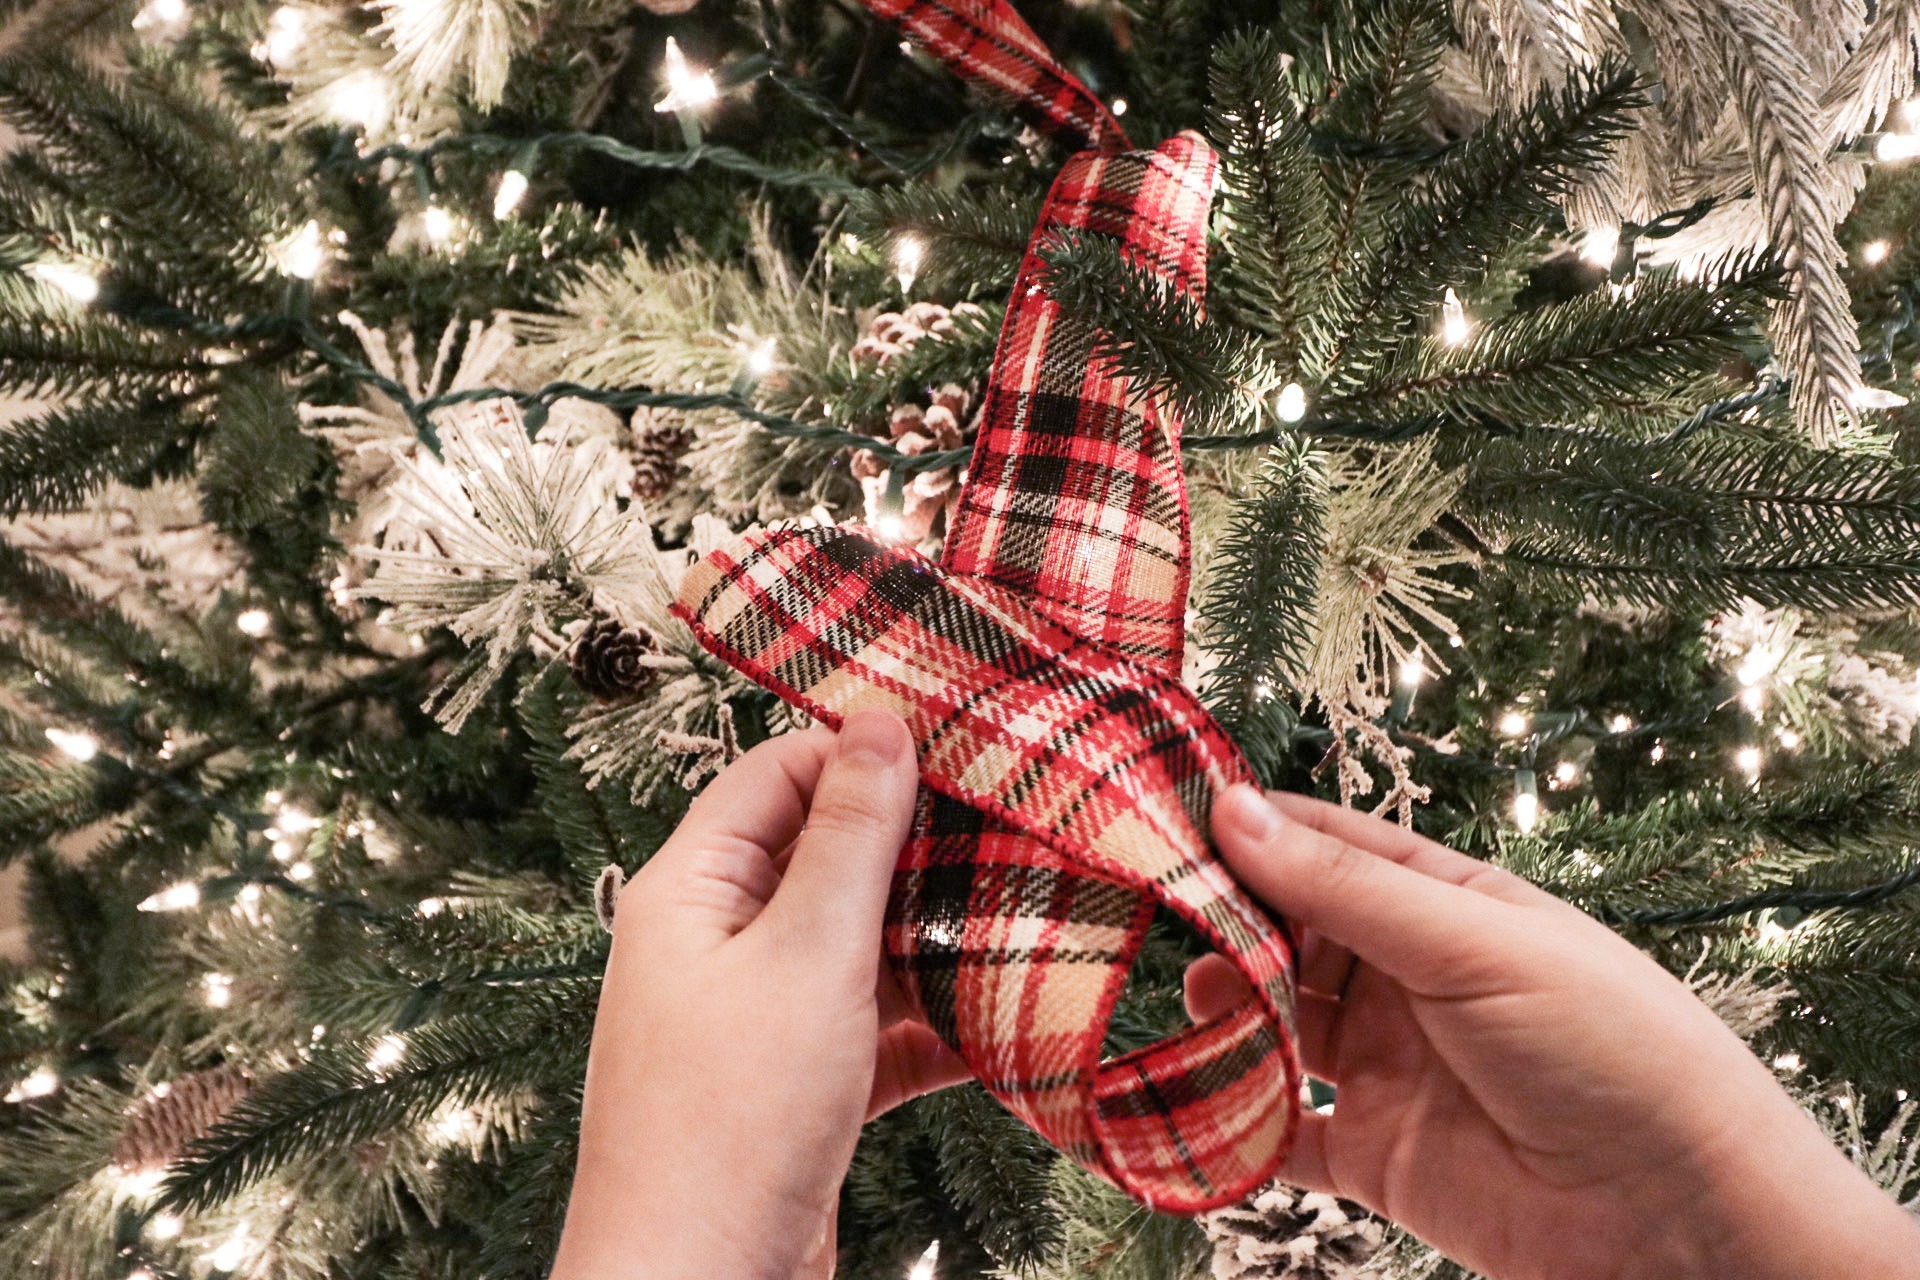
Ribbon Design 1. Next Steps
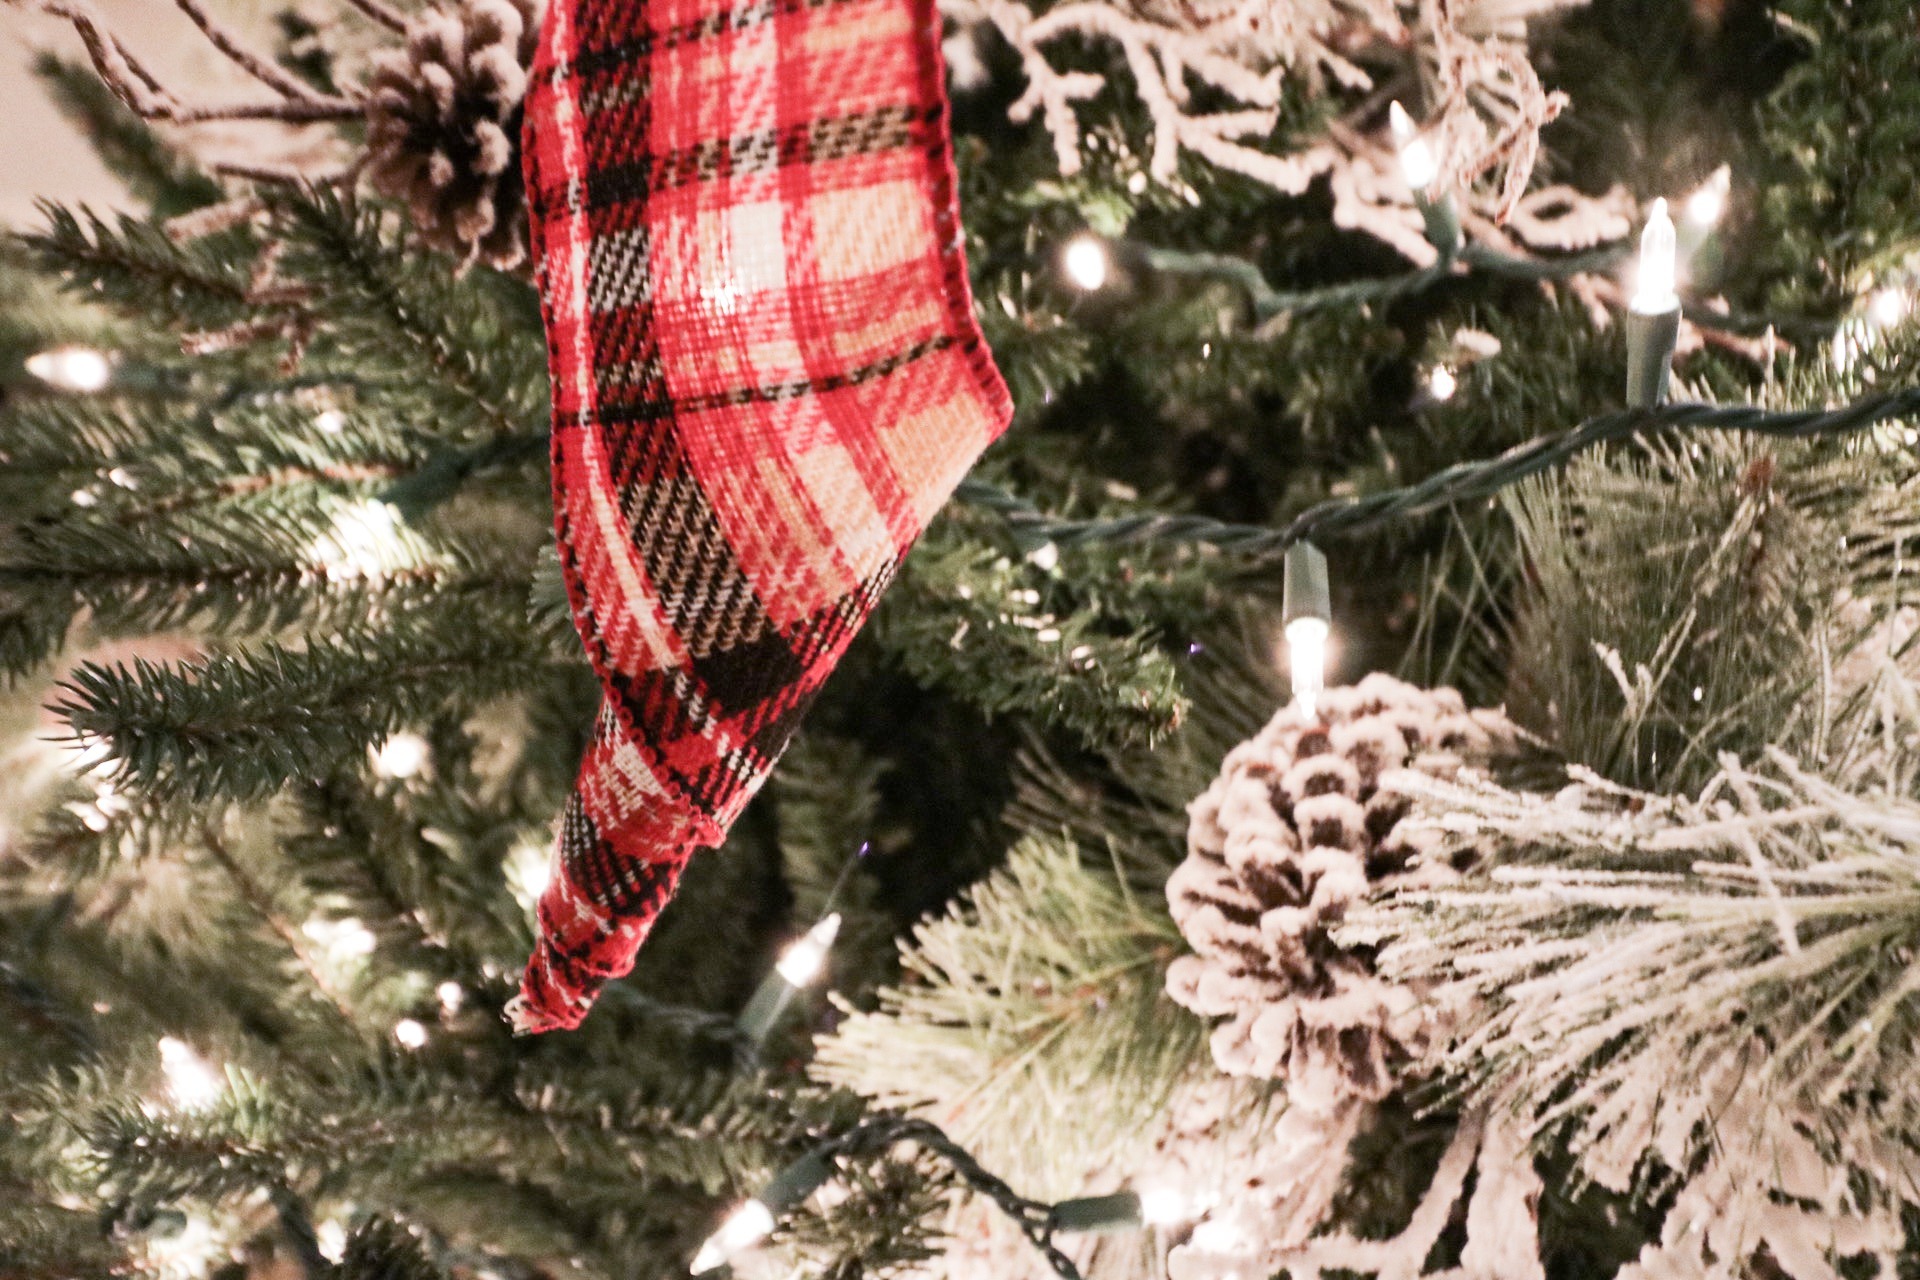
-Gently pull the ribbon, wrapping it loosely around the tree. You can go in whatever direction you’d like: diagonal, straight down from the top of the tree, around the tree like a typical garland, etc.
-I leave about a foot of ribbon before I tuck it in again, but it’s completely up to you how much you leave.
-Repeat the first steps of pinching the ribbon, tucking and wrapping with a branch (or floral wire).
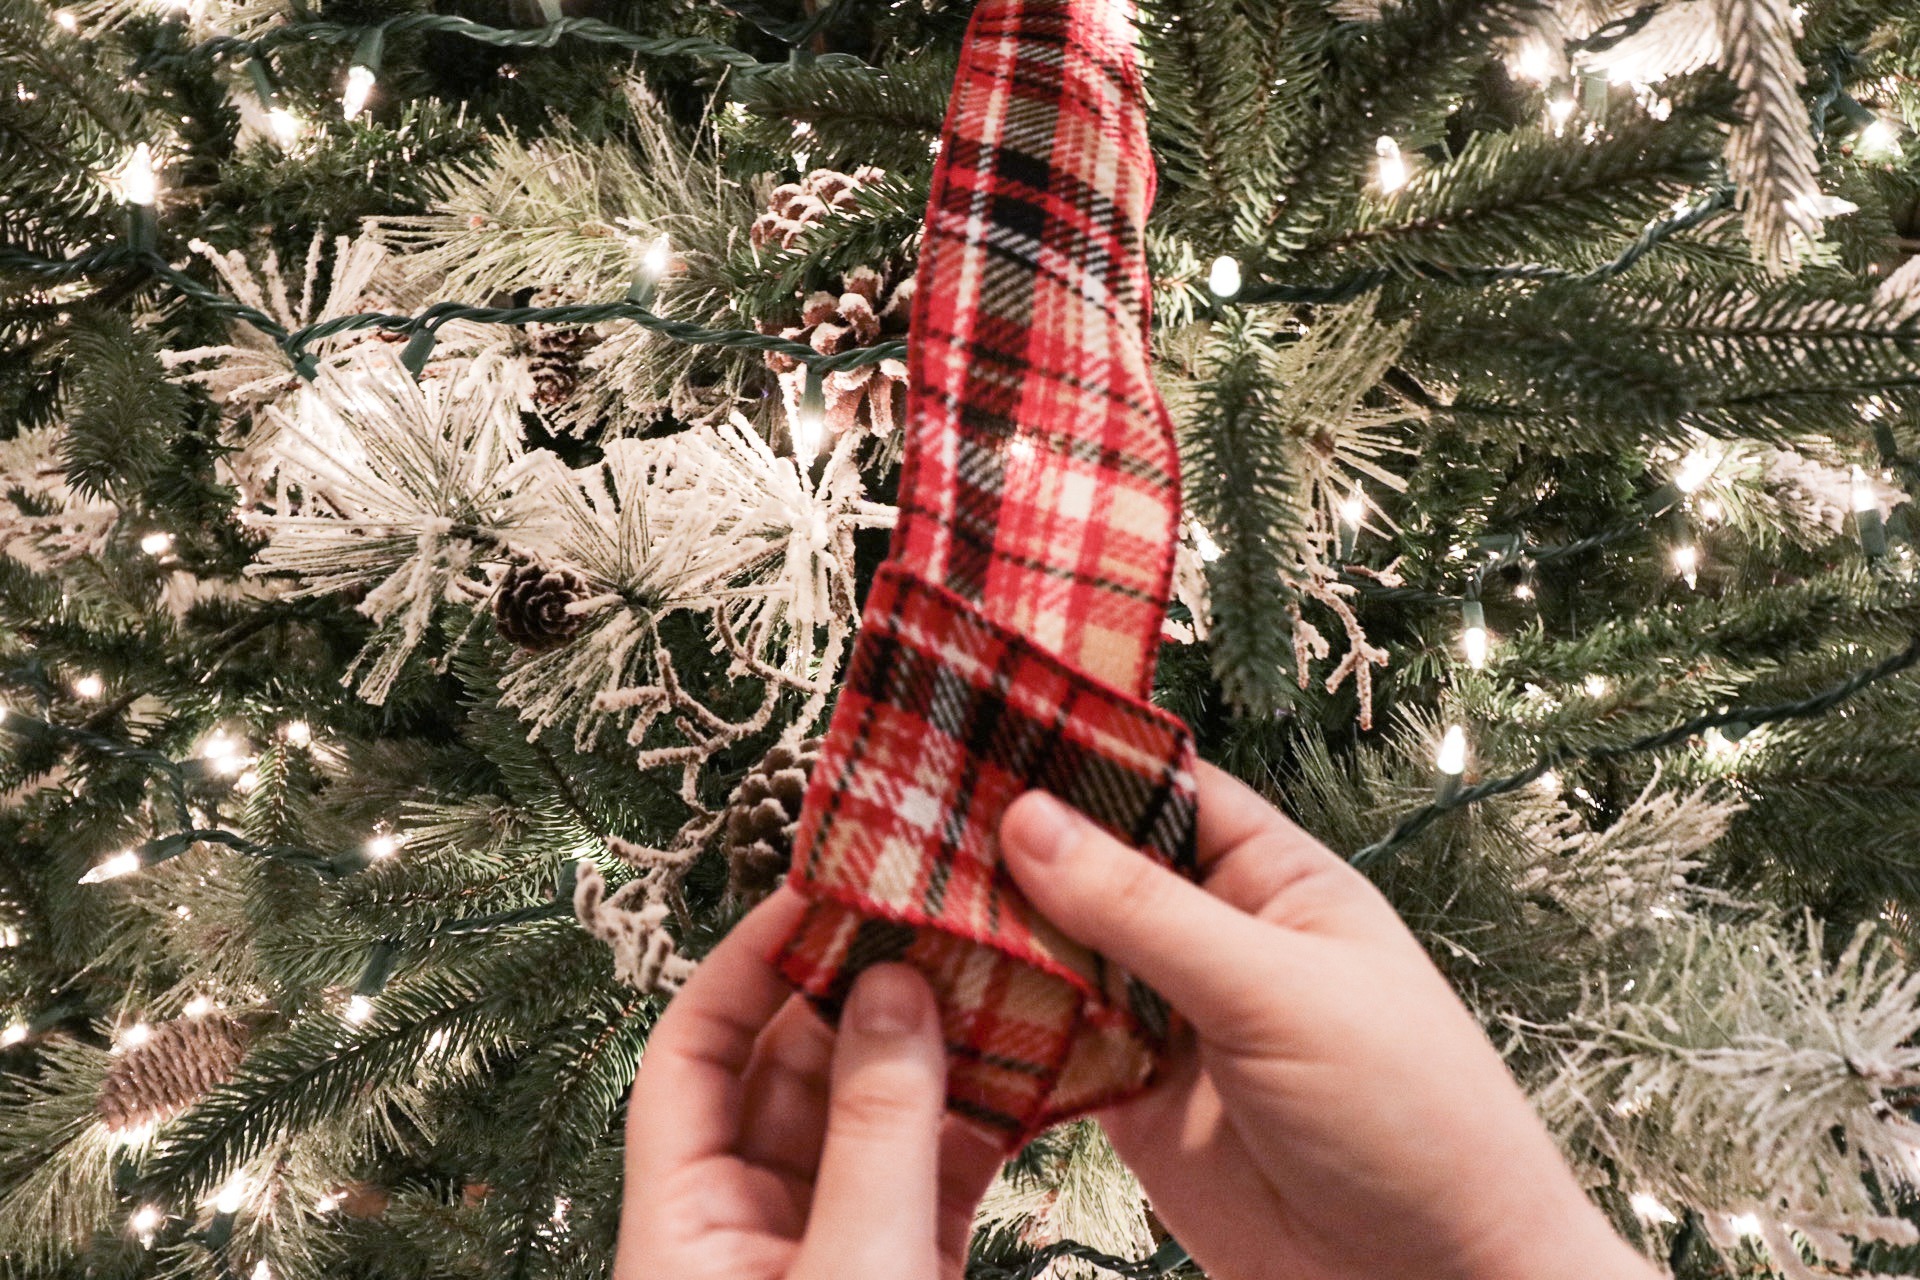
Finishing Ribbon: First Method
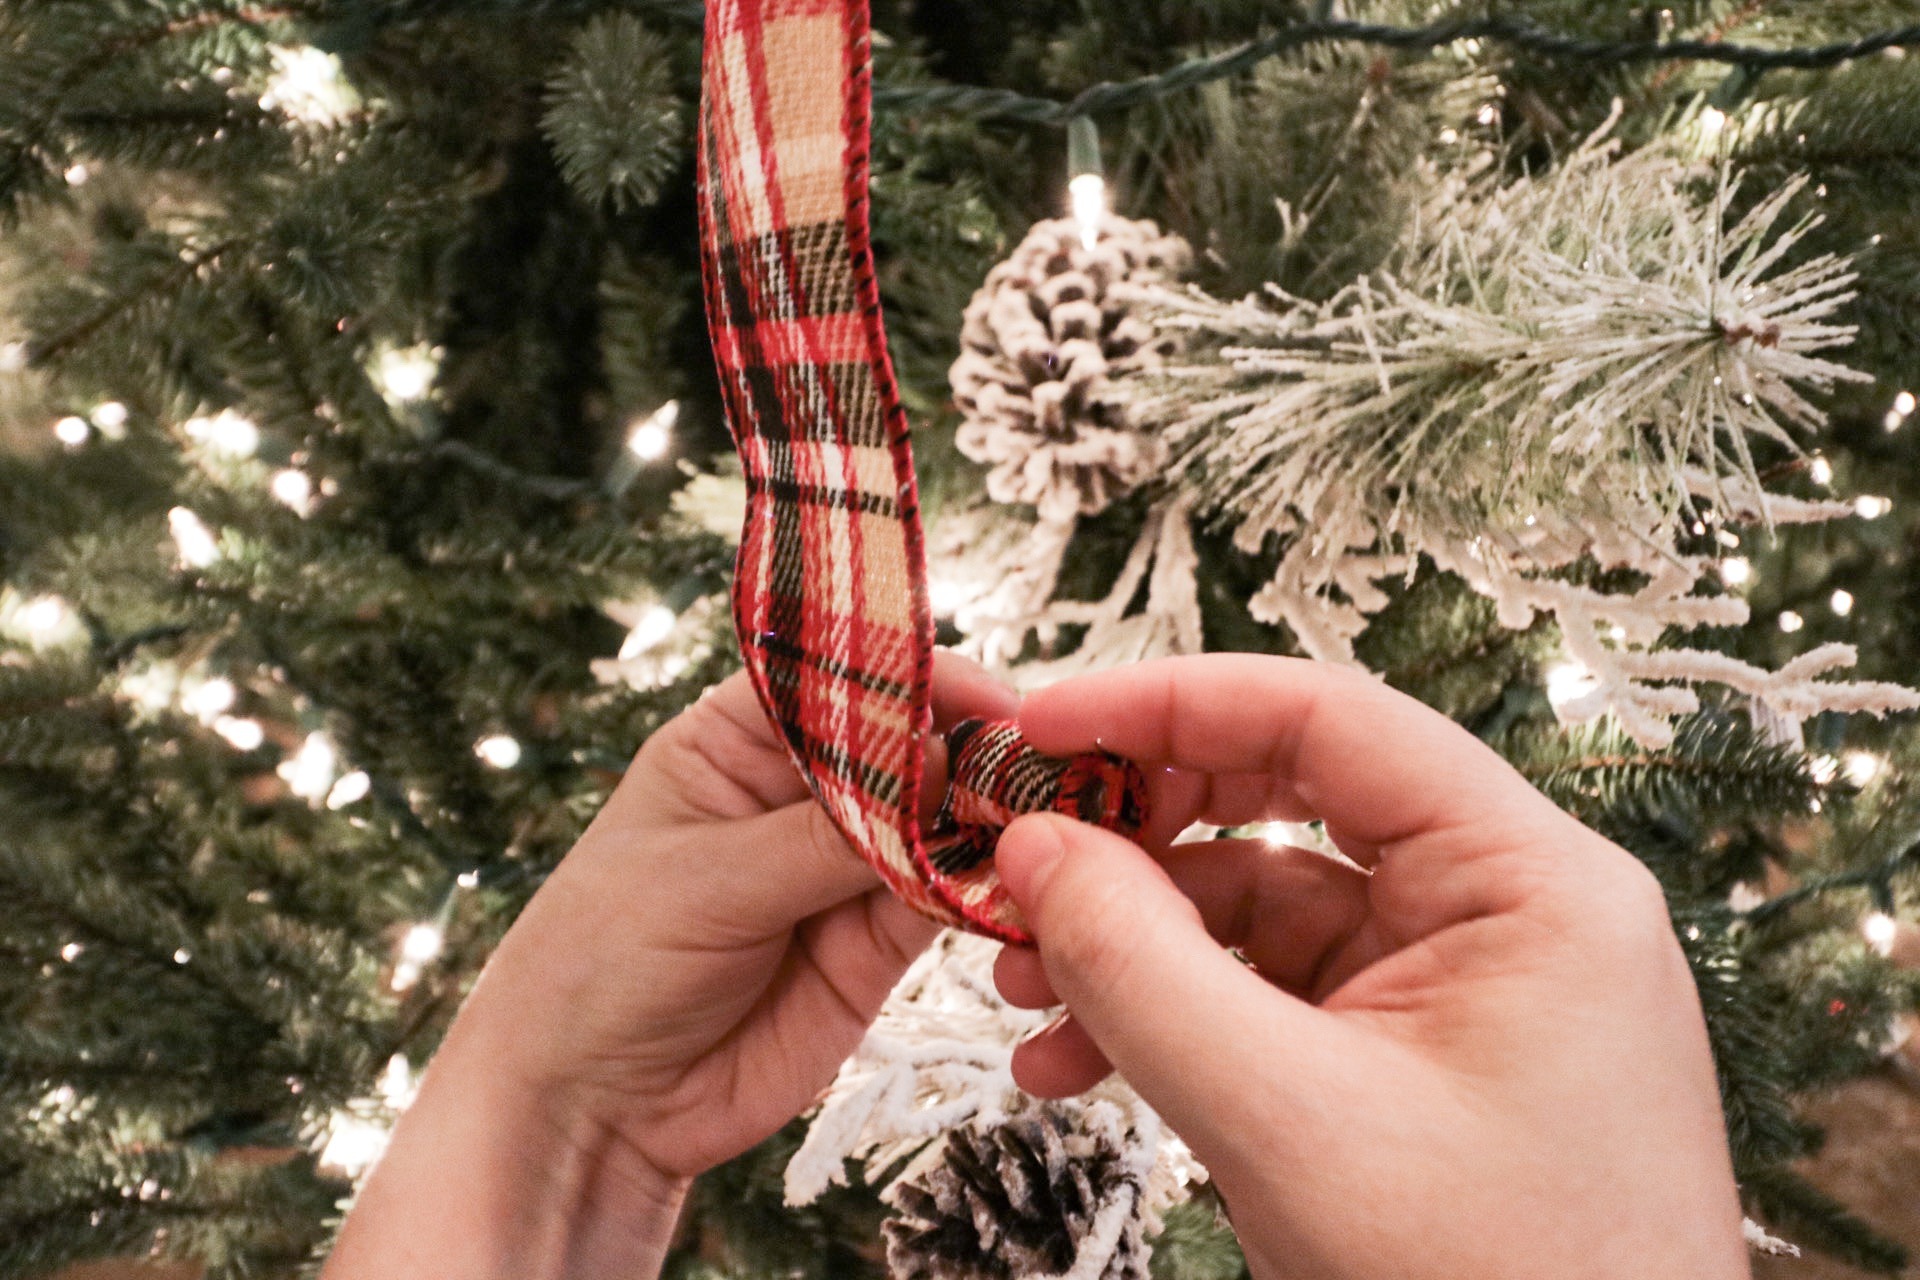
Instead of just leaving the ends of your ribbon hanging at the bottom of the tree, I’ve found a few ways to finish it off. This first one is tying a loose knot. And a loose knot is key! Leave a lot of slack as you tie it and once it’s tied be sure to straighten it up because the knot shouldn’t be wrinkled. It shouldn’t look like a tight knot at all. If you have a double sided ribbon (a different design on the reverse side) this is a good opportunity to show off the other design by flipping it over for the knot.
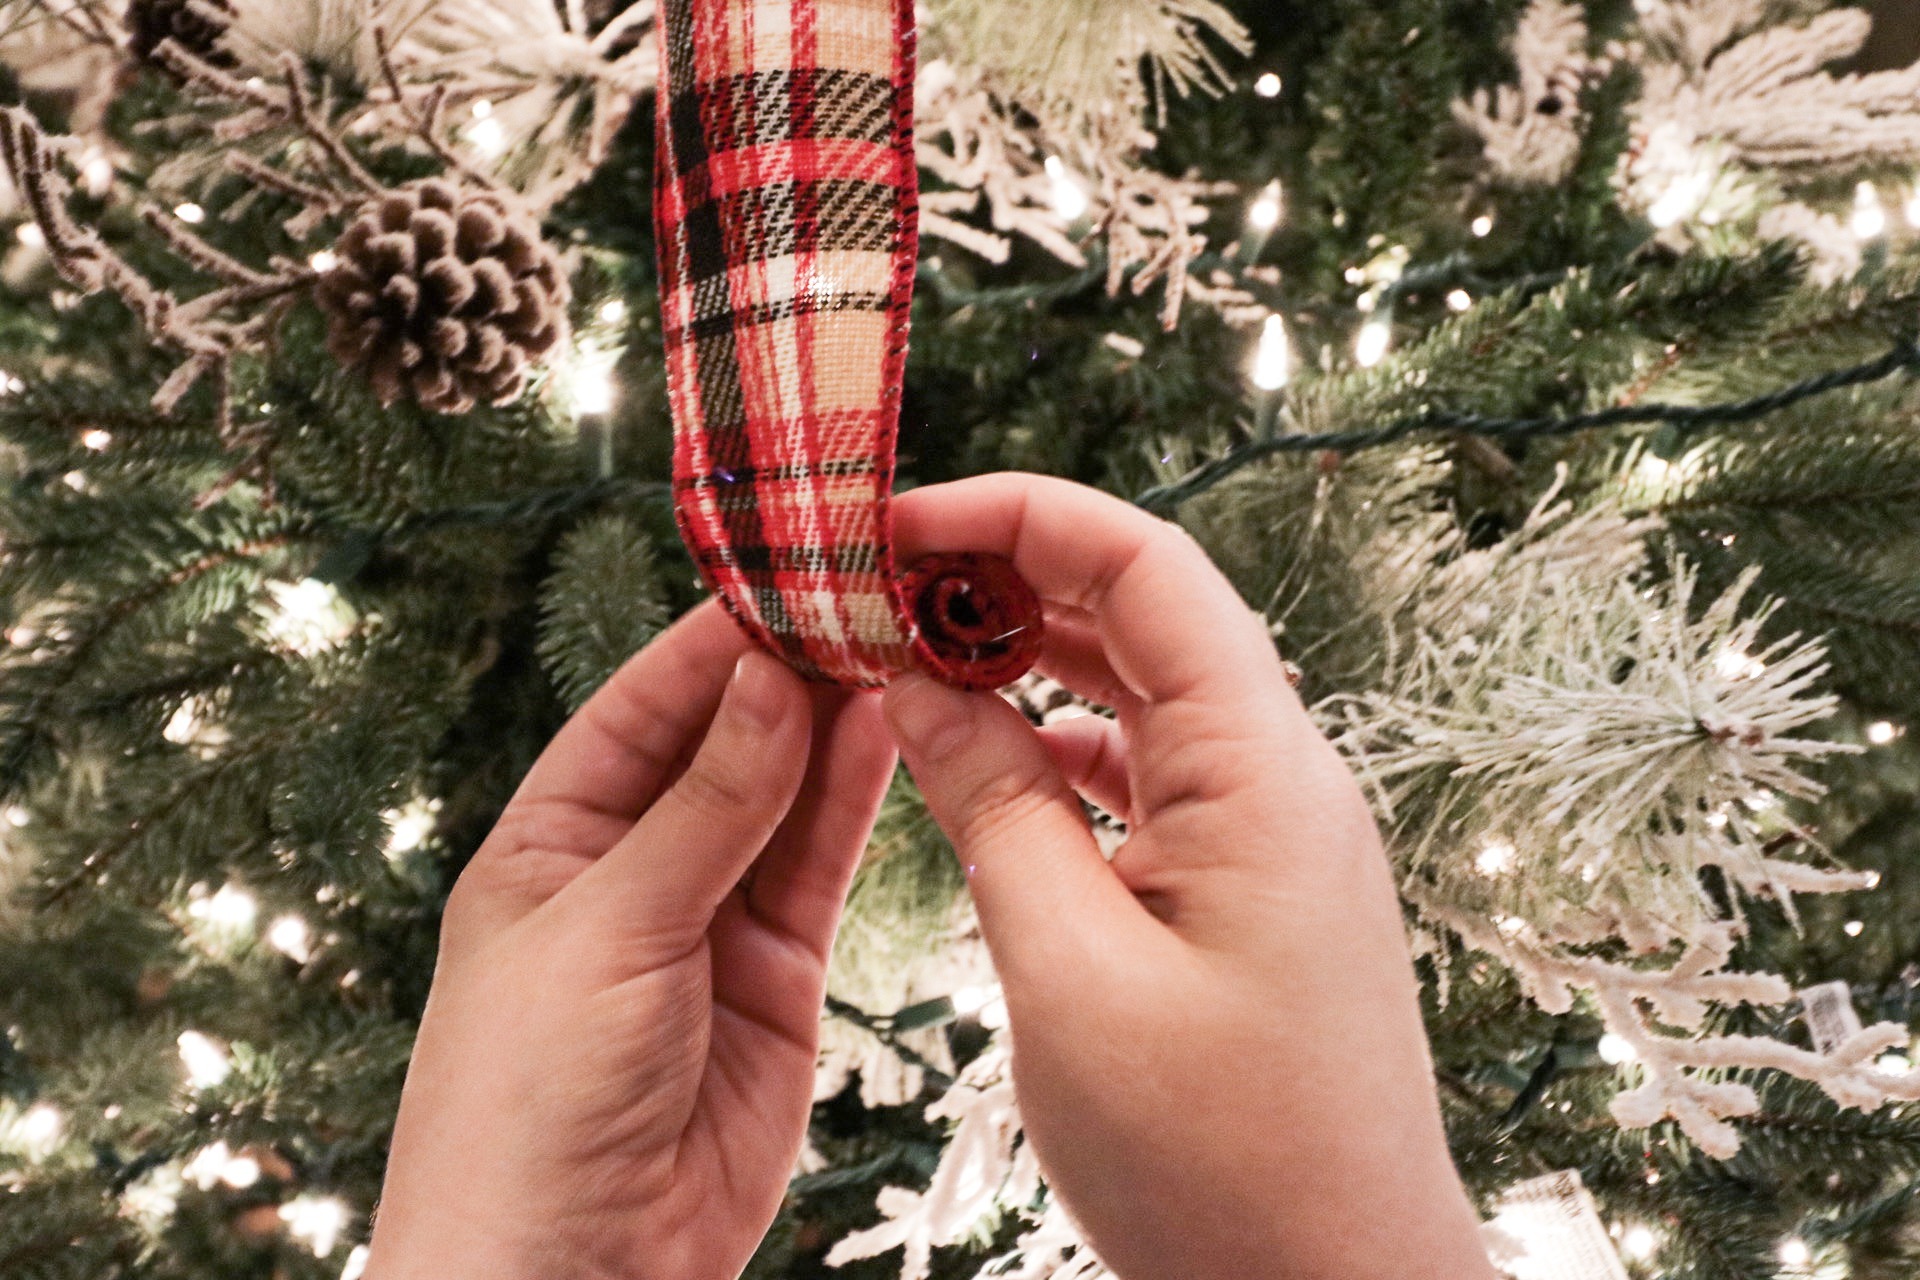
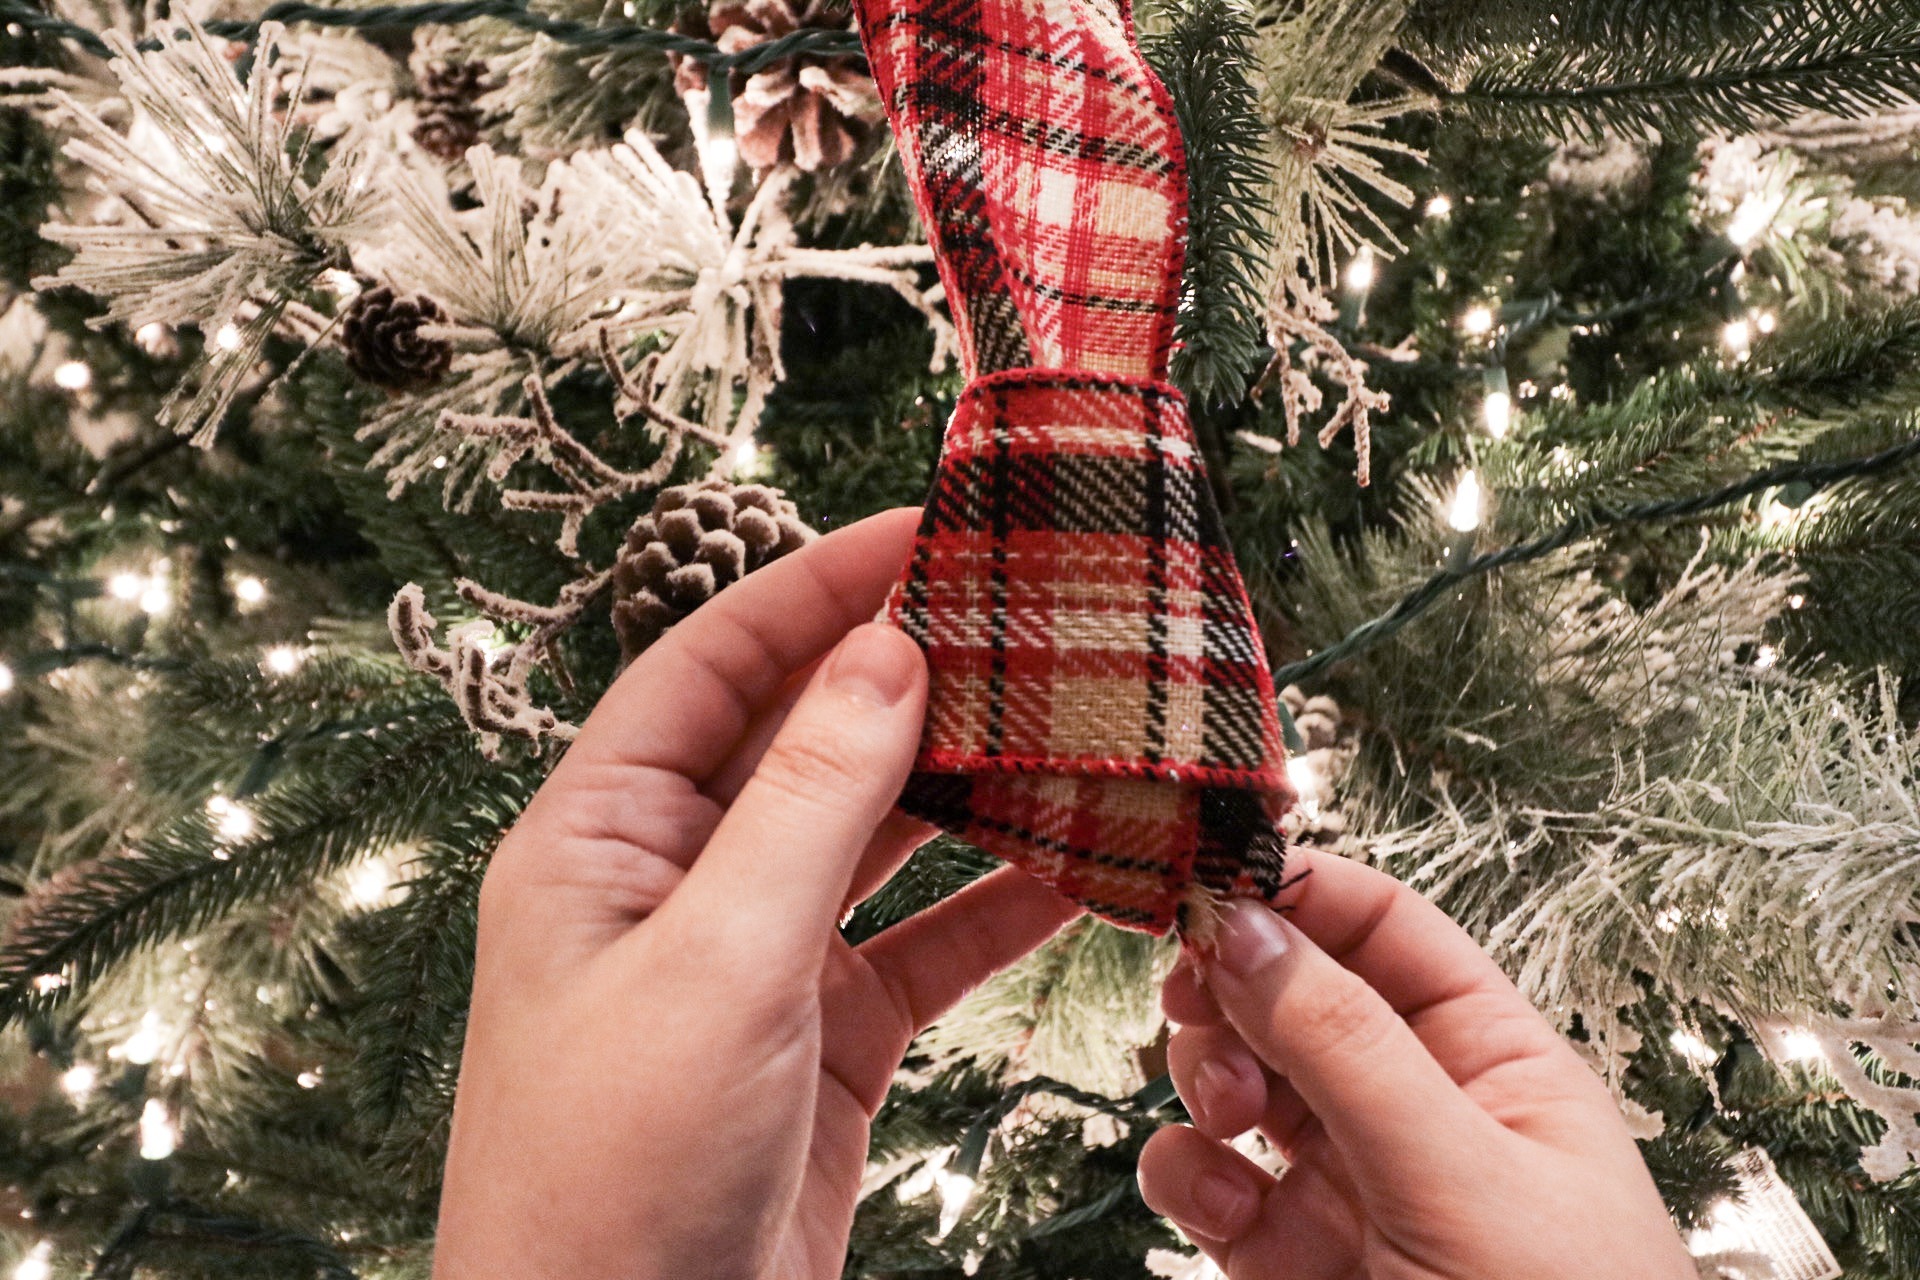
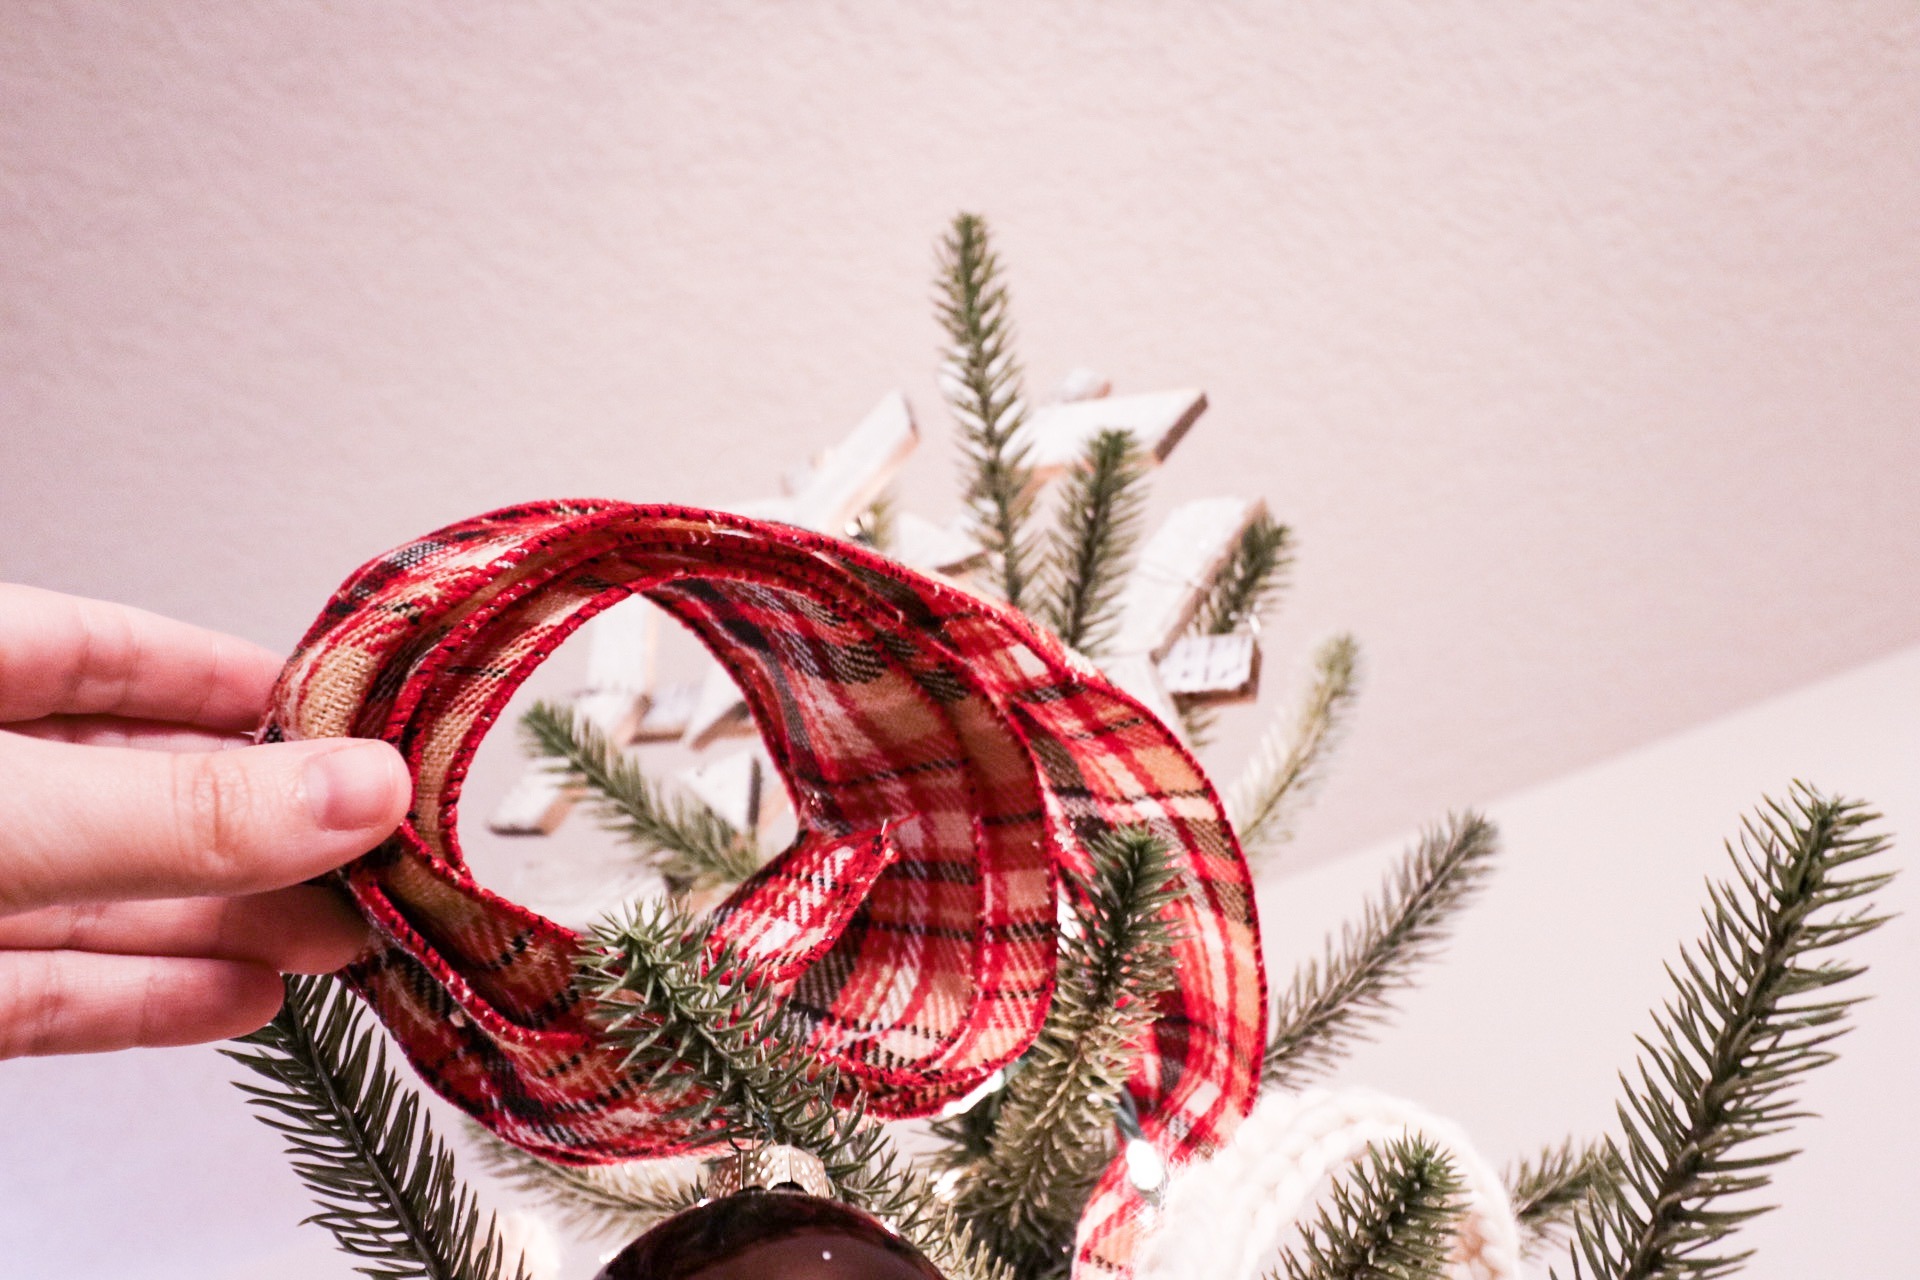
Finishing Ribbon: Second Method
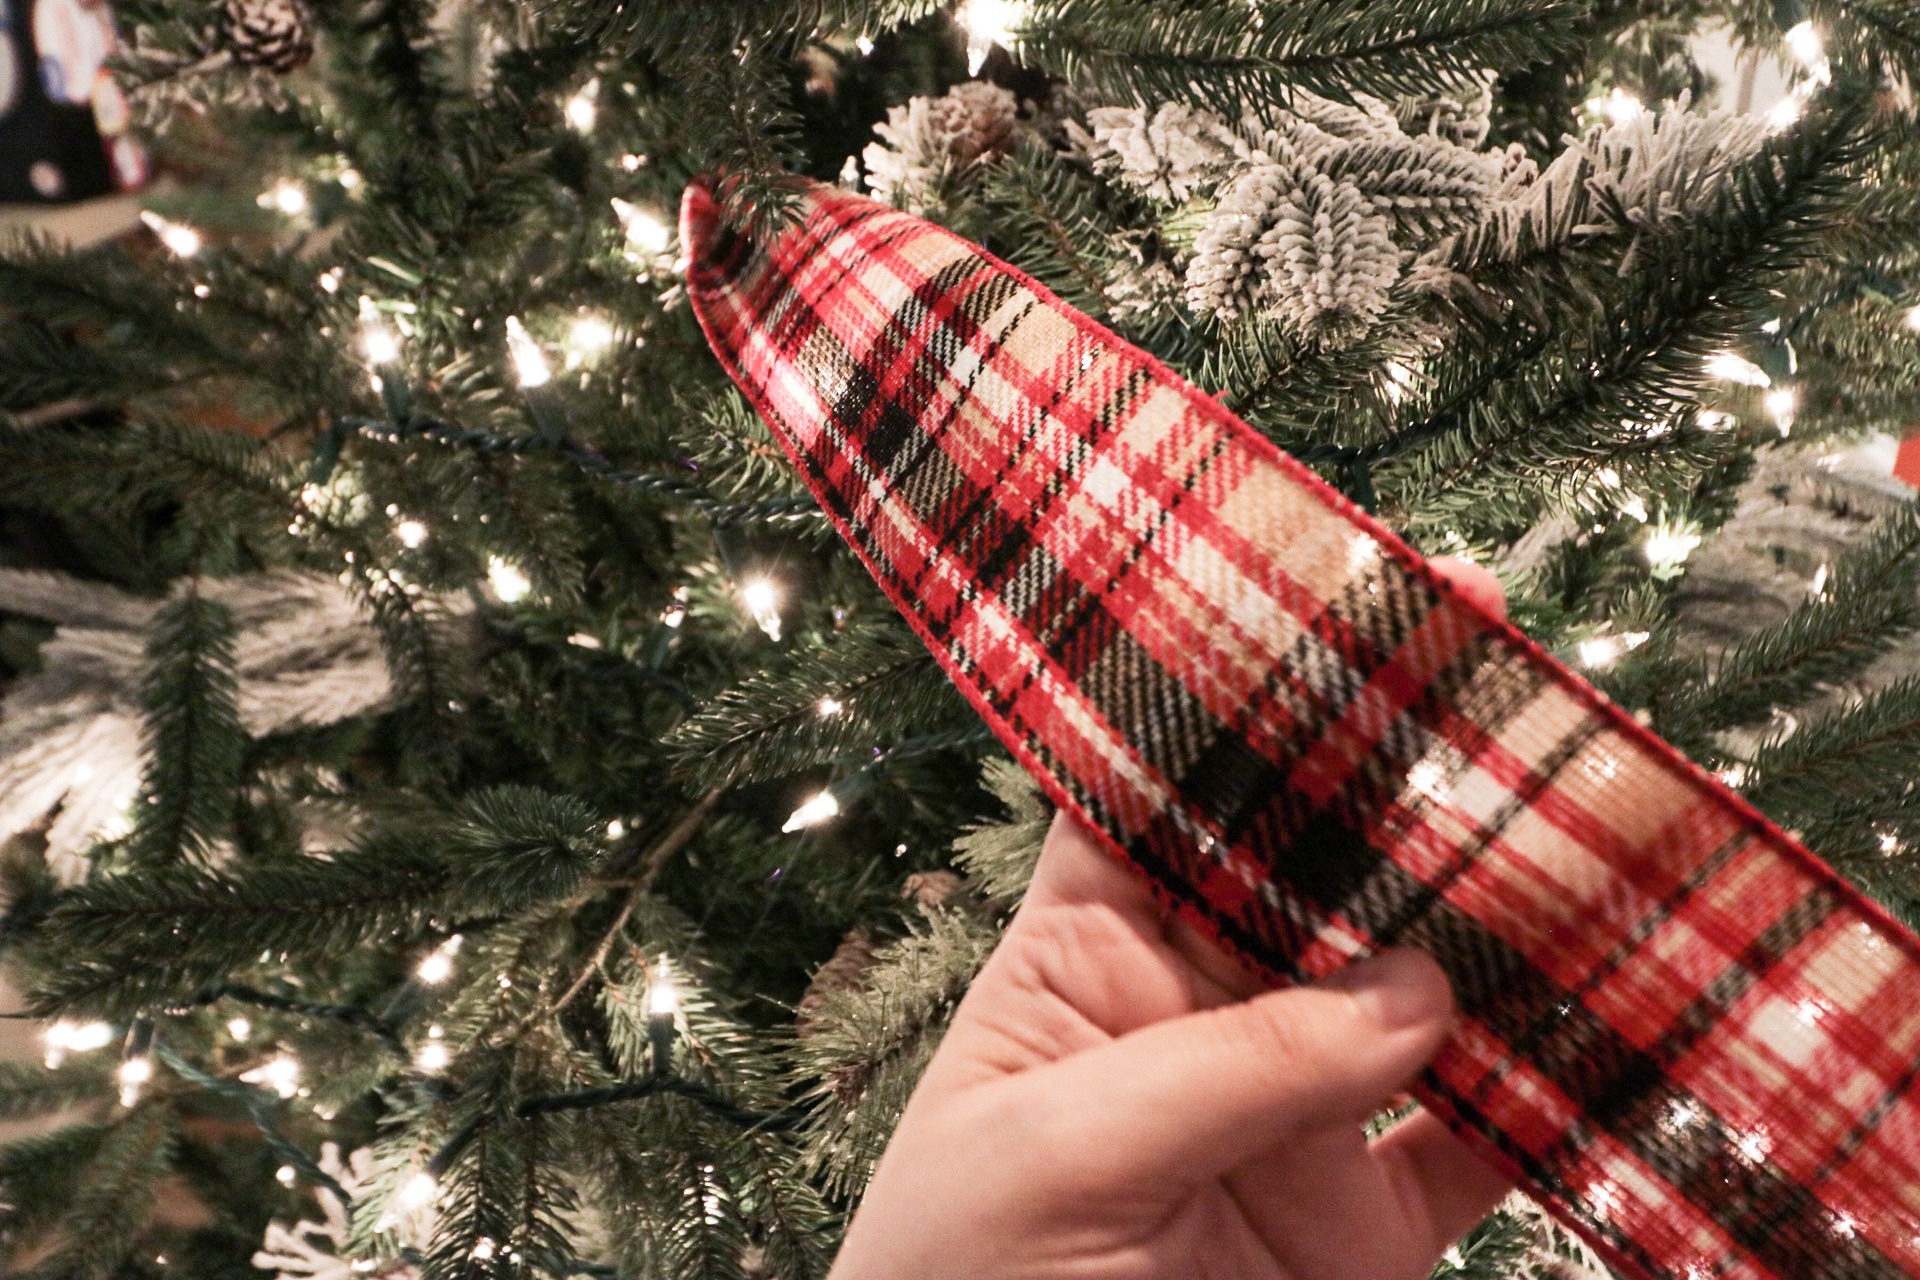
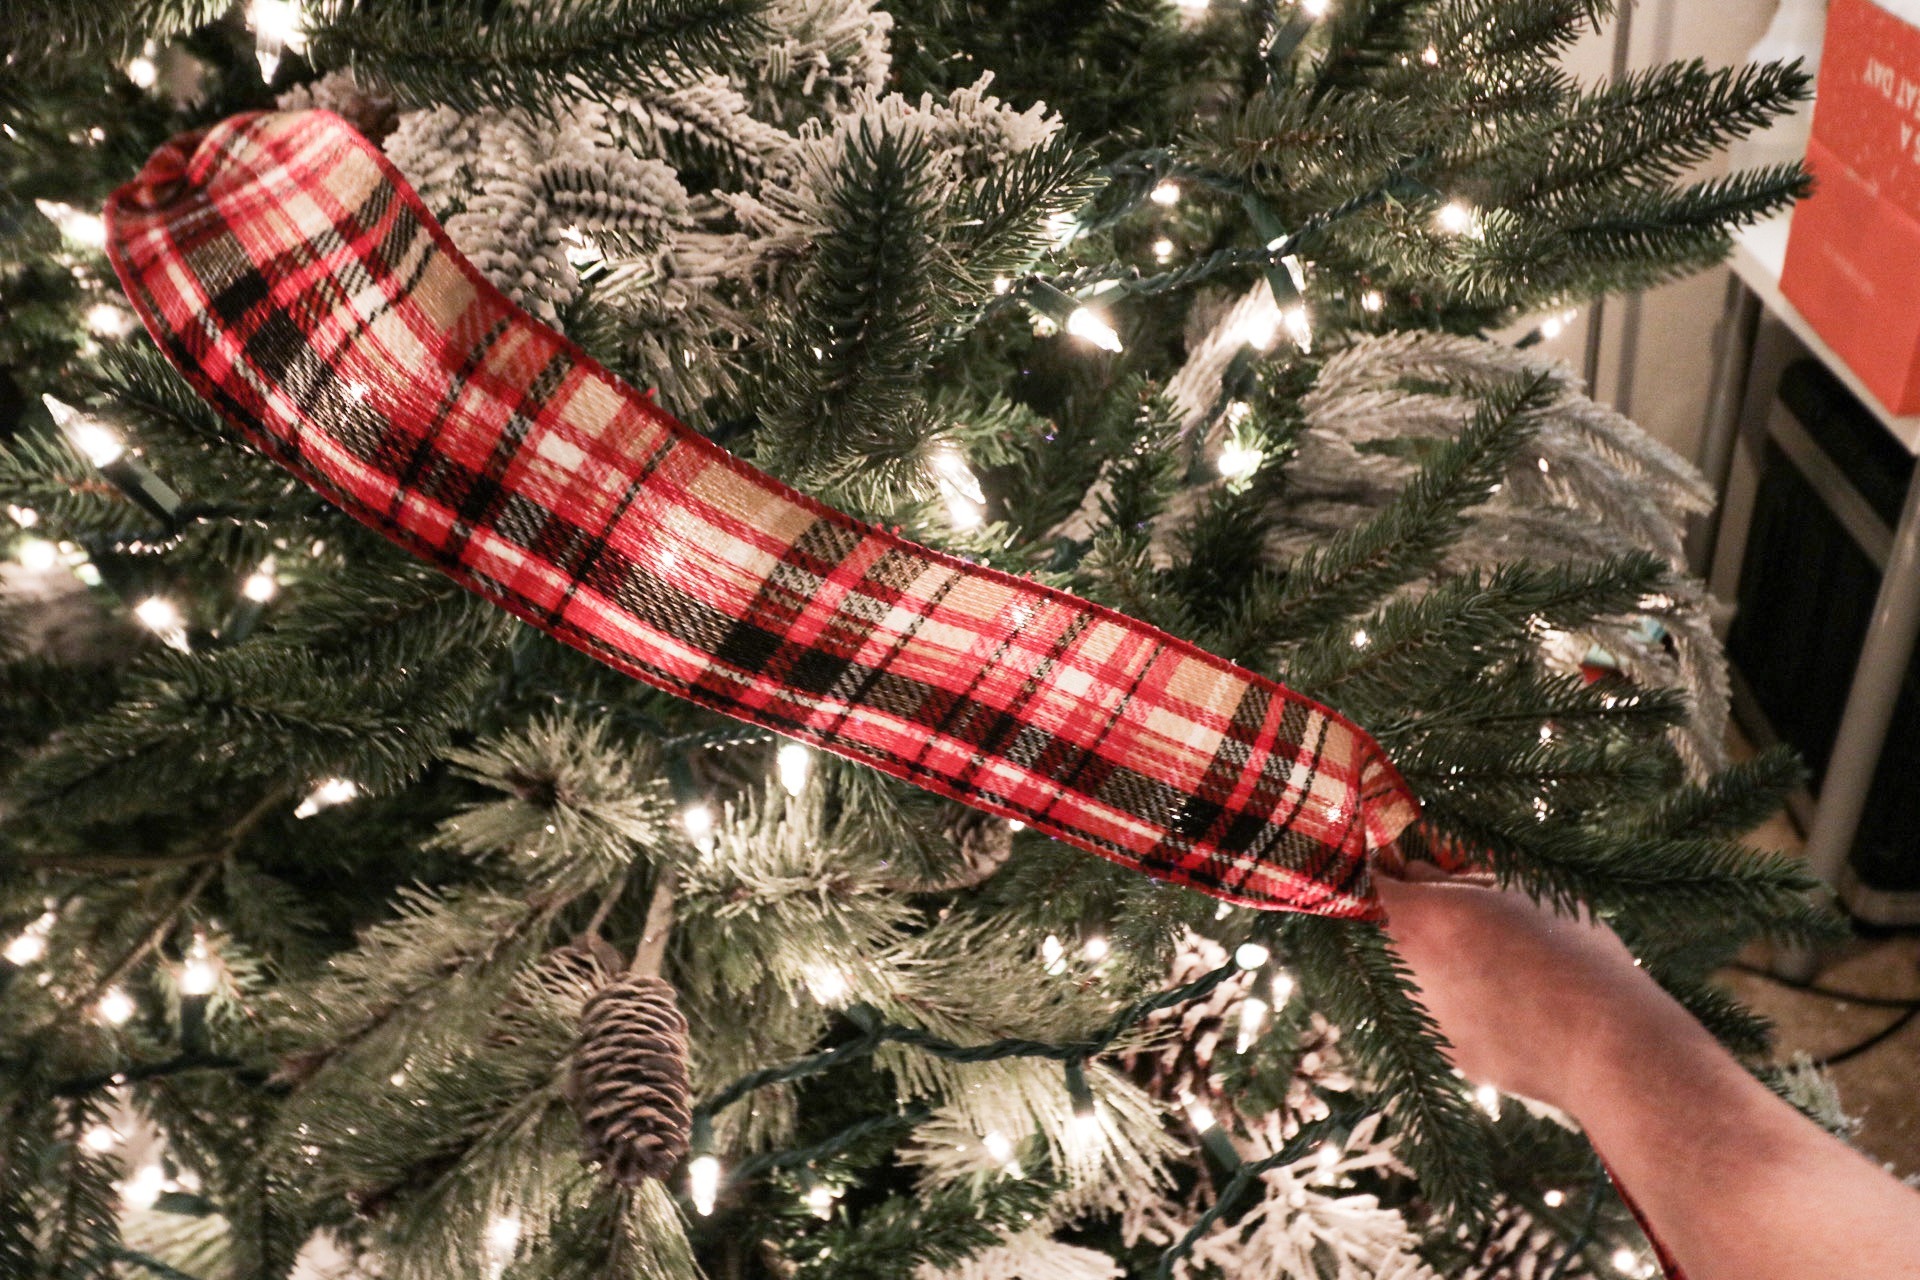
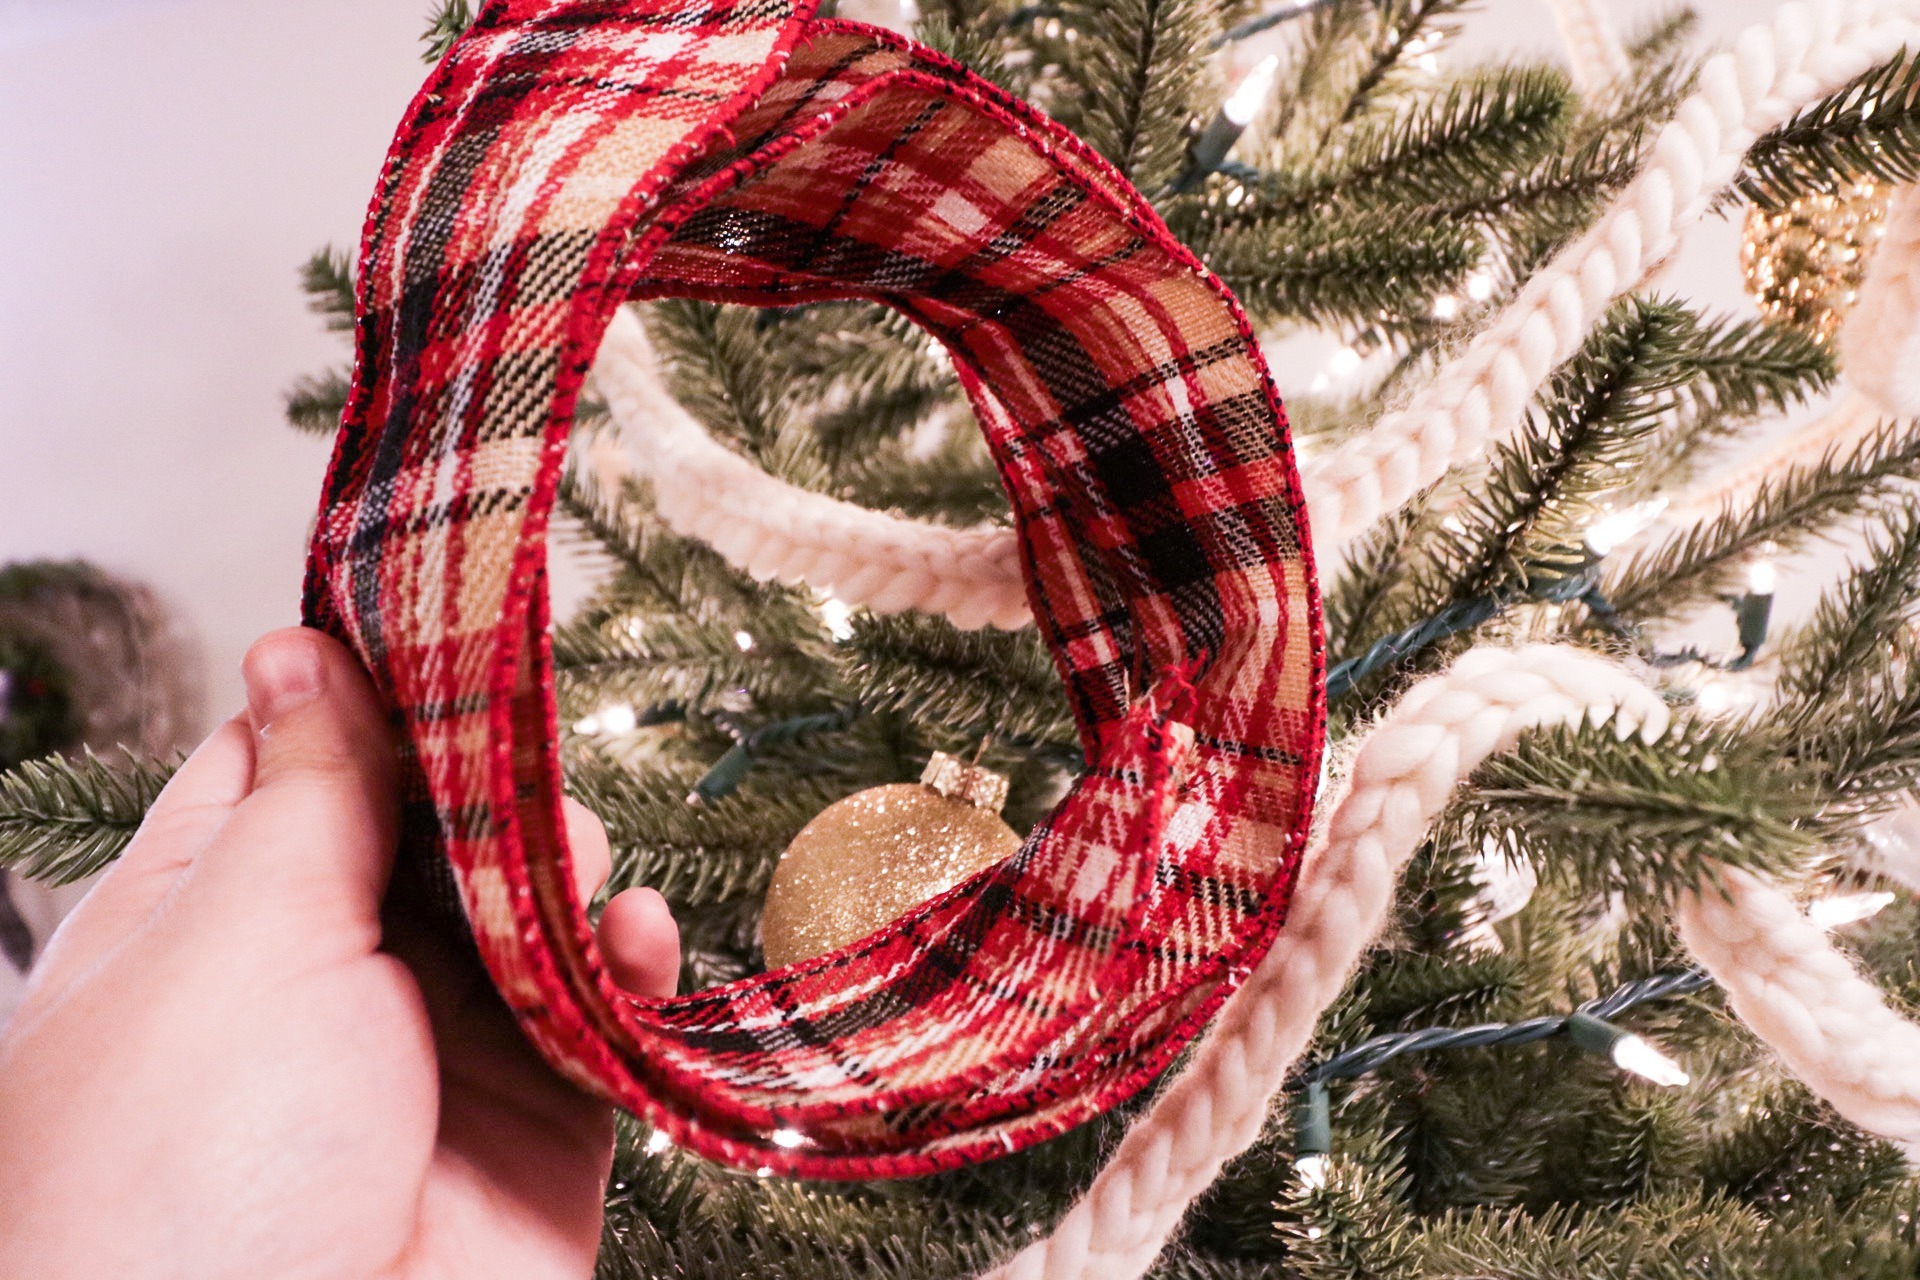
This is another great way to feature double sided ribbon, but it works for regular ribbon too. I did a tight curl in this photo, but you could do a loose curl. It’s completely up to you! I recommend rolling quite a bit of ribbon because the top of the curl won’t really hold.
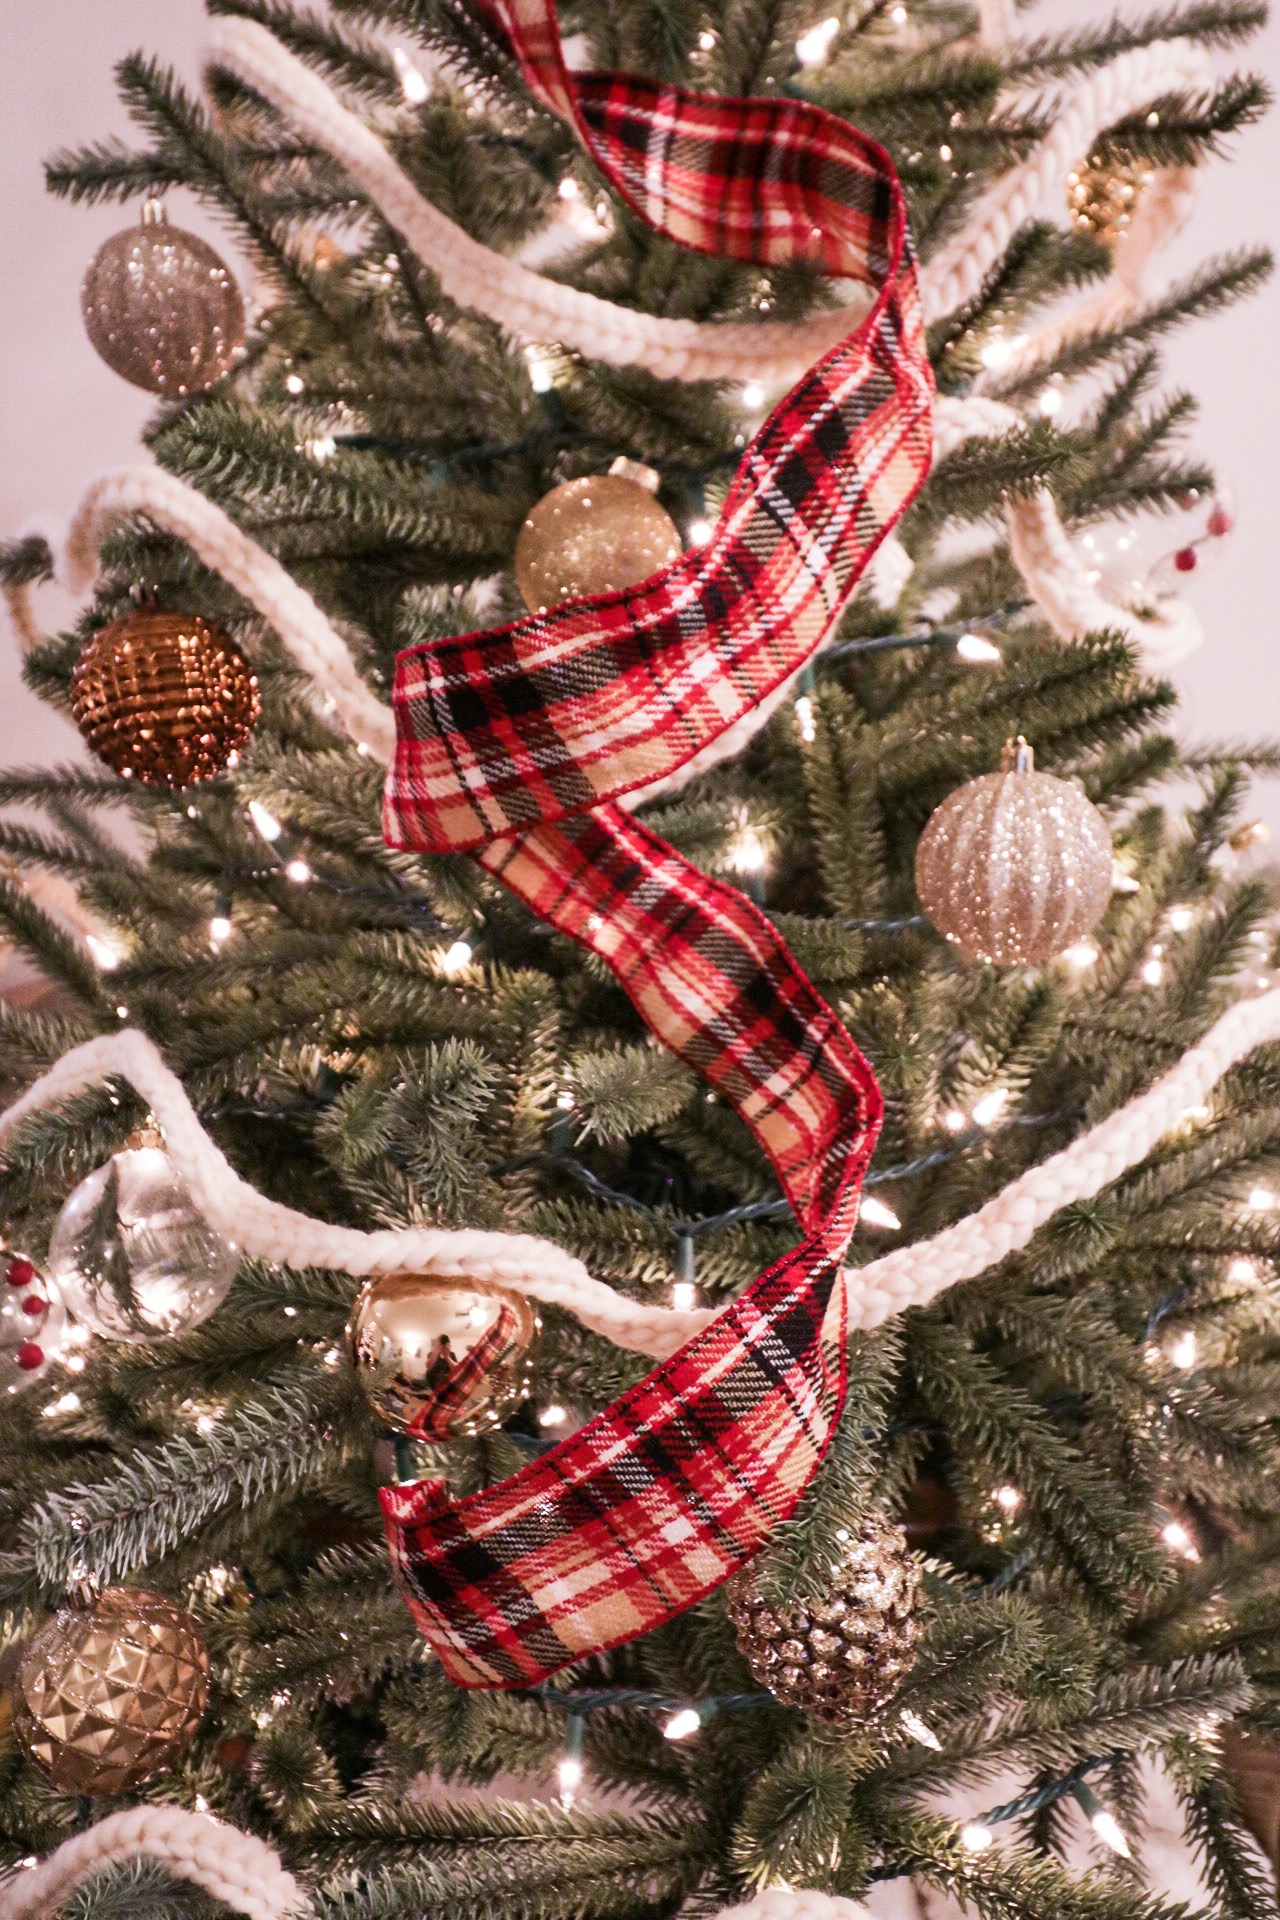
Ribbon Design 2.
This is a ribbon design that will take much less time, but still look beautiful! It’s also easier if you’re trying out ribbon on your tree for the first time. I used this method the first couple of years adding ribbon to my tree. (I already had garland on this tree when I took these photos, but I don’t recommend having ribbon and garland on your tree.)
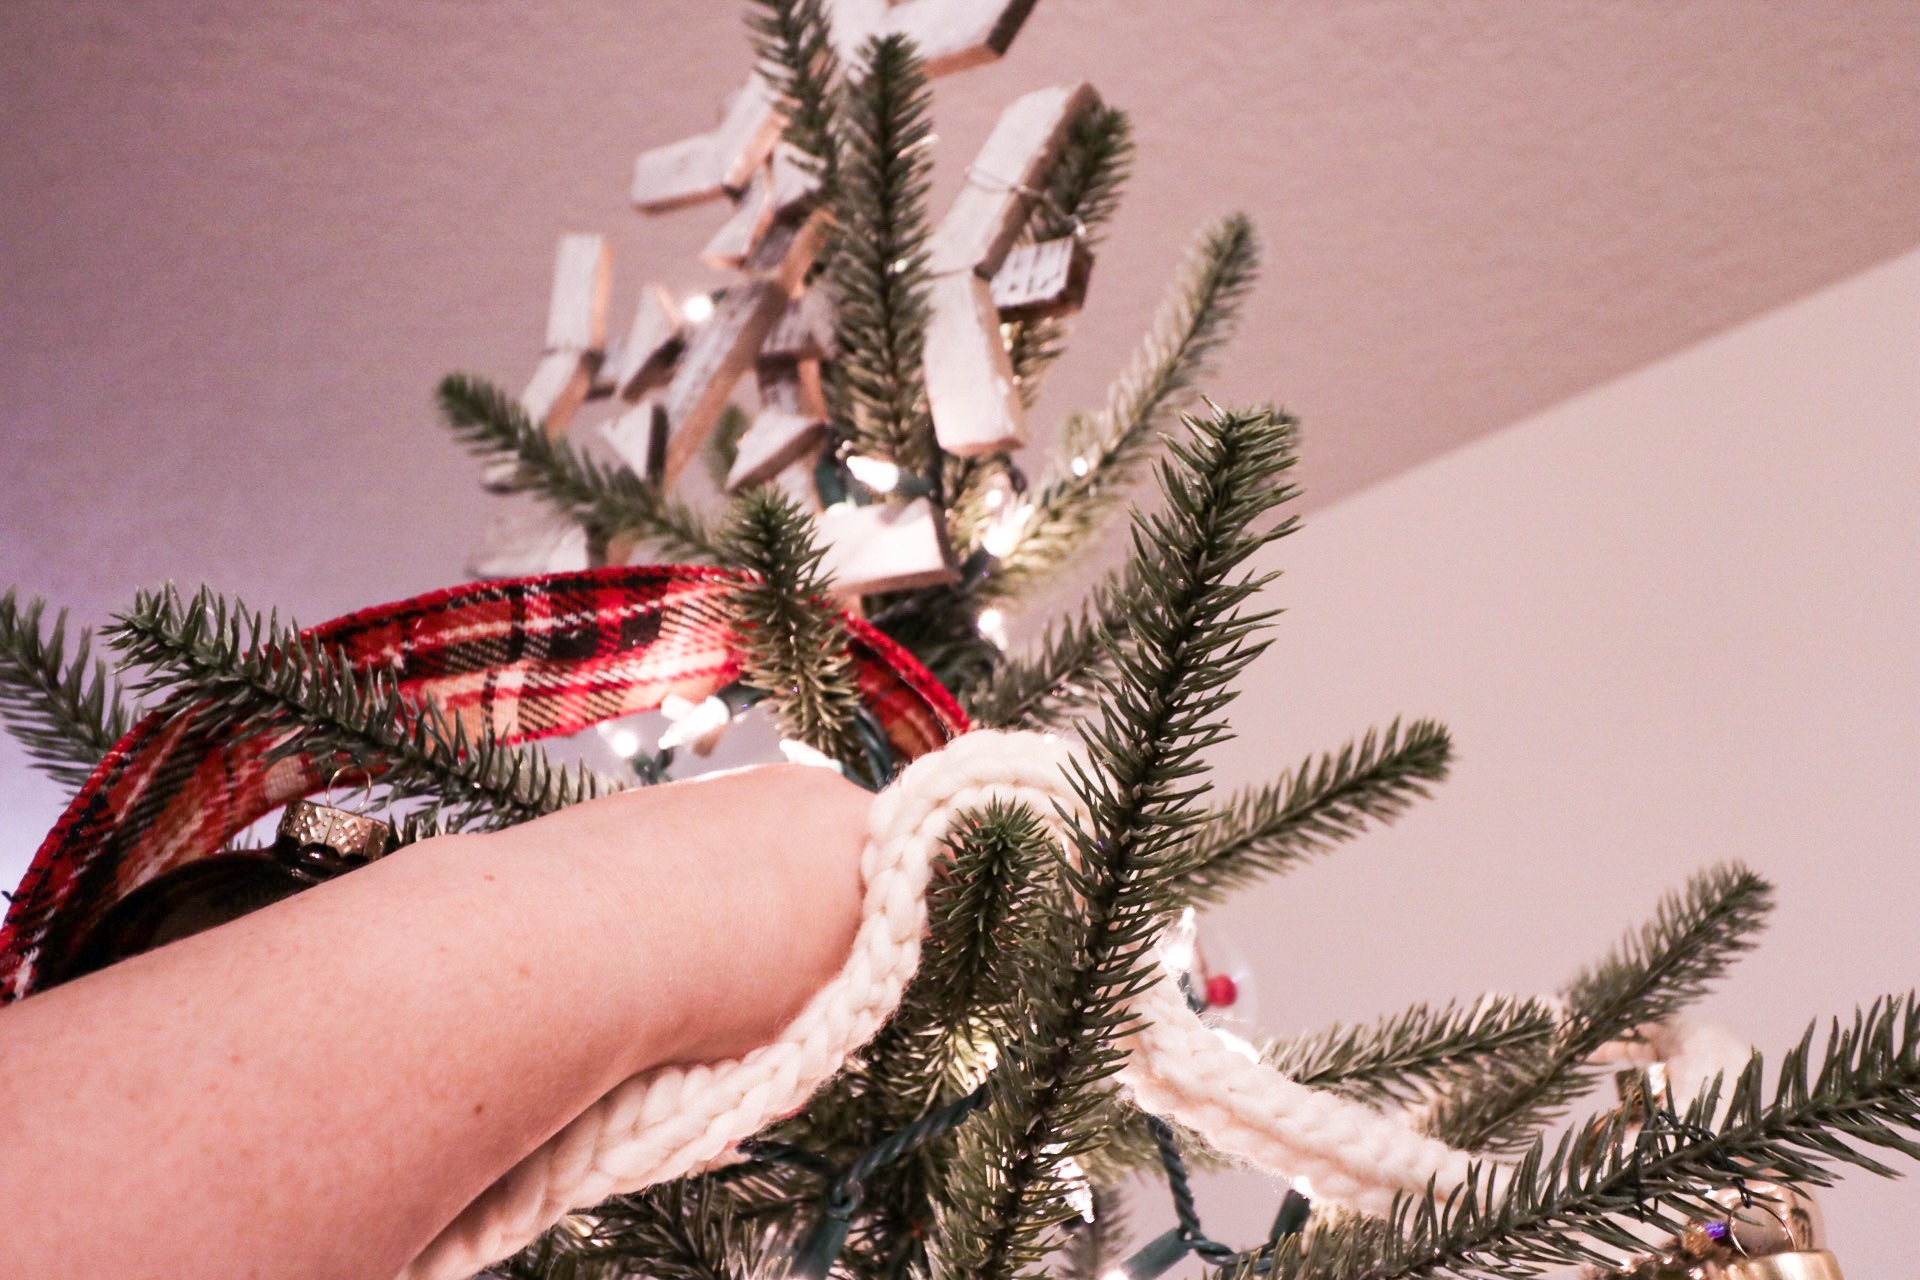
-Pinch, tuck and wrap a branch to secure the ribbon at the very top of the tree. I always tuck it high enough that the tree topper will hide the start of ribbon, so it looks like it’s flowing from the very top.
-Roll the ribbon from the bottom all the way to the top, making sure to squeeze the wired parts to help mold the curl. The tighter you roll the ribbon, the better the curl will be.
-Slowly unroll the ribbon, helping keep the curl as you go down. Resting it on branches can help keep the curl.
-I don’t like to use a finish on this method because it’s already a big curl.
-When I do this style I like to do curls in different lengths all around the tree, but you can get creative and do whatever you like!
I hope this gave you some ideas for ribbon designs on your tree! As always, if you try any of these be sure to post on Instagram and tag me @sugardesignco because I love seeing the beautiful decor y’all create!
-Ciera
Disclosure: This post may contain affiliate links that earn me a small commission, at no additional cost to you. I only recommend products I personally use and love, or think my readers will find useful.