
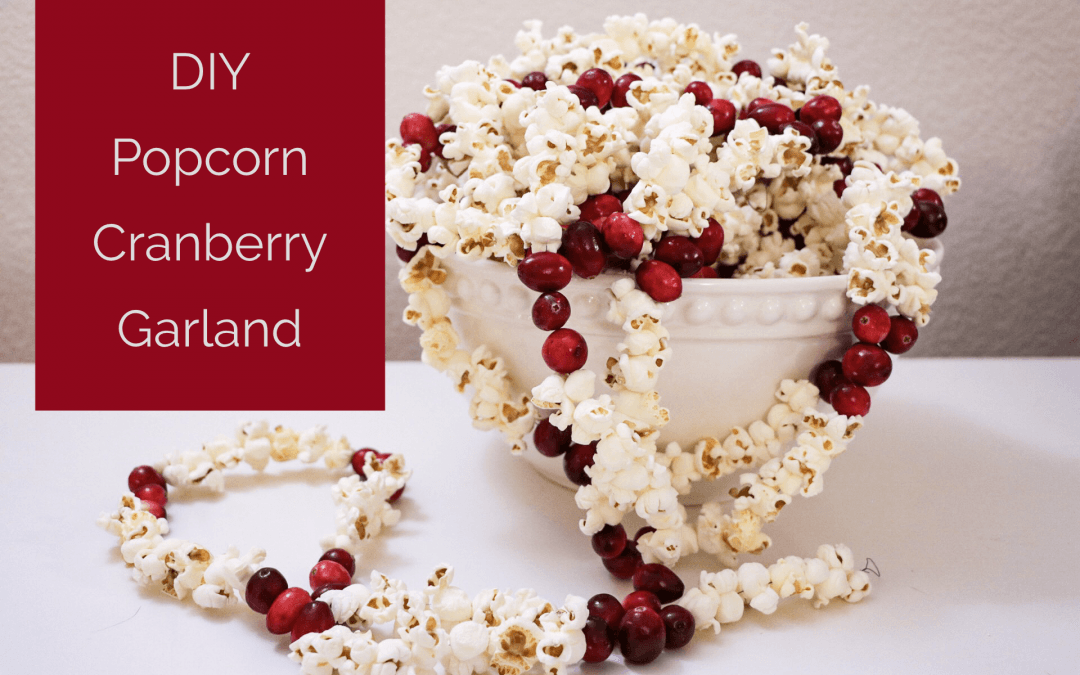
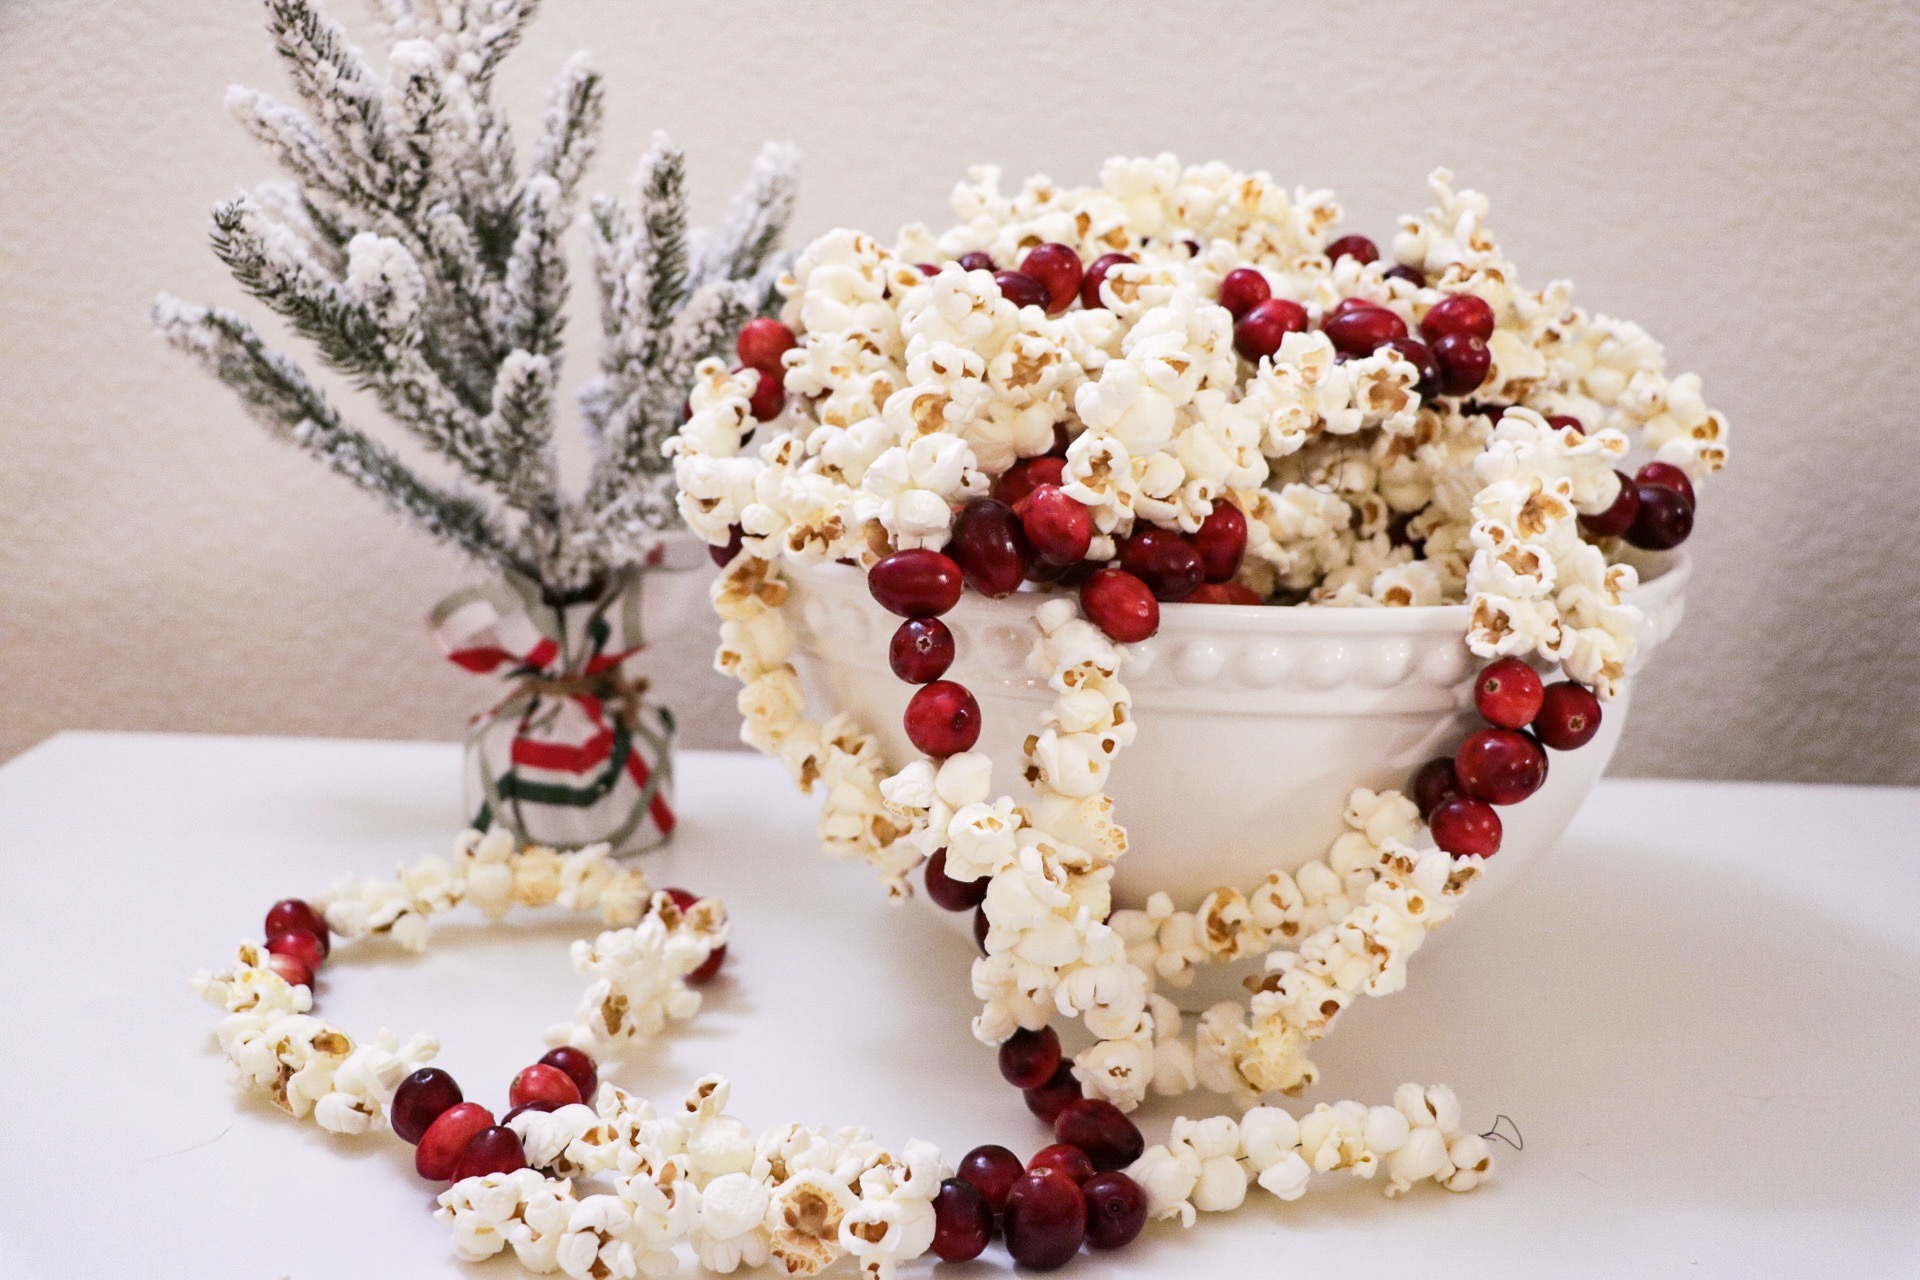
Popcorn cranberry garland is one of the oldest Christmas traditions, dating all the way back to the 1800s. I’ve always wanted to try out this garland because it looks so beautiful, but I always worried about it lasting through the Christmas season since I decorate so early. Well not only did I succeed in making this garland, but I also found a way to make it last all season! I’m sharing all my secrets with you today so you can include this fun DIY garland in your decor this year!
What You’ll Need:
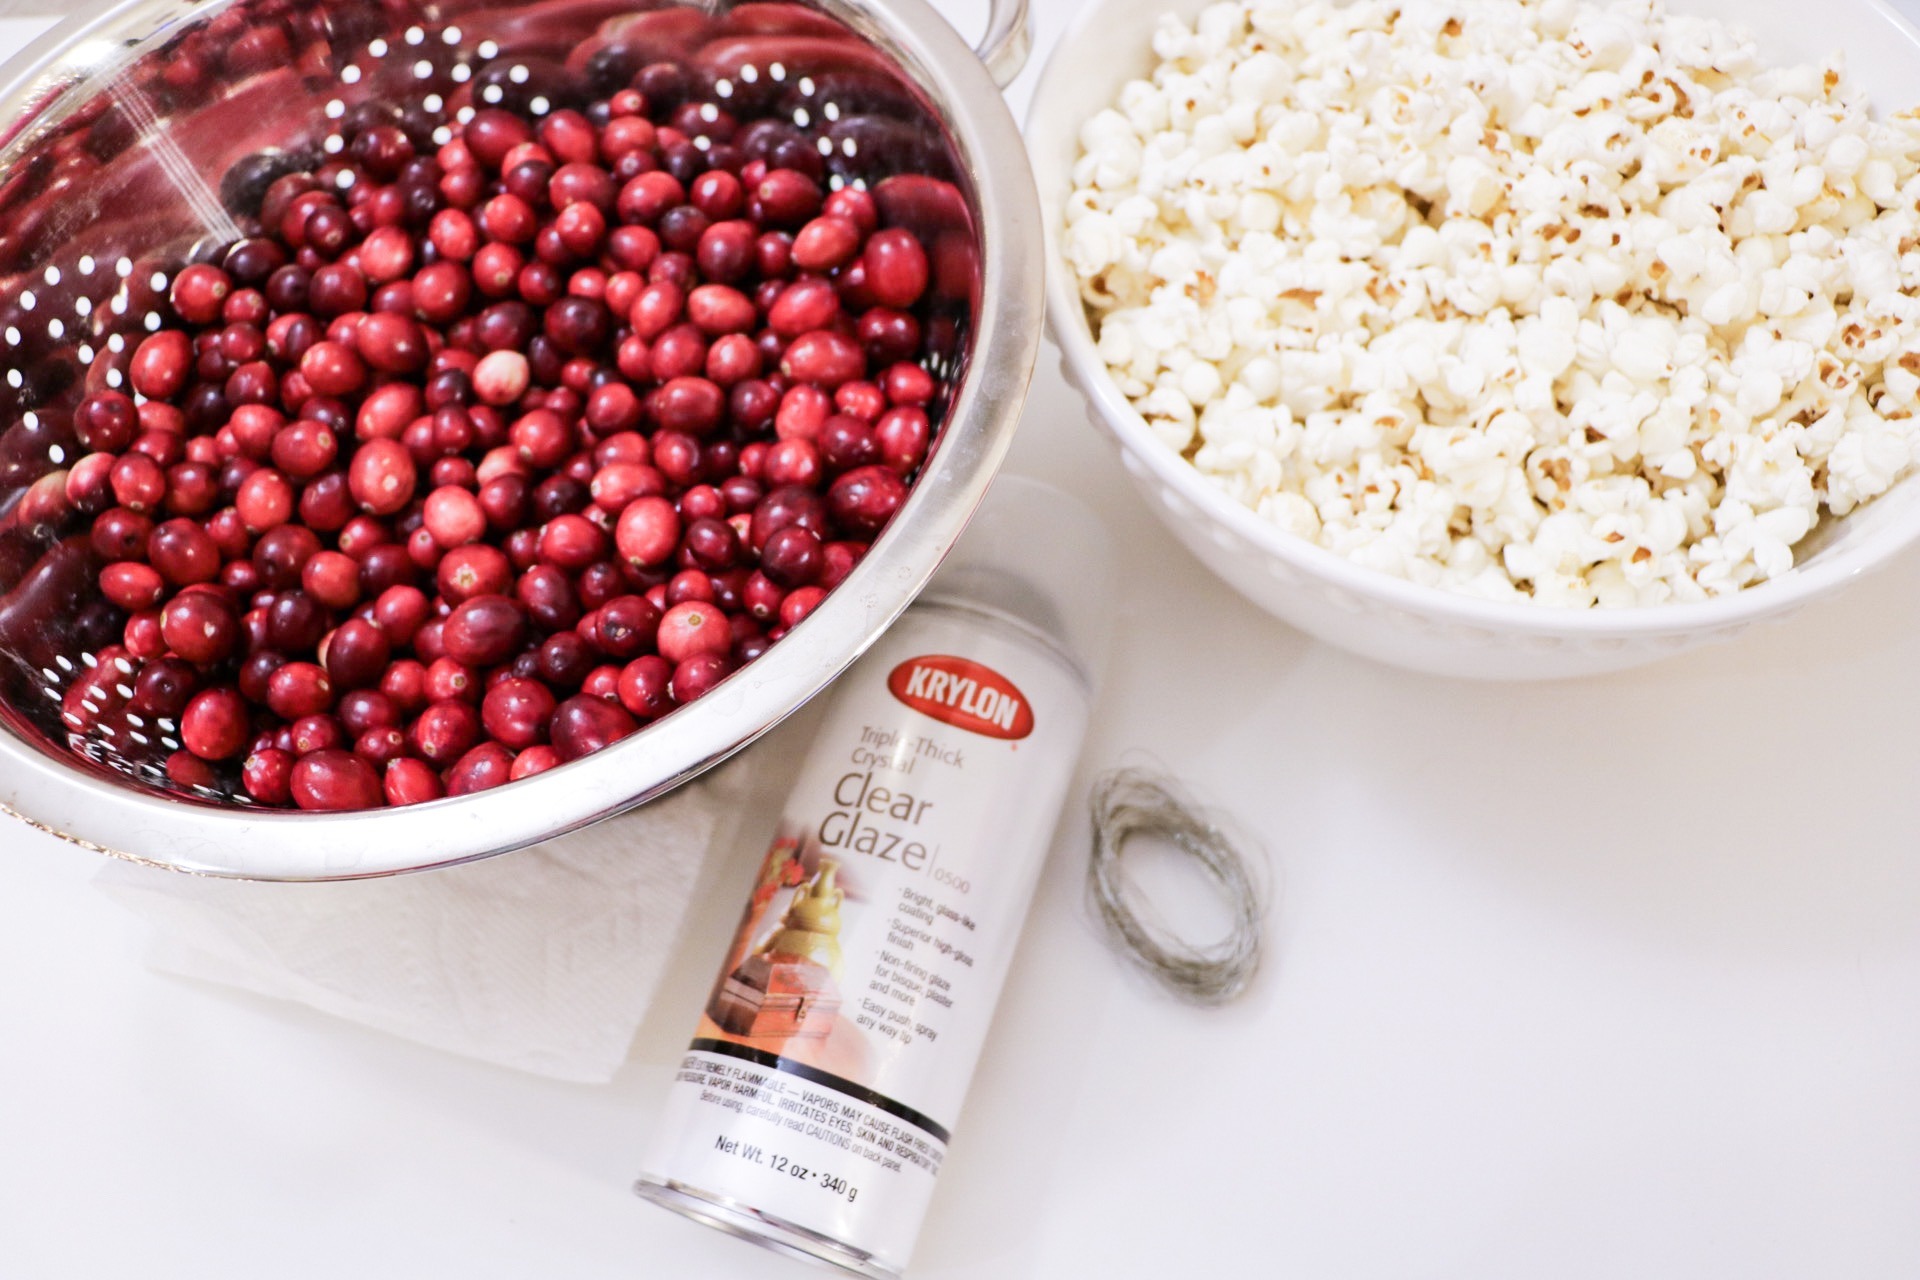
1. Popcorn
2. Cranberries
3. Floral Wire *I originally had a thinner wire linked, but the acidity of the berries ate through it. This wire is better! You can also use needle and thread (coated in wax) or needle and floss.
Step 1.
The night before you plan to make your garland, make your popcorn. Fresh popcorn is more likely to break while stringing it on the wire, so it’s best to use stale popcorn. I suggest air popping with no butter or seasoning so the spray can adhere easier. You can also go ahead and wash your cranberries, tossing out any mushy ones.
Step 2.
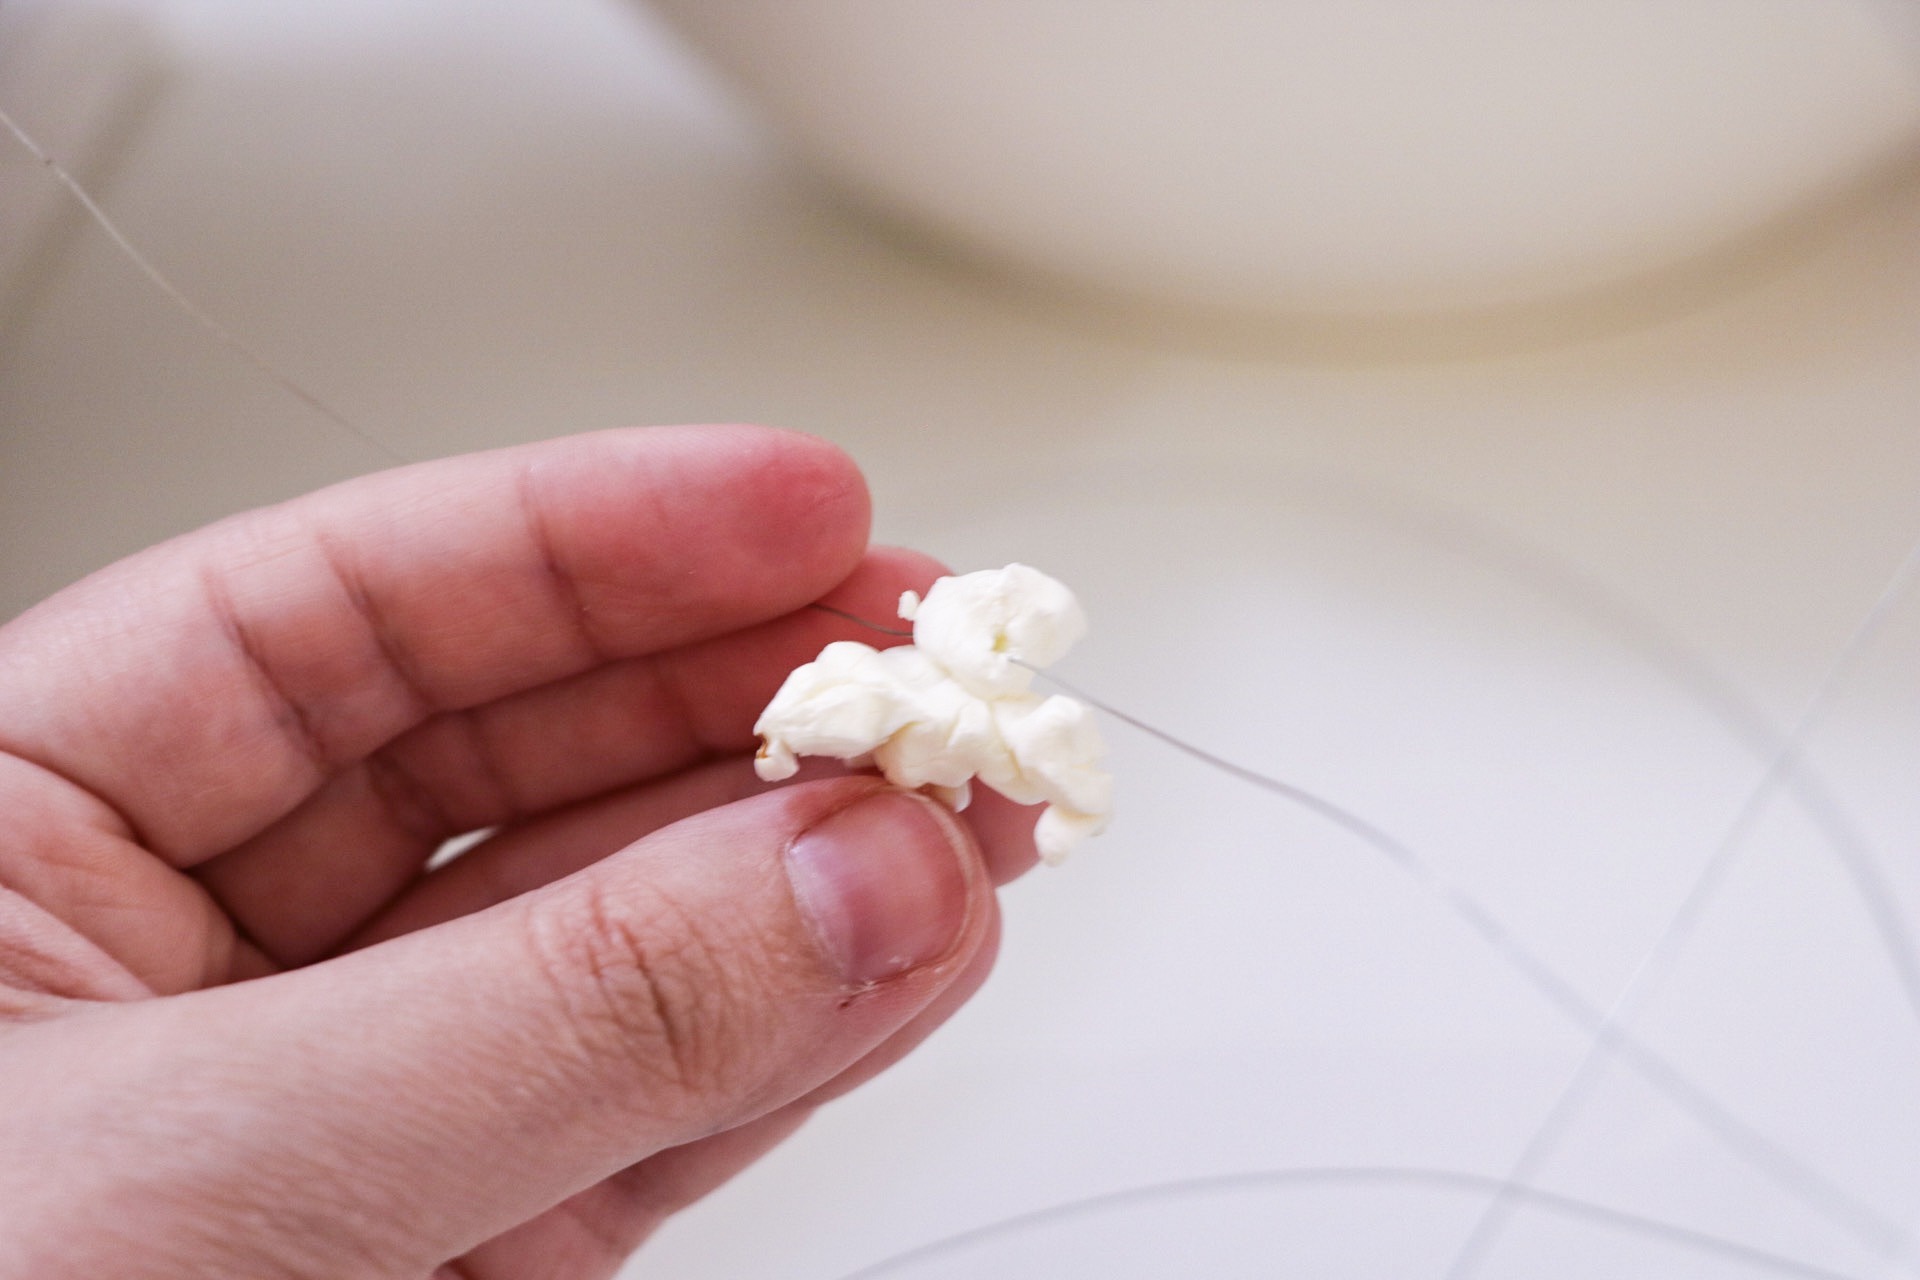
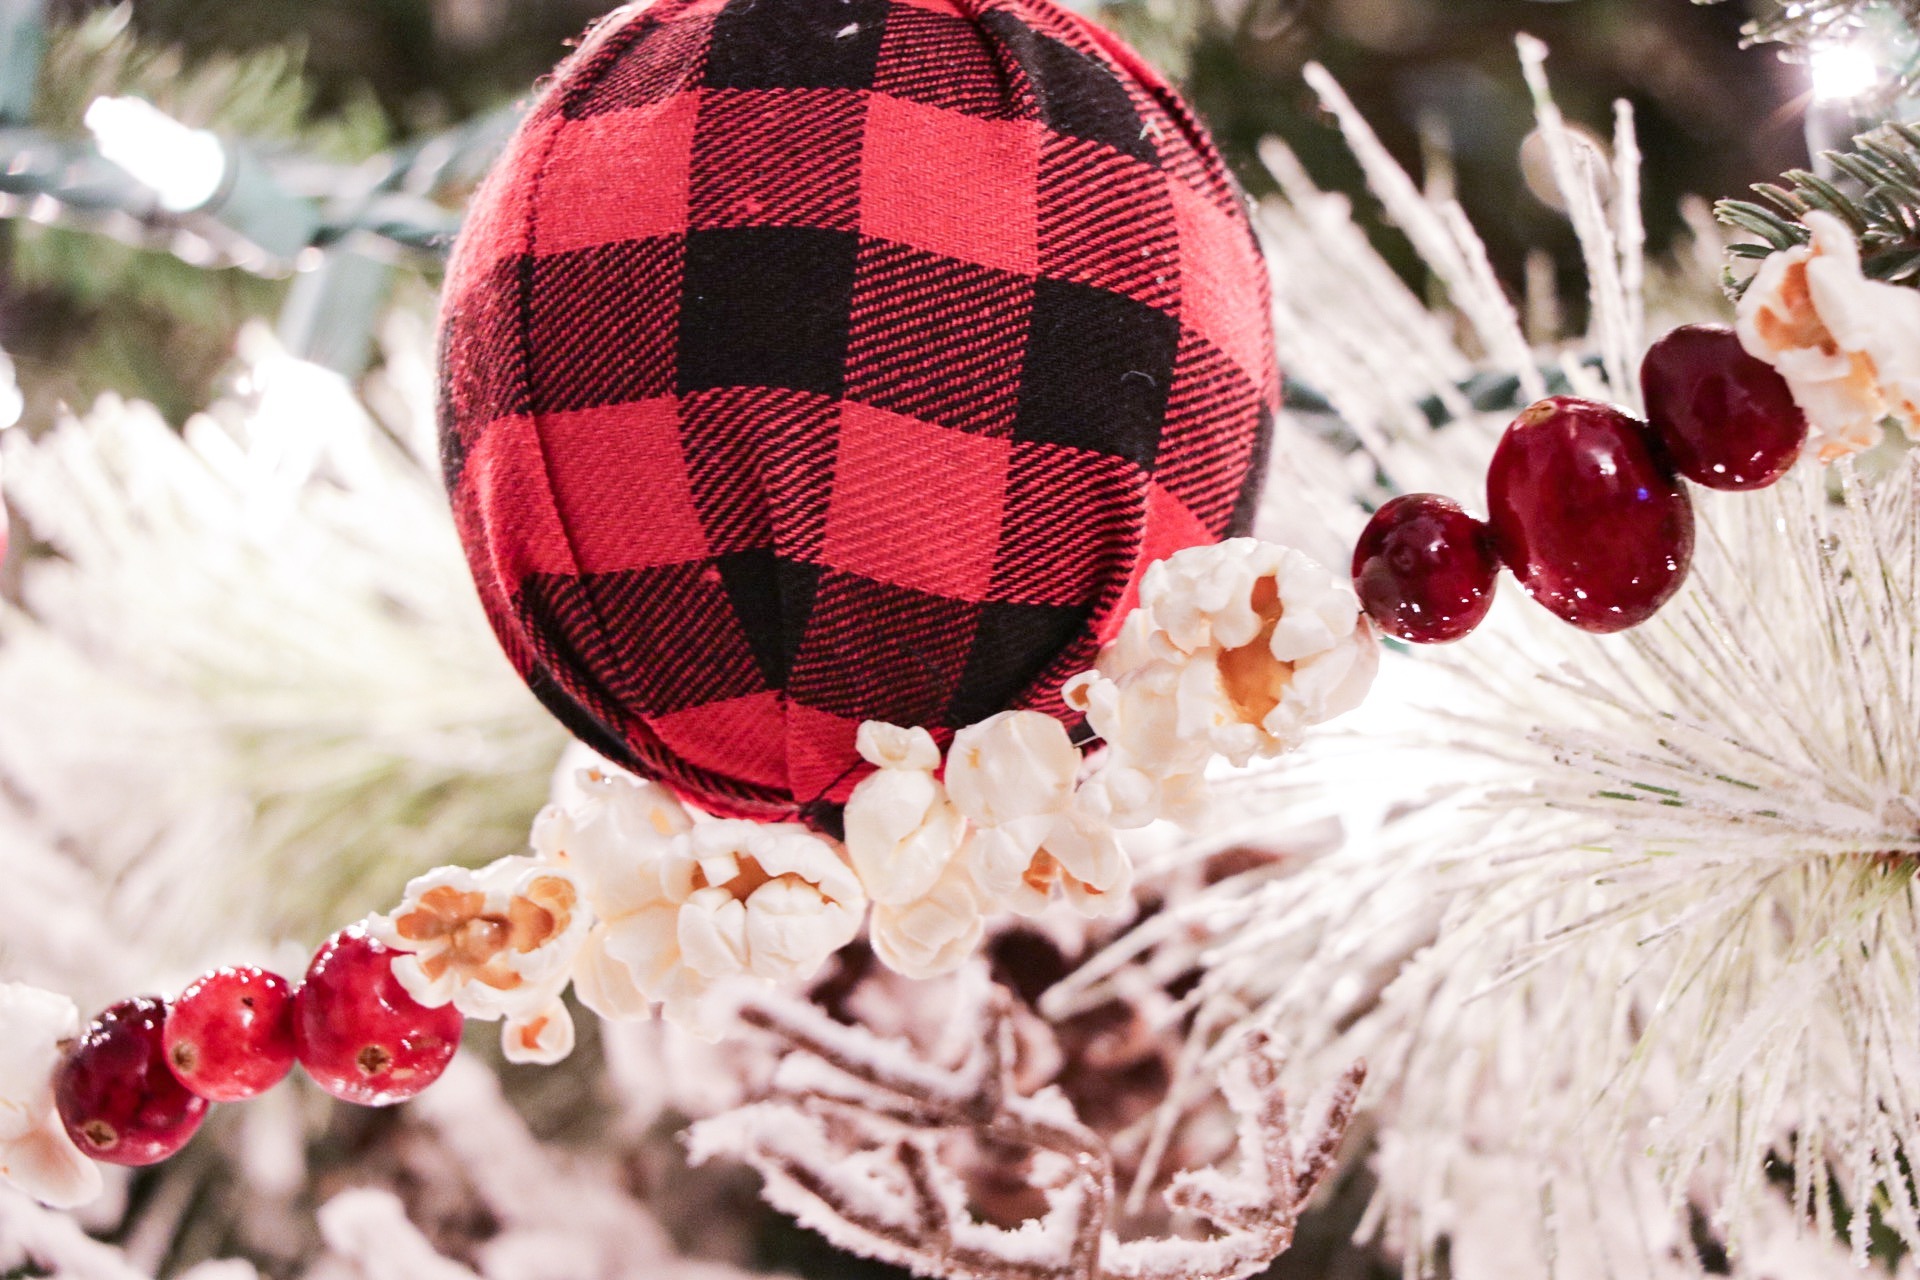
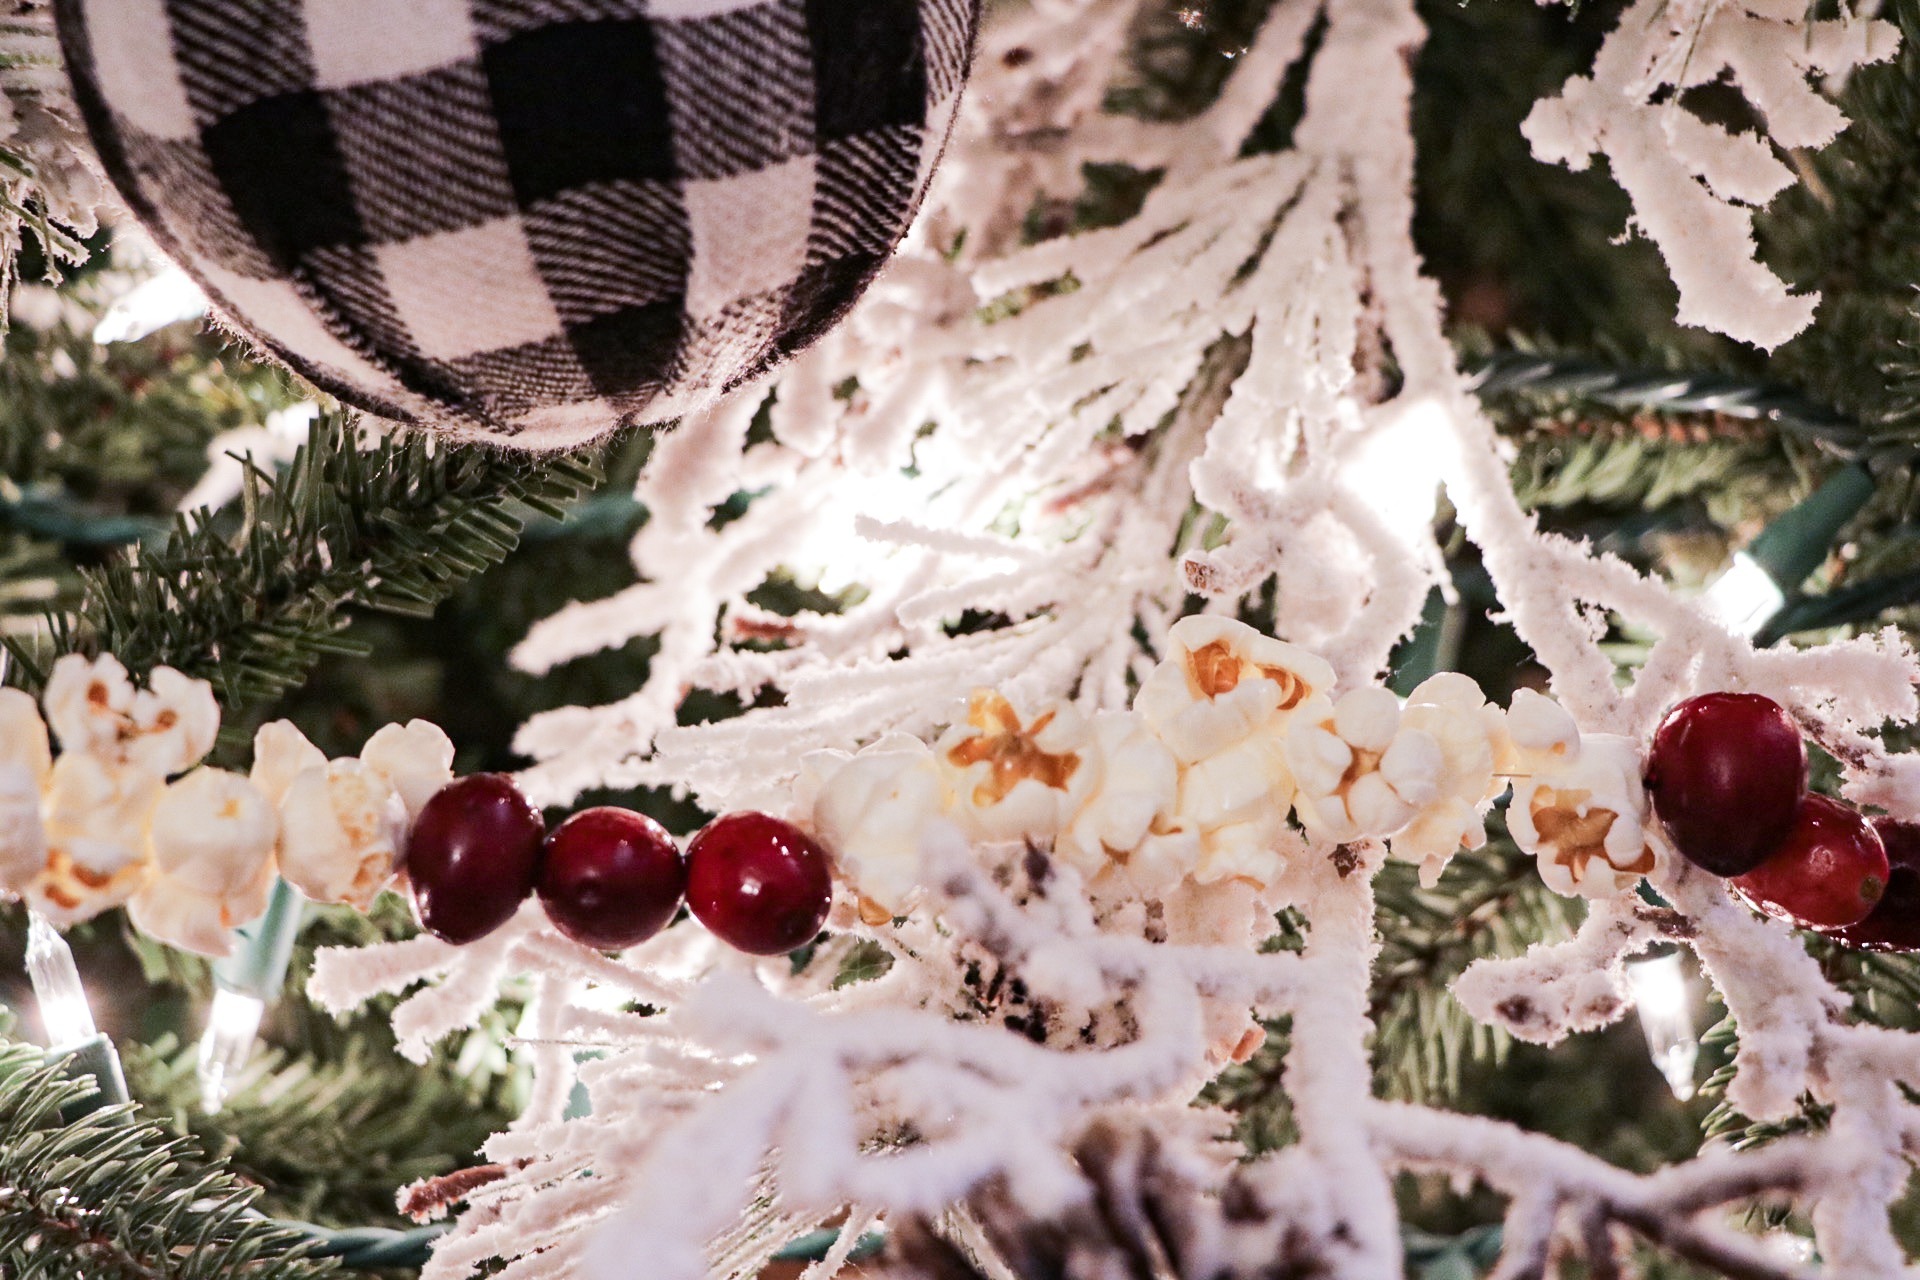
After measuring how much wire you’ll need (by wrapping it around your tree or measuring where you plan to hang it) unwrap half of what you need and start stringing on popcorn and berries. Since you’re using wire, you don’t need a needle for stringing everything on. Make sure you put the wire through the ball end of the popcorn for best results. I did three cranberries and seven popcorn pieces, but you can use whatever pattern you’d like!
Step 3.
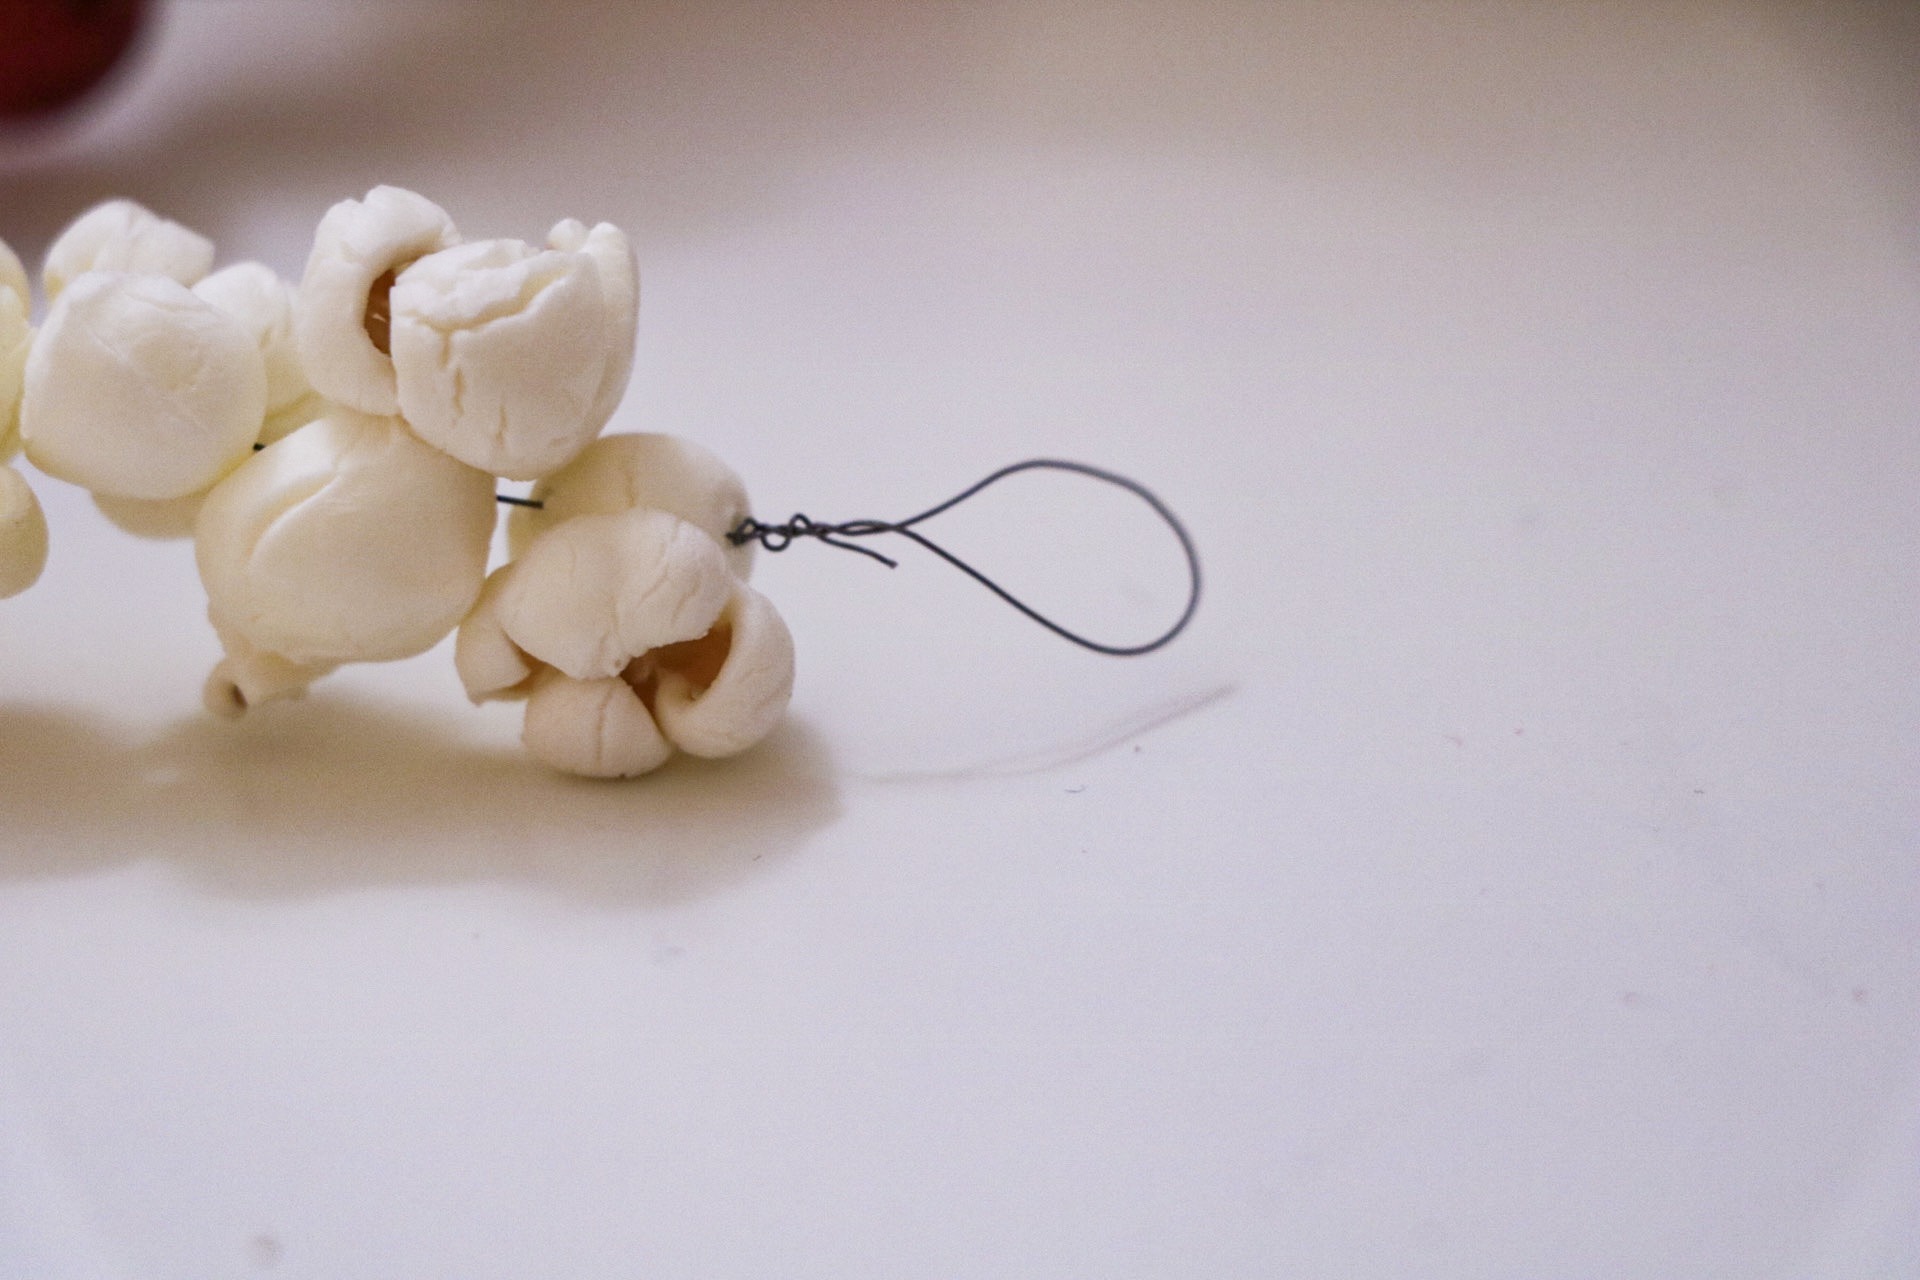
Once you’ve finished stringing the first half, finish it off with a wire loop at the end. Then you can unwrap the second half of the wire and start stringing the rest of the garland.

Step 4.
Finish off with a wire loop on the other end and then marvel at how beautiful this garland is! Seriously, I had to take some photos before I put it up because I couldn’t believe how much I loved the colors.


Step 5.
Once you’re done perfecting your garland, it’s time to seal it with shellac spray so it lasts through the season! Do one coat on each side of the garland and once it’s dry, add a second coat. You’re mainly doing this to keep the berries fresh, so make sure those are covered. When it’s all dry you can hang it on your tree, wall, or anywhere else that needs a little extra holiday spirit! Just make sure no one eats it now that it’s been sprayed.
*If you’re hanging your garland outside, don’t seal it with shellac spray because wildlife will snack on it!
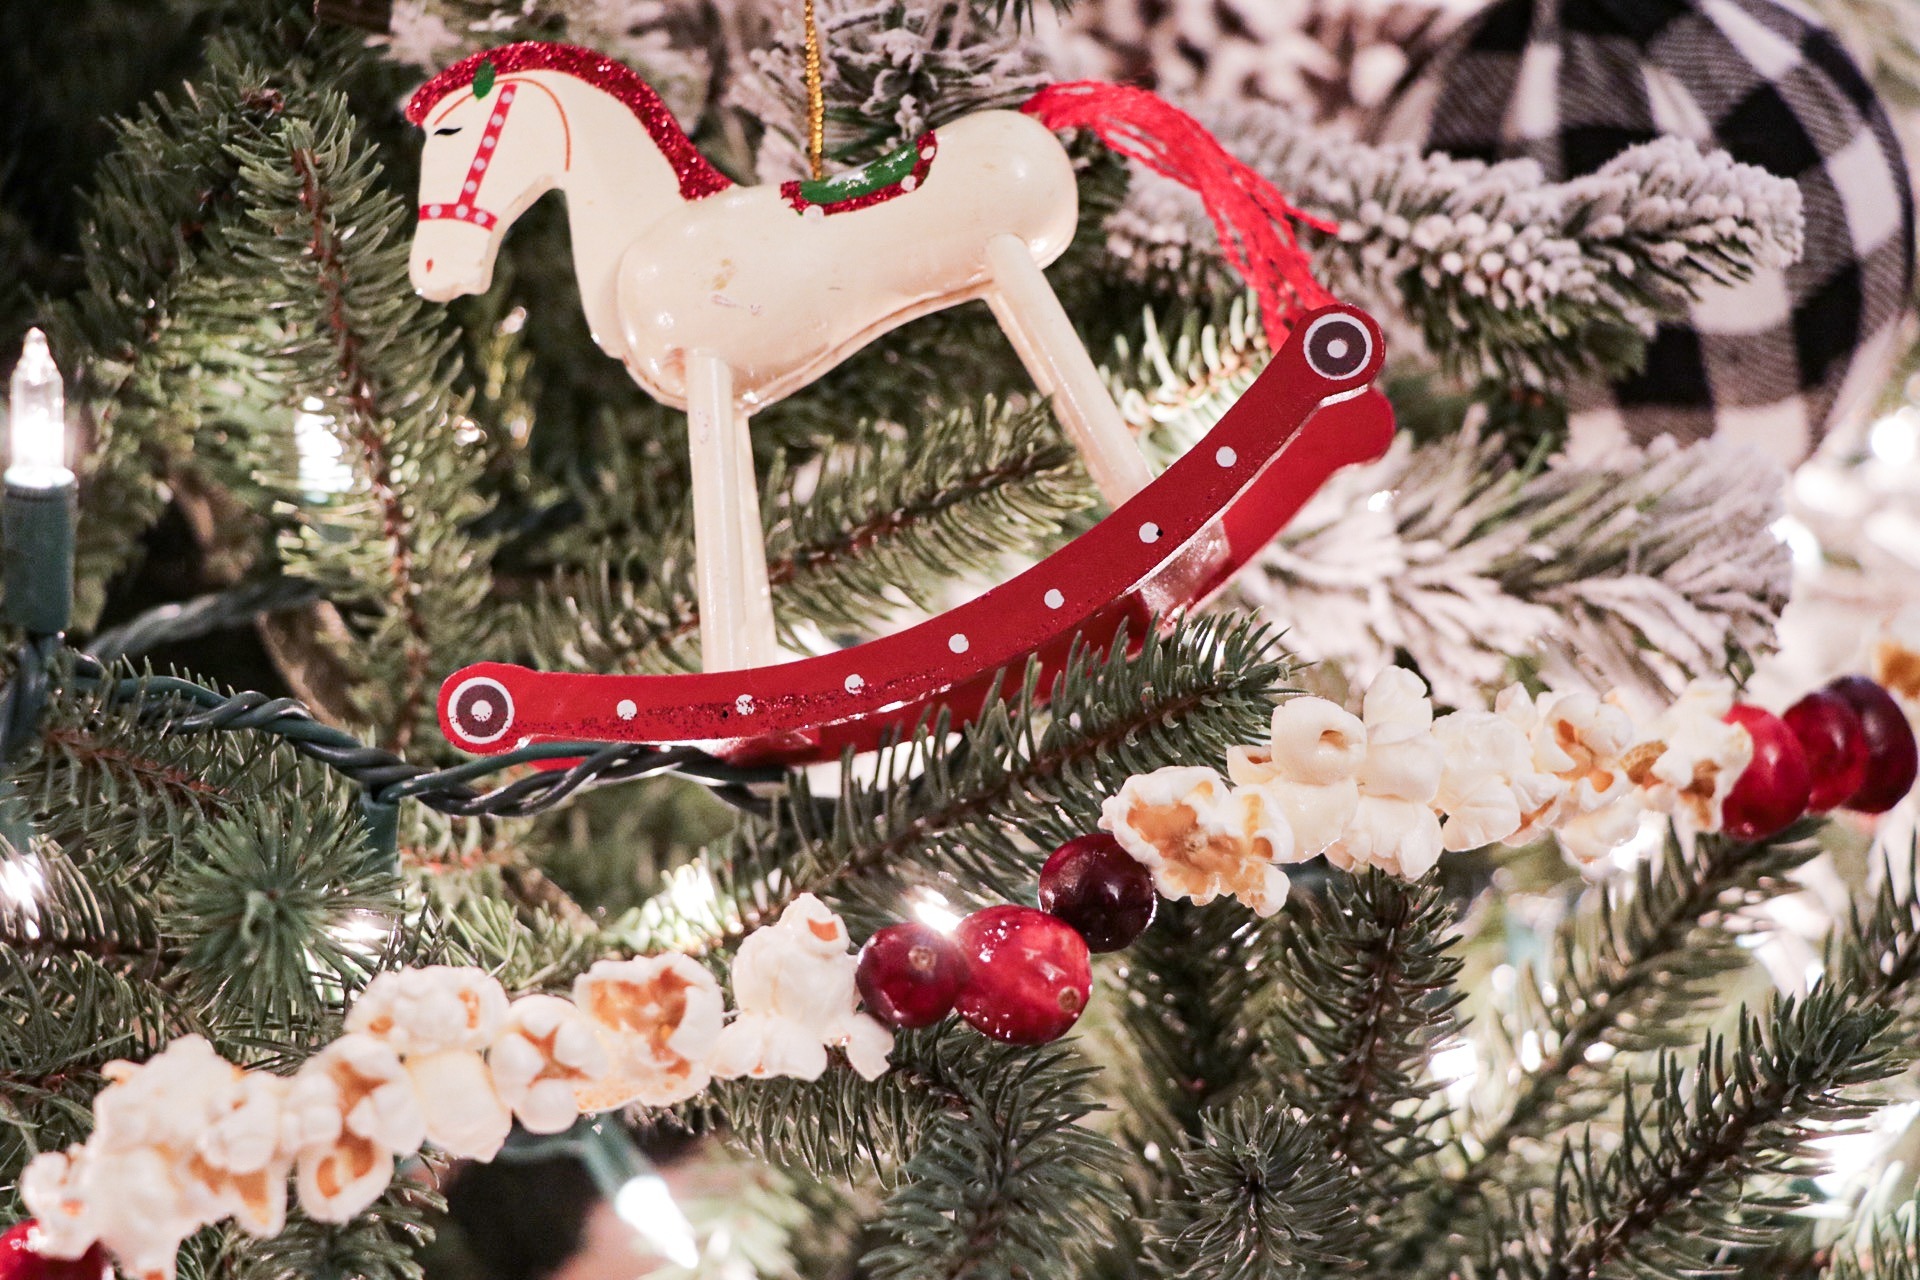
I think this is going to be a new tradition for our family because I love how this garland looks on our tree! It was so fun to work on while we watched Christmas movies and my daughter loved sneaking handfuls of popcorn when she thought I wasn’t looking!
If you try out this classic garland this year, be sure to post on Instagram and tag me @sugardesignco because I love seeing the beautiful Christmas decor y’all create!
-Ciera
Disclosure: This post may contain affiliate links that earn me a small commission, at no additional cost to you. I only recommend products I personally use and love, or think my readers will find useful.