Mid Century Modern Christmas decor is one of my favorite styles and this wreath is so easy to make! It will instantly add a touch of vintage Christmas to your decor, but you don’t have to pay the price of a vintage item to pull off this look. It’s quick, affordable, and something you can use for years! If this is the style you’re going for this season it’s the perfect DIY to try!
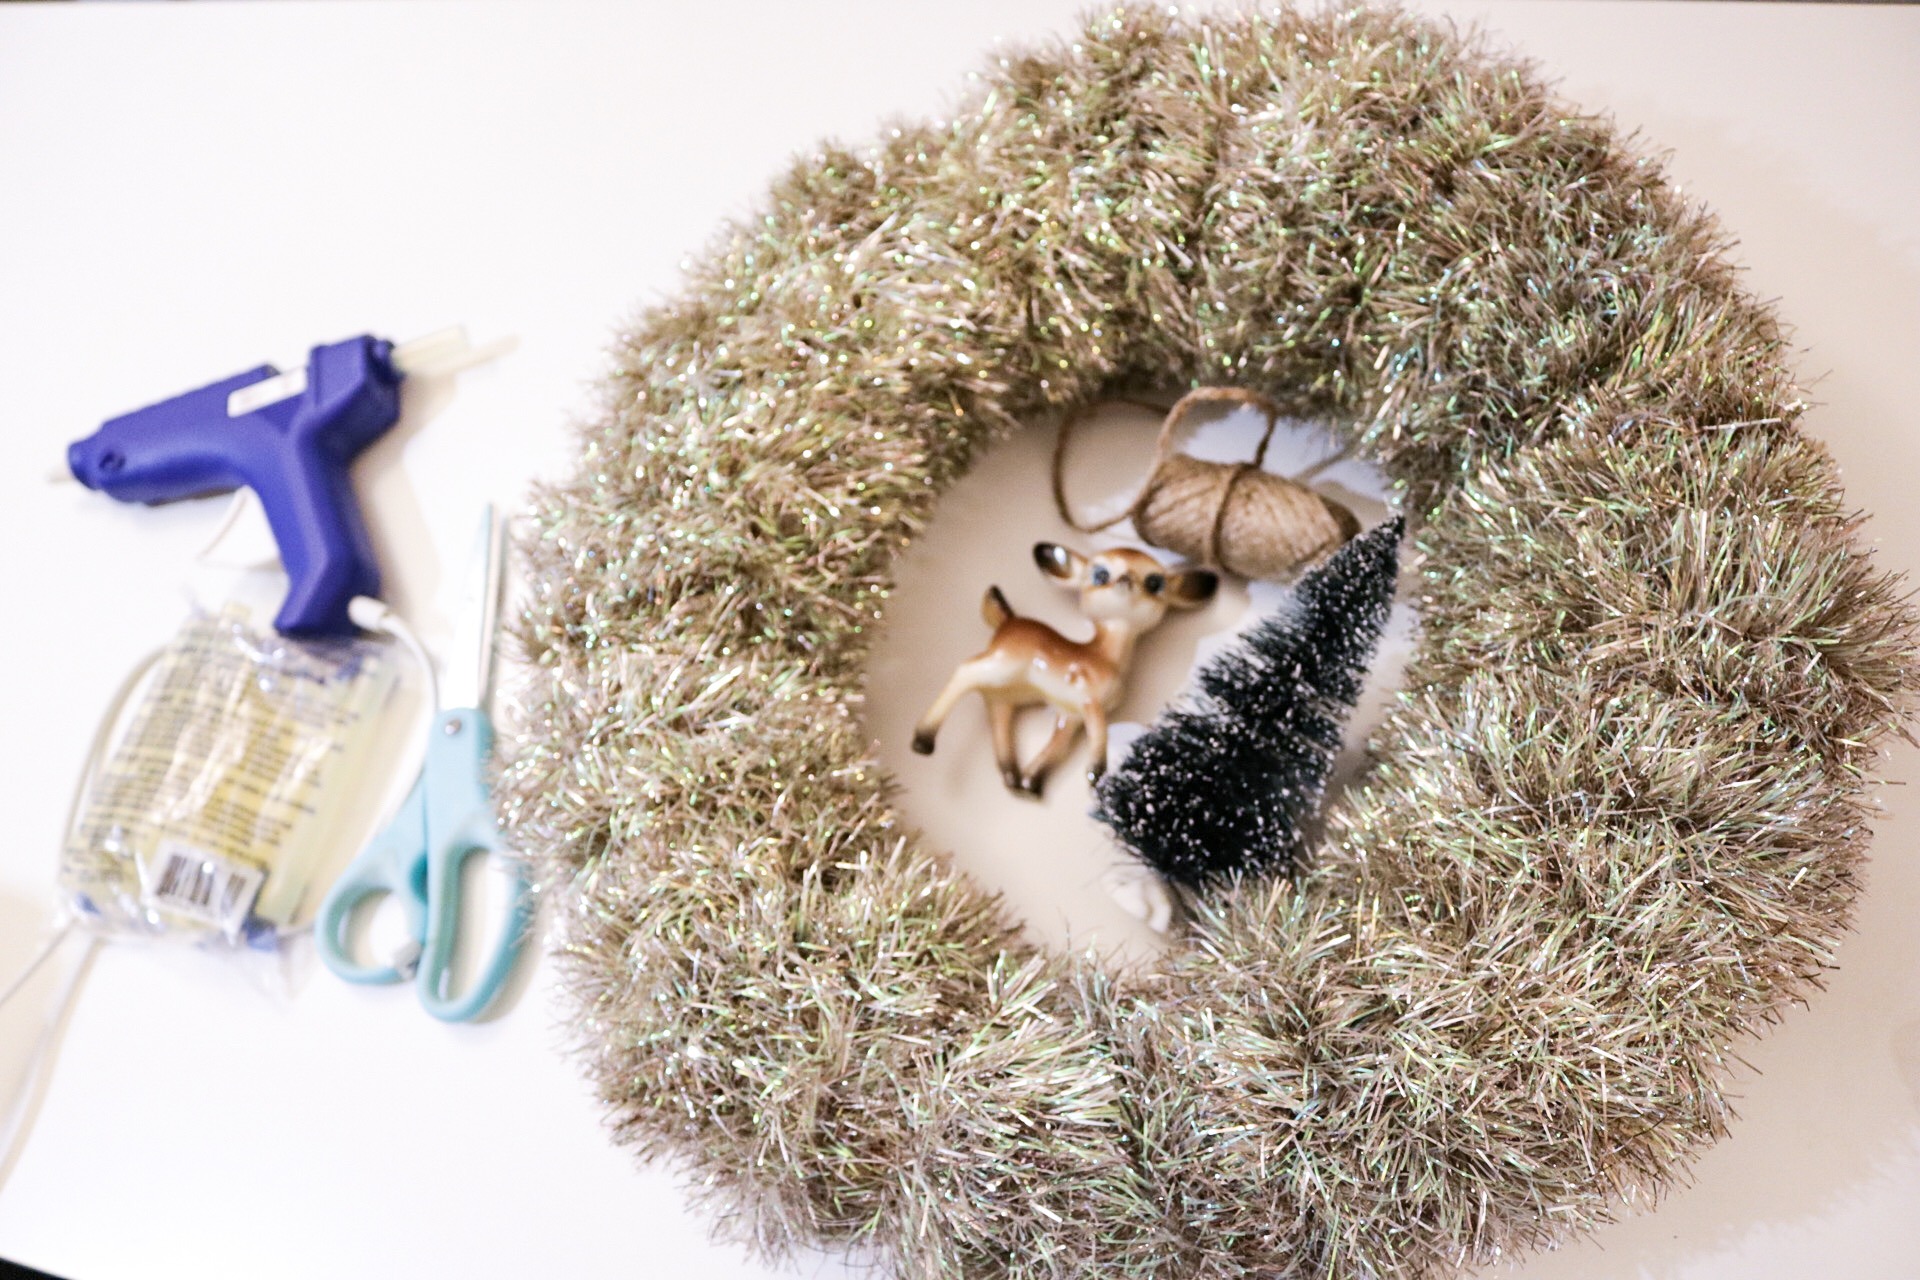
What You’ll Need:
2. Tinsel Garland – I couldn’t find the exact color I used because I found this garland a few years ago, but gold or silver would be perfect!
4. Vintage Style Deer – You can find vintage deer just like mine on Etsy, but if you’re okay with a new one in the “vintage style” these look almost identical to mine!
6. Jute Twine or Ribbon – I had jute twine on hand, but if you have a ribbon that fits the vintage style, I would use that.
7. Christmas Bow – This is completely optional. I mainly used it to cover the jute twine and add a little more detail.

Step 1.
While your hot glue gun is heating up, go ahead and grab your jute twine or ribbon and measure out how much you need. If you plan to hang this wreath on a door, you won’t need to do this because you can just use a wreath hanger. But this wreath is surprisingly light so ribbon or jute twine will be enough to hold it on a wall. You don’t need to leave much extra at the top, just enough to tie it and twist it with a loop to hang on hook.
*Before you start, you’ll need to wrap the garland around the wreath. I made this tinsel wreath without any decorations a few years ago so mine was already wrapped.
Step 2.
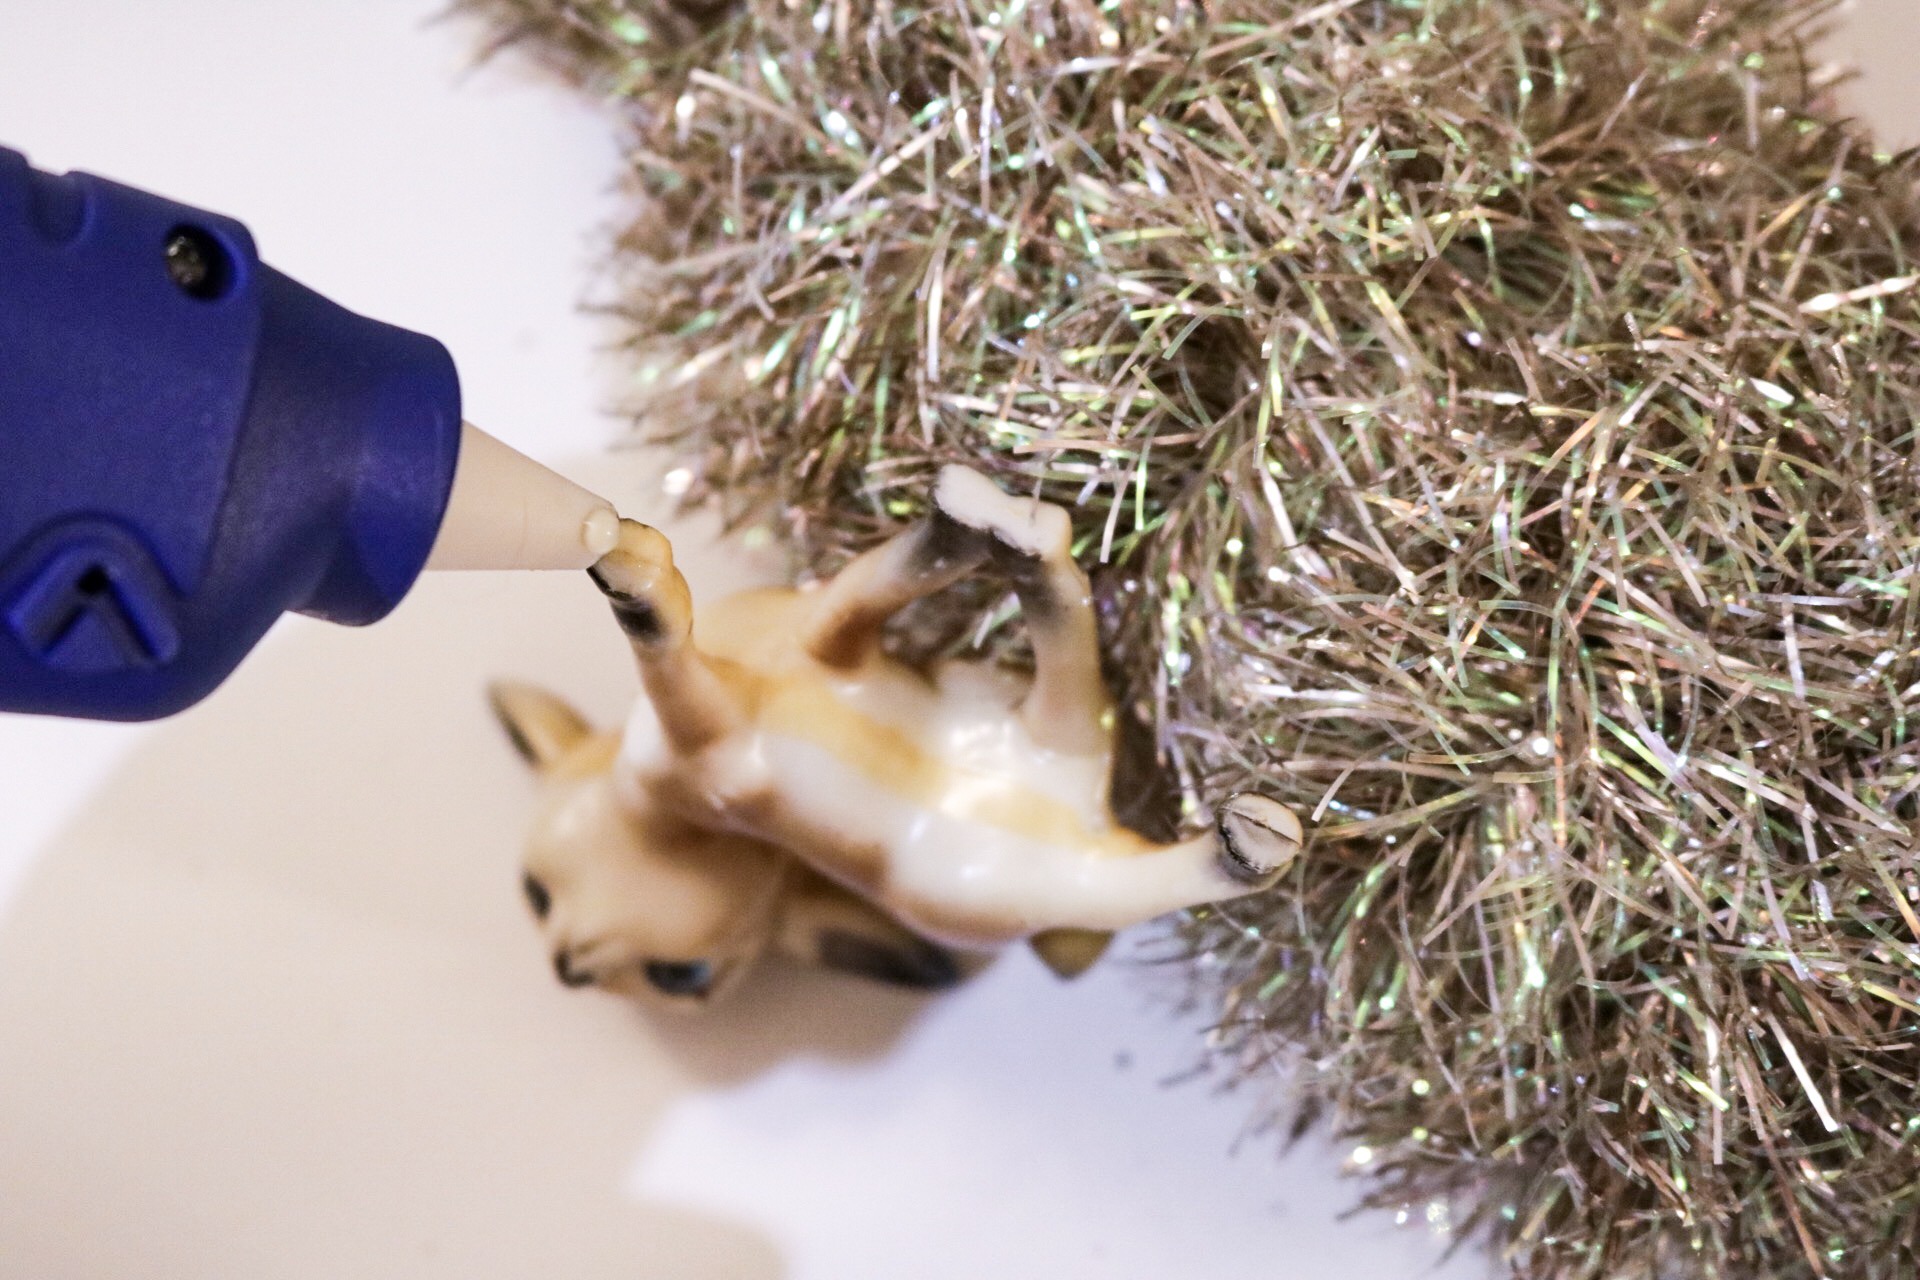
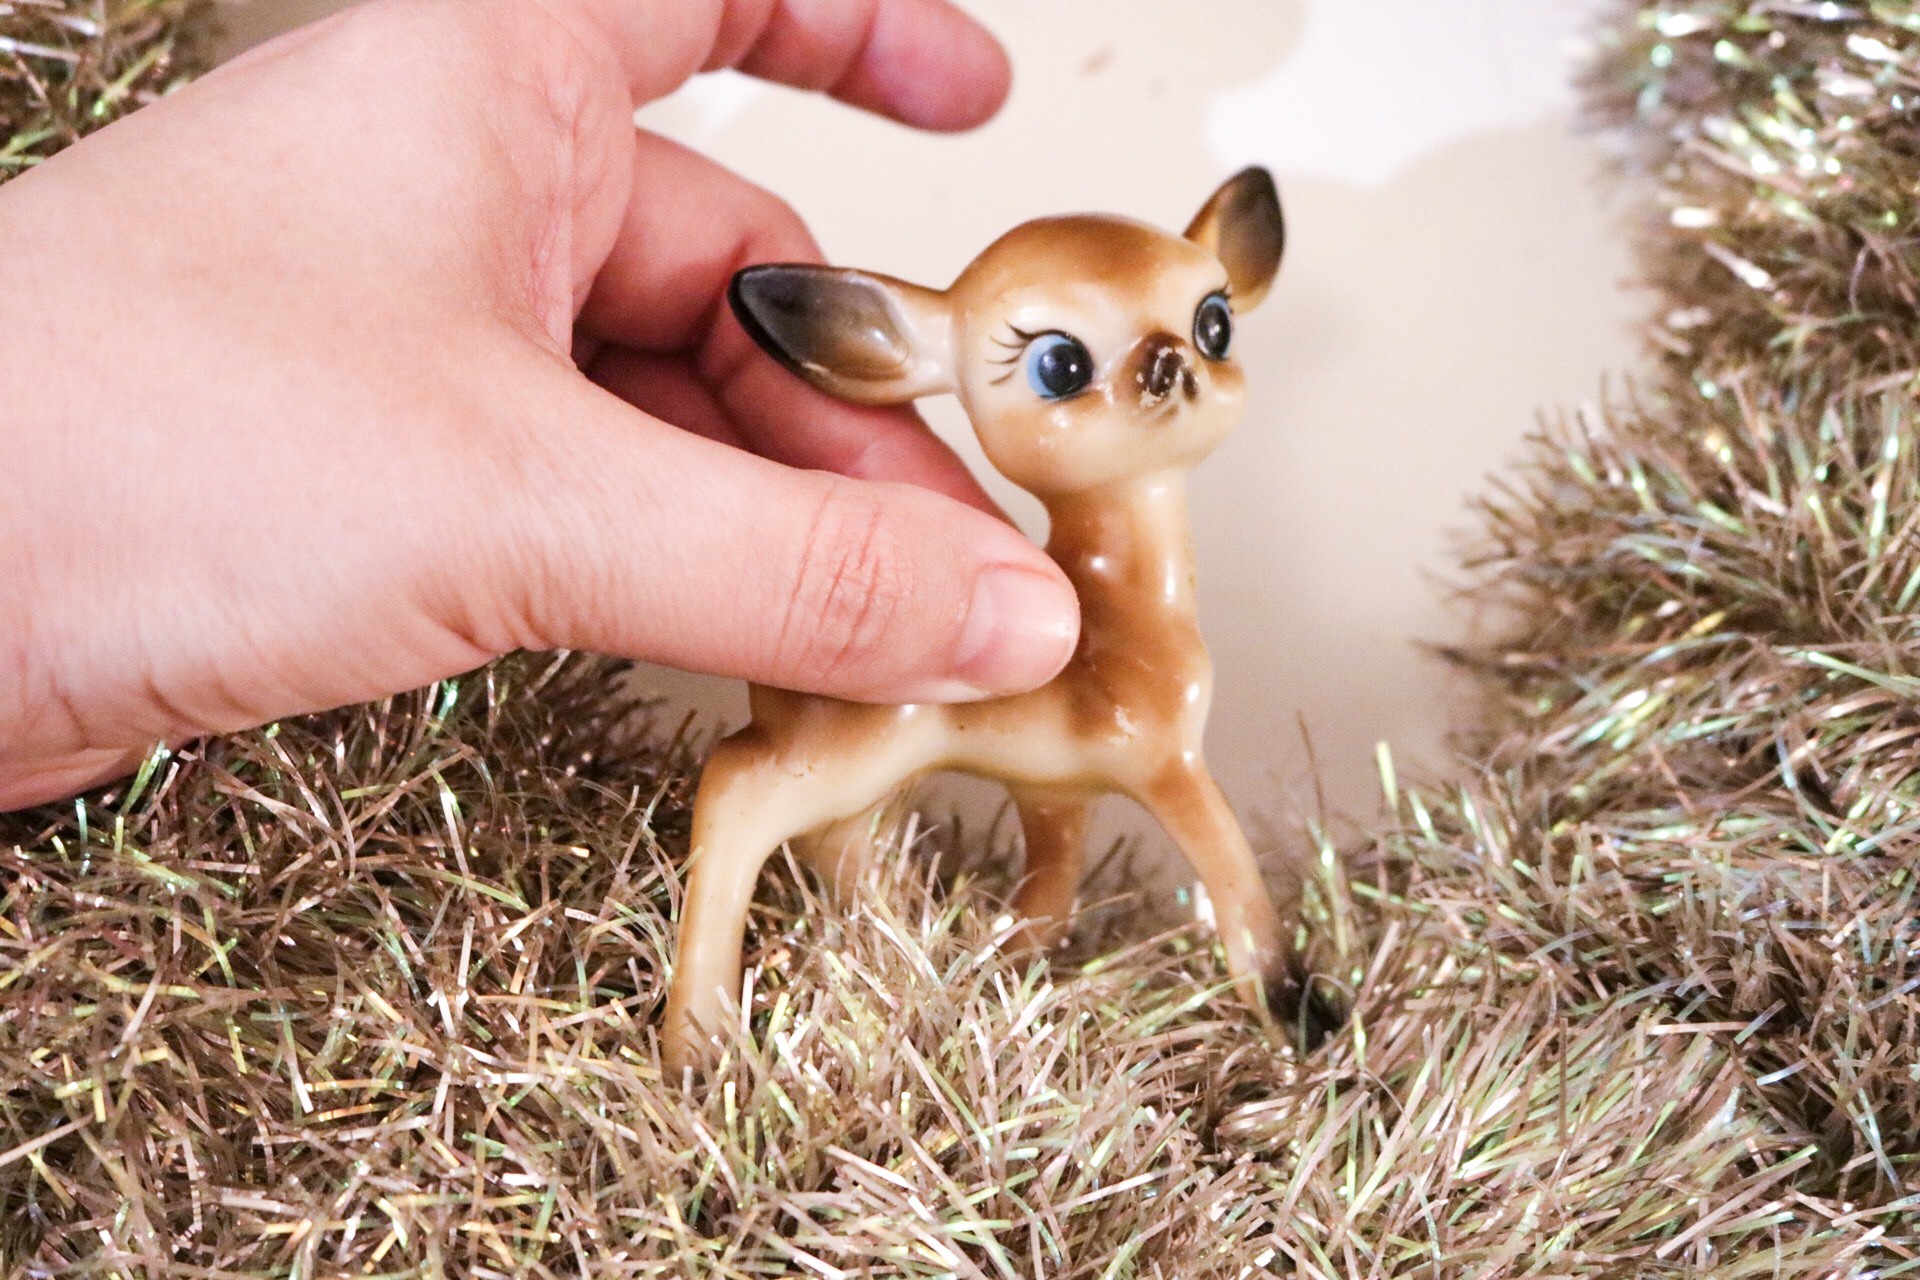
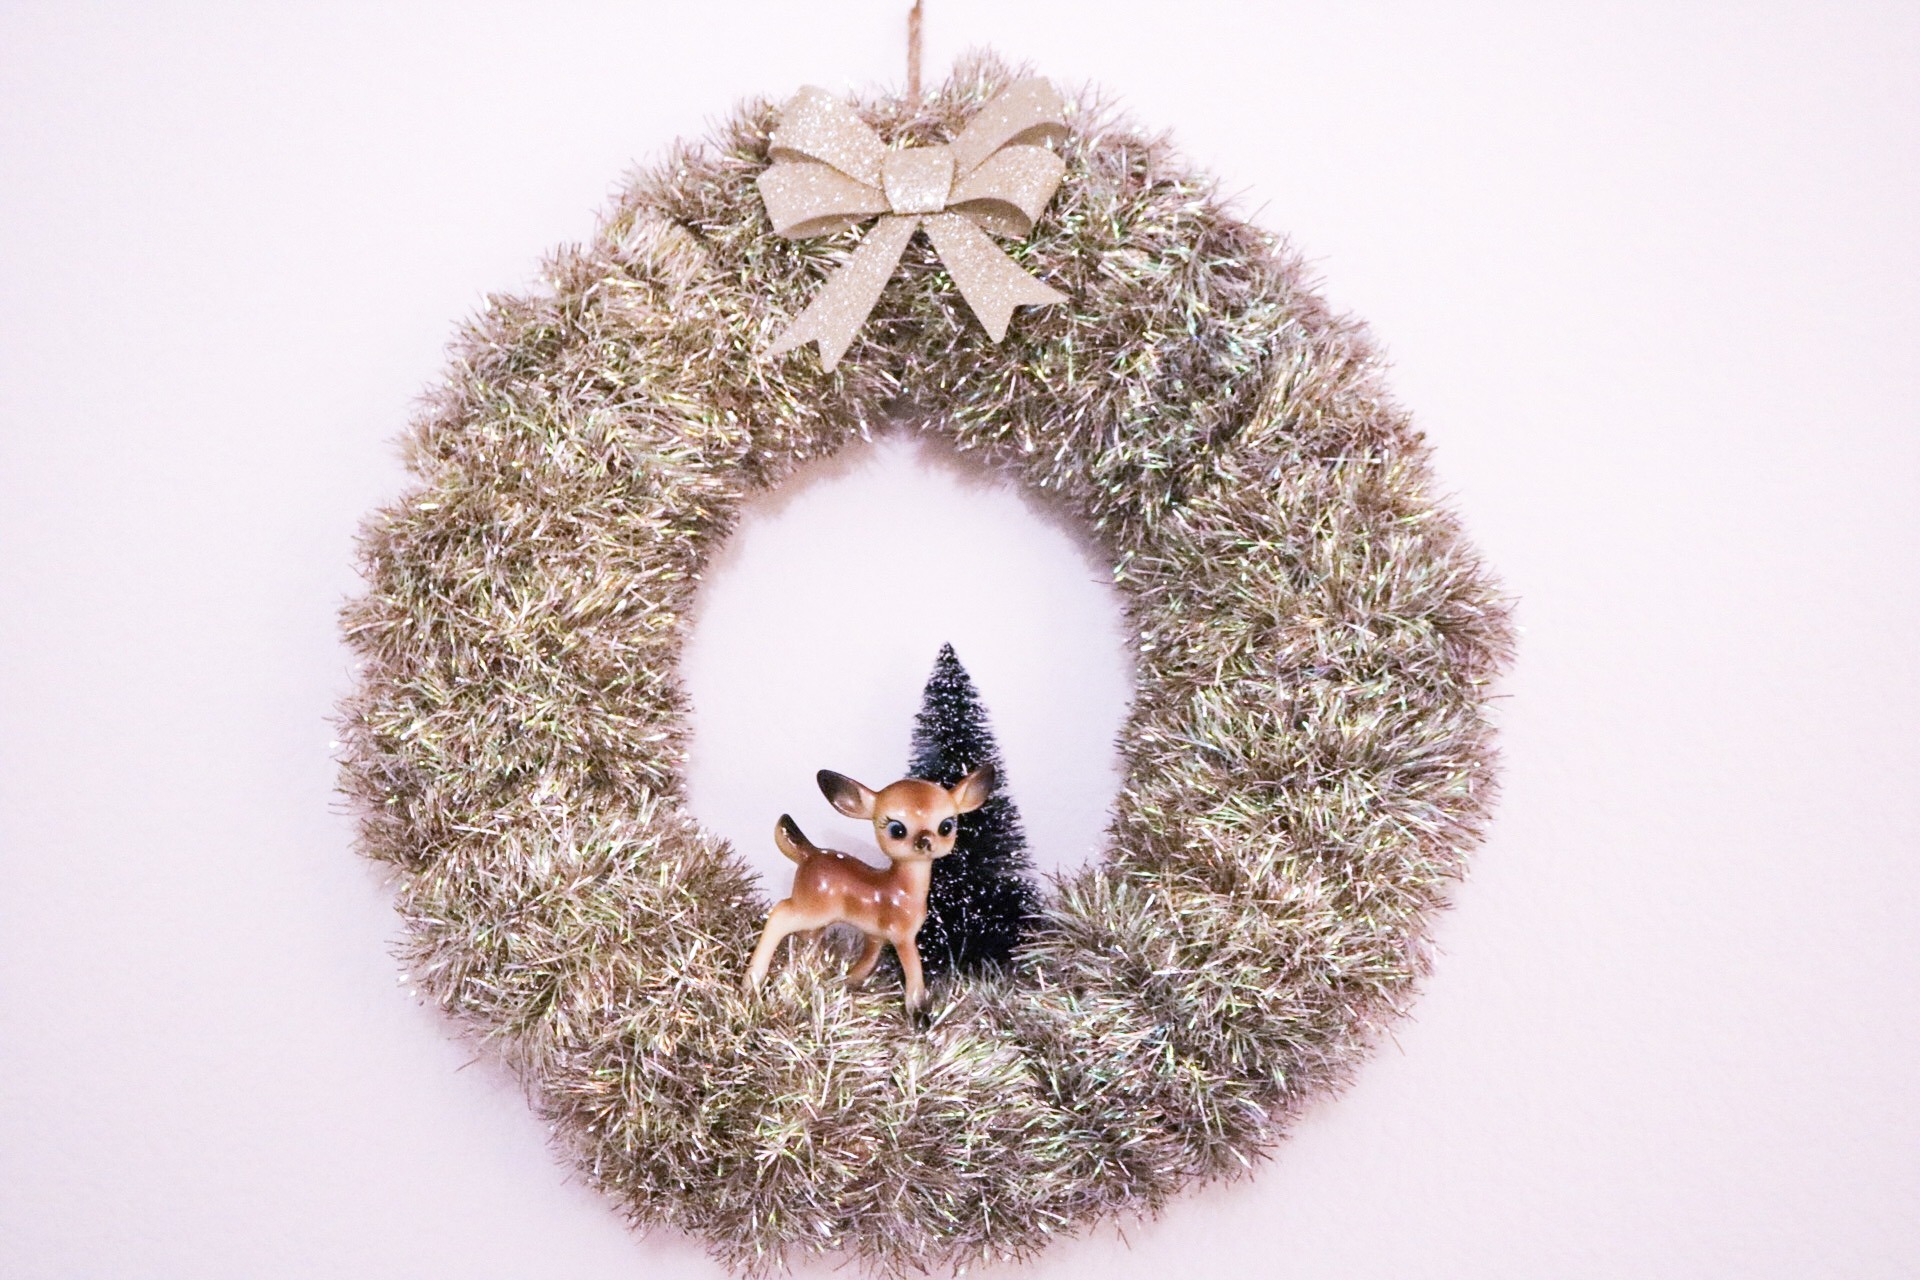
Put hot glue on all the deer feet. Make sure you do this quickly as hot glue tends to dry fast. Once you have the glue on, place it on the left towards the front (if you want it arranged the same as mine). Hold it for just a few seconds to let it set and then it should be good!
Step 3.
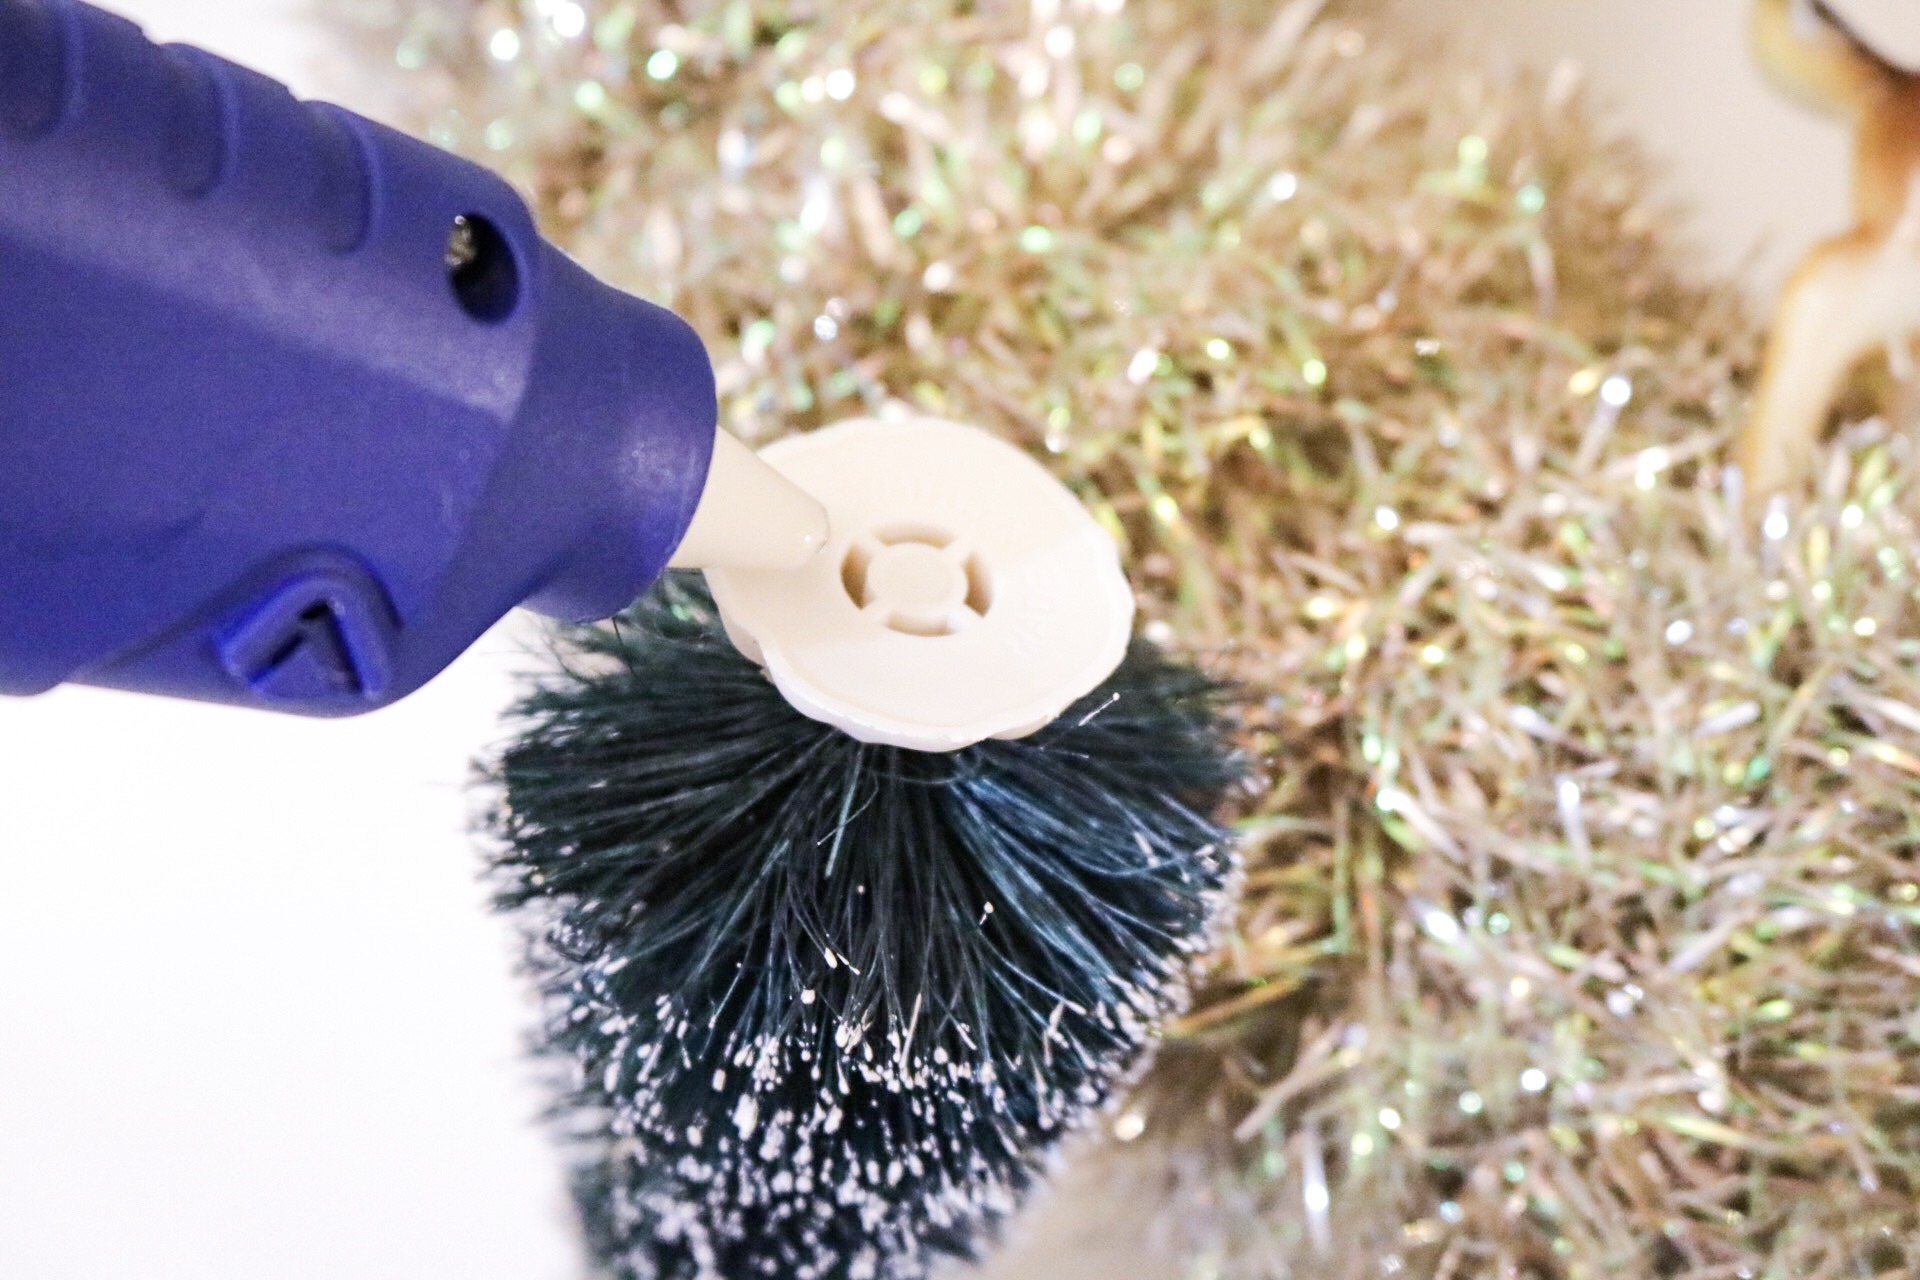
Add hot glue to the bottom of the tree, covering as much as possible (again, do this quickly). Put on the right side behind the deer and hold a little longer than the deer because you’ll most likely have more glue on the tree. If you’re happy with how it looks, let it cool for a few minutes before you pick it up.
Step 4.
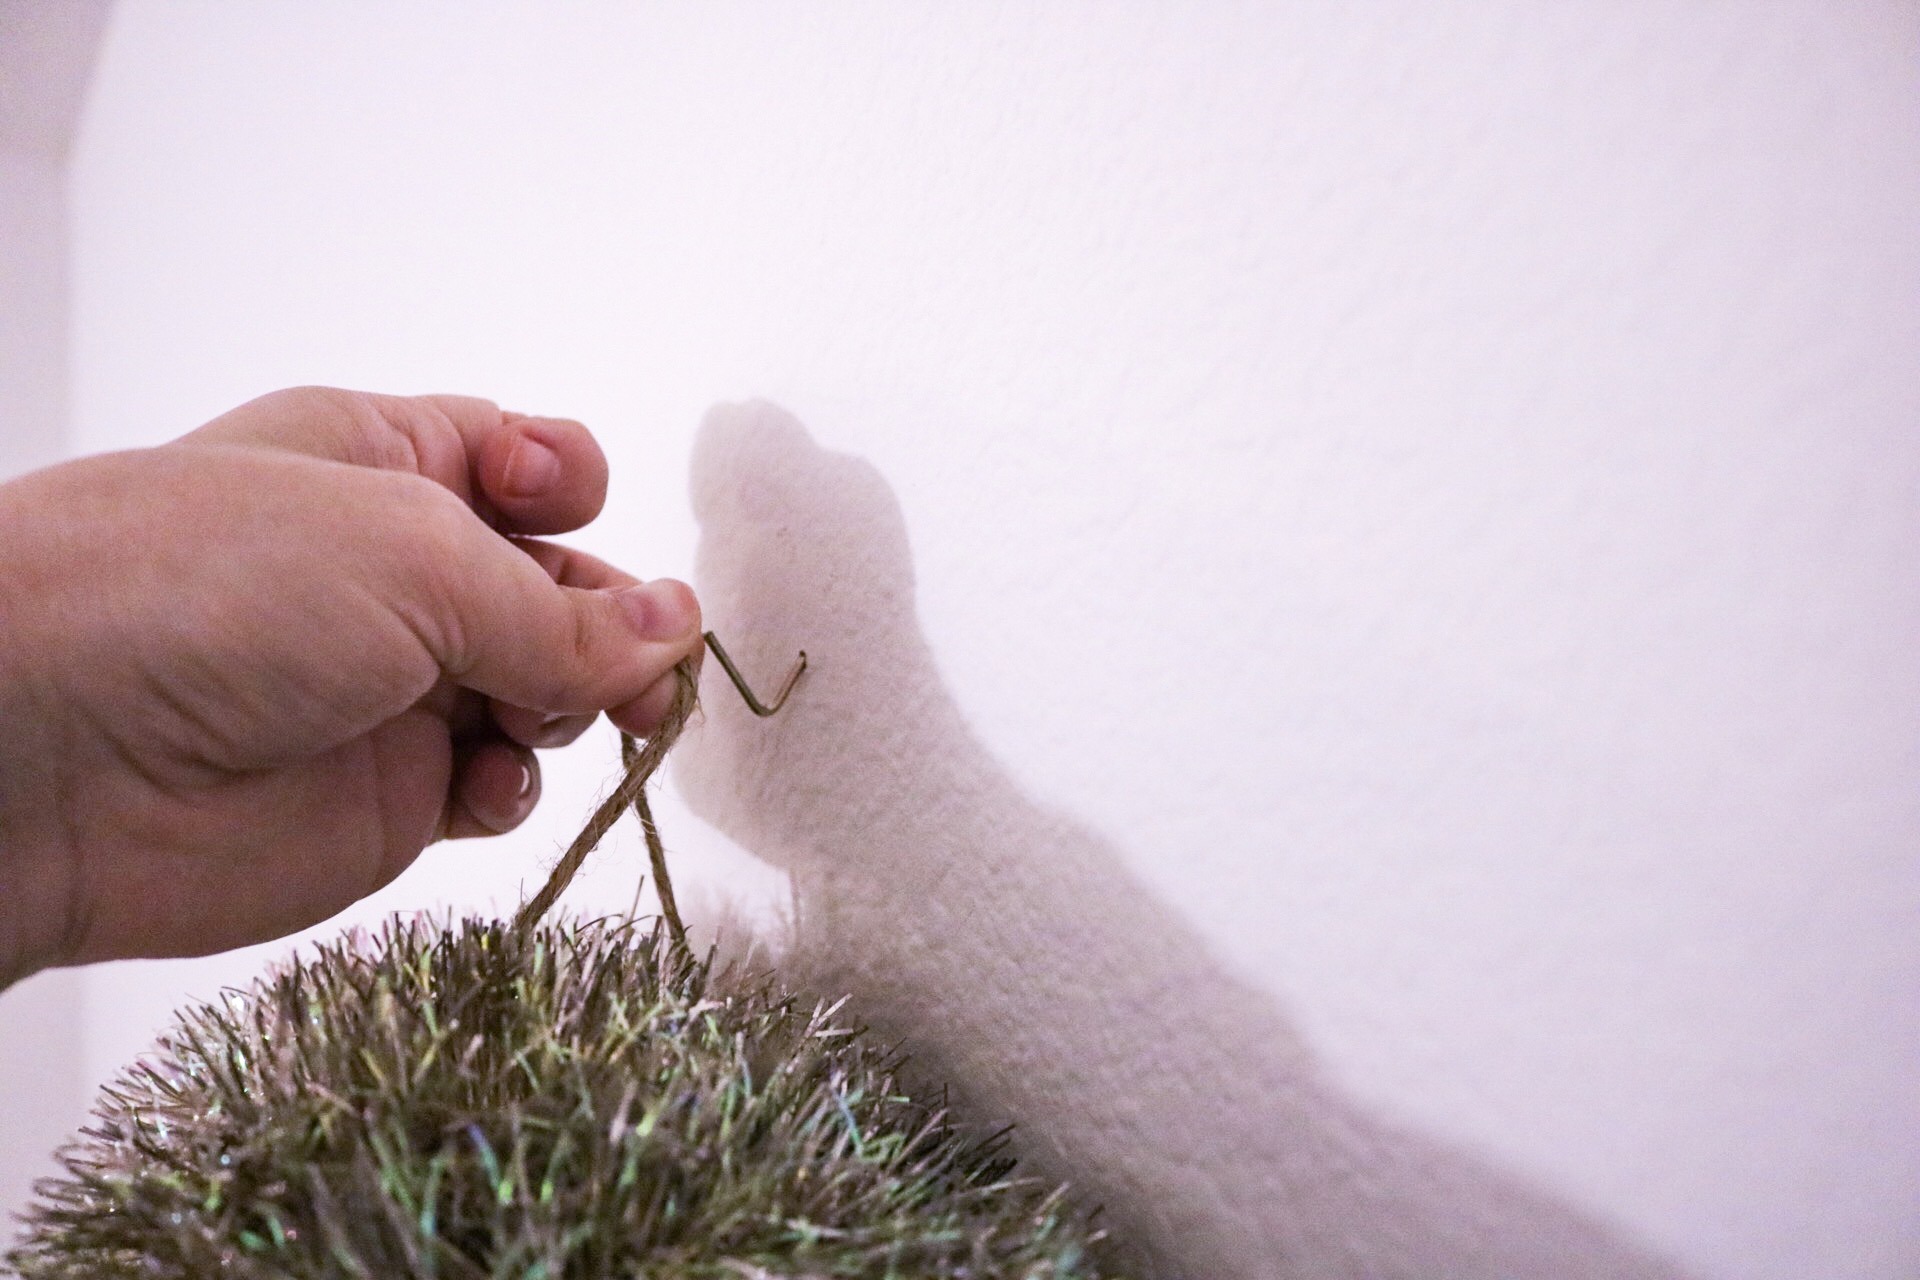
Hang up on a wall hook or wreath hanger. These are my favorite wall hooks because you don’t need any tools and they’re so easy to install. They can also hold up to 100 lbs, so you don’t have to worry about anything falling. But like I said, this wreath is very lightweight!
Step 5.
This is an optional step, but once I had my wreath hanging on the wall I added a bow to cover the jute twine. I also wanted a little more detail because it seemed empty up top. It would also look great with some vintage ornaments glued to the top! Just get creative or keep it simple if you’d like!
If you try out this DIY, don’t forget to post on Instagram and tag me @sugardesignco because I love seeing the beautiful decor y’all make!
-Ciera
Disclosure: This post may contain affiliate links that earn me a small commission, at no additional cost to you. I only recommend products I personally use and love, or think my readers will find useful.

