Take-Down Day: Packing It All Up in One Afternoon
To pack up Christmas decorations in one afternoon, pack by room instead of by type, photograph the inside of every bin before you close it, label the outside with the room name, wind lights onto reels, and keep one box that holds nothing but fragile things.
There was a year — I’m not going to lie about it — when I took down every bit of my Christmas decor in about forty minutes by putting all of it into black trash bags. Every ornament. The garland. The little ceramic village I had spent actual money on. I told myself I’d sort it out in February when I felt more like a person, and then February came and I shoved the bags into a closet and shut the door!
The next November I opened those bags and found broken ornaments, a wreath that had been squashed flat into a bag shape, and eleven strands of lights that had become one strand of lights! It took me most of a Saturday just to get back to zero! That’s the year I decided take-down day needed a system, and the system I’ve used ever since gets my whole house packed in one afternoon.
The thing that makes it one afternoon isn’t speed. It’s that I stopped making decisions while holding things. Every decision gets made before I take anything down, and then take-down is just labor.
1. Get everything staged before you touch a single ornament
Before I take one thing off the tree, I bring up all my empty bins, my reels, my tape, my marker, and a laundry basket. Then I set the bins out open, in the room they’ll be filled in.
This sounds like a fussy extra step and it is the whole trick! Every time I’ve run out of steam on take-down day, it’s been because I was standing in the living room with an armful of greenery going, “okay, but where.” Staged bins mean the answer is already sitting on the floor with its lid off.
I also set a timer on my phone for the amount of time I actually have, because I have a small daughter and “the whole afternoon” is a generous fiction. Knowing I’ve got two and a half hours makes me stop rearranging and start packing.
2. Pack by room, not by type
This is the one I want you to steal even if you skip everything else!
For years I packed by category, like everyone tells you to. All ornaments together. All garland together. All stockings together. It looks so organized in the garage! And then next Christmas I’d want to do the entryway, and the entryway lived in four different bins, so I’d pull all four down, dig, and end up with every box open on the floor before I’d hung one thing!
Now the label on my bin says ENTRY. Whatever came out of the entryway goes into it — the garland, the little tree, the two stockings, the bells, the picks, all of it, mixed together. Kitchen has its own bin. The dining room has its own bin. The tree is its own thing entirely.
The magic isn’t take-down, honestly. It’s next November, when I carry one bin to one room and that room is completely done before I open anything else! My daughter can help with a room bin, too, which she cannot do when I’m halfway through a category.
The one thing I do not pack by room is anything breakable — that gets its own box, and I’ll get to that at number six.
3. Photograph the inside of every bin before the lid goes on
When a bin is full and before I close it, I stand over it and take one photo straight down. That’s it. Then the lid goes on.
I have a folder in my phone called “Christmas Bins” and every year it takes me about ninety seconds total. And it has saved me so much time it’s almost silly. When I’m looking for the brass candlesticks in November, I scroll photos instead of opening boxes in a cold garage. When I’m shopping in October and can’t remember if I already own three bottle brush trees or seven (it was seven), I look.
If you want to go one step further, snap the photo of the label first, so the pictures pair up in your camera roll and you know which bin you’re looking into. I started doing that the year I had three bins that all looked like brown greenery from above.
4. Label the outside — big, and on two sides
I use a little handheld label maker for the bins that stay put, and plain painter’s tape and a fat marker for anything I might re-label later. Painter’s tape peels off clean and doesn’t leave that awful sticky ghost on plastic, which matters when your bins get reused for other seasons.
Whatever you use, write it big and write it on two sides. Bins get stacked, and the side you labeled is always the side facing the wall. Ask me how I know!
I label with the room name and nothing else. No inventory lists. The photo in step three is the inventory, and a list written in January is a list I will not trust in November.
5. Wind every strand of lights onto its own reel
Lights are the part people dread and the part that’s easiest to fix permanently!
I use plastic light storage reels — the set I have comes with three spools and a zip bag to hold them, which keeps the reels from wandering off in the garage. If you have a lot of strands (or a lot of extension cords, which is really the same problem), the eight-piece wind-up reel packs are cheap and do the same job.
Two rules and you will never untangle lights again:
One strand per reel. The second you put two strands on one reel, you’ve made a tangle with extra steps!
Write on the reel. A piece of tape with “tree, 100ct warm white” or “mantel, 20 ft” saves you from holding a strand up in the air next year trying to guess how long it is. This is the note I forget the most, and every single year I regret it!
Plug-test each strand as you wind it, too. A dead strand is so much less upsetting in January than it is in November with the tree half decorated! (If half your pre-lit tree quits, I wrote about what usually causes that — it’s almost never the whole section.)
6. The box that is only fragile things
This is my favorite rule because it’s so obvious and I still didn’t do it for years!
One box. It holds nothing but breakable things, from every room in the house. Glass ornaments, the ceramic village, the little mercury glass votives, the porcelain nativity pieces. It never gets stacked under anything. It’s the last box in and the first box out!
Ornaments go in a box with removable trays rather than wrapped in tissue in a bin. The trays lift straight out, so you’re setting a tray on the coffee table and picking ornaments off it instead of unwrapping forty little paper bundles on the floor. Mine holds 73 and has pockets around the edge, which is where the ornament hooks live, so I stop buying hooks every single year. (I was absolutely doing that, y’all.) If your box doesn’t have pockets, a small Plano compartment box keeps the hooks from tangling, and if half of yours have gone missing anyway, this 200-count pack of green ornament hooks restocks you all at once.
Wreaths count as fragile even though they don’t feel like it. A wreath that spends eleven months under a bin of stockings comes out flat on one side and it never fully recovers. I use a hard wreath box for anything up to 24 inches. If your wreath is too full or too detailed to close a hard case around, a soft zip case is the compromise — I went through my whole storage lineup in Christmas Decor Storage Picks if you want the rest of it.
7. Everything else goes in clear bins
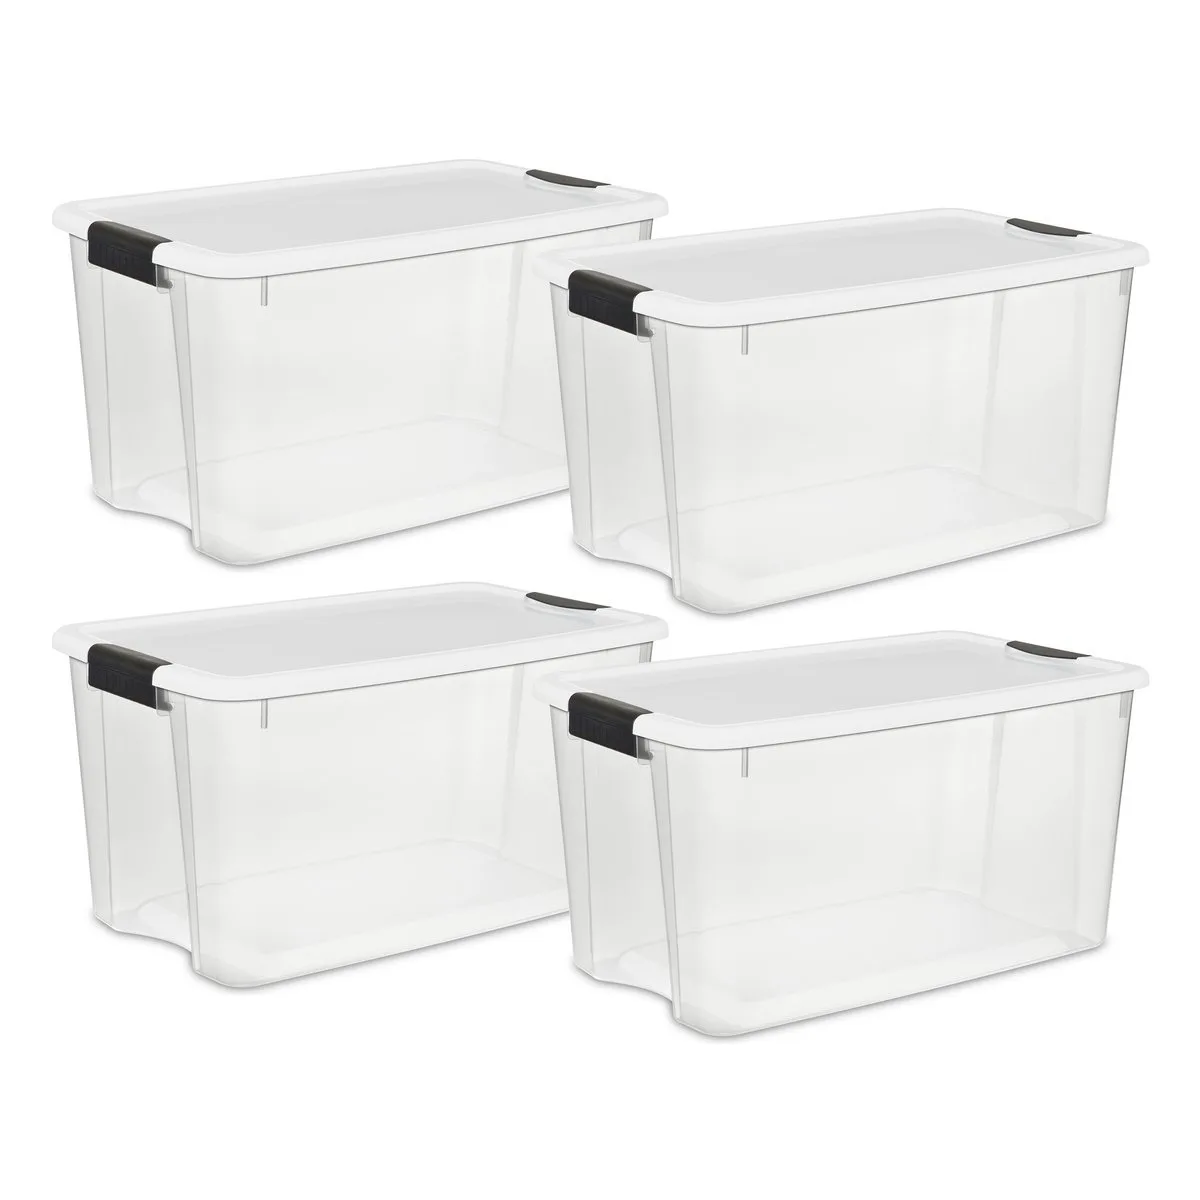
For all the room bins, I use clear latching bins. Clear, because even with photos and labels, being able to see a flash of red plaid through the side is faster than either. Latching, because plain snap lids pop off when you’re carrying a bin up a ladder into an attic and I would rather not relive that.
If you’re in an apartment or you just don’t have garage space, low under-bed totes are the move for the flat stuff — table runners, tea towels, stockings, ribbon, wrapping paper. I don’t have a specific under-bed one I’d swear by yet, so I’m not linking one, but look for the lowest profile that still latches. Sorry!
The actual order of operations
Here’s the whole afternoon, in the order I do it:
- Stage bins, reels, tape, marker. Set a timer.
- Fragile things come off first, everywhere in the house, and go straight into the fragile box.
- Lights come down and go onto reels, one strand per reel, labeled.
- Then room by room: clear it completely, fill its bin, photograph the bin, label two sides, close it.
- Tree last, because the tree is its own project and it’s the thing most likely to make you quit.
- Vacuum. There will be needles or glitter or both. There is always glitter!
That’s it. It’s not a shortcut so much as it’s refusing to make the same decision twenty times. The trash bag year taught me that the mess isn’t created in January — it’s just discovered in November.
If you take yours down this way, post a picture of those beautifully labeled bins and tag me @sugardesignco so I can see it! Take-down day photos are my favorite kind of unglamorous.
-Ciera
Made something with this? Tag me @sugardesignco — I love seeing them.
Questions I get asked
- How do you pack up Christmas decorations quickly?
- Work room by room instead of category by category. Clear one room completely, pack what came out of it into its own bin, label that bin with the room name, and move on. You skip all the sorting, and next year each bin walks straight back to where it belongs.
- Should you label Christmas storage bins by room or by type?
- By room. Type labels like 'ornaments' or 'garland' sound tidy but they make you open five bins to finish one room. Room labels get the right box to the right spot on the first trip.
- What's the best way to store Christmas lights so they don't tangle?
- Wind each strand onto its own reel with the plug end started first, and write the strand's length and where it went on a piece of tape stuck to the reel. Never bundle two strands on one reel.
- How long does it take to take down Christmas decorations?
- About one afternoon for a normal-sized home if you have your bins, reels and labels ready before you start. The time sink isn't the taking down, it's the deciding where things go while you're holding them.
- How do I put ornament hooks away so they don't tangle?
- Either leave each hook on its ornament (only if every ornament gets its own slot, because a loose hook scratches whatever it's packed next to), or pull them all off and corral them in one small lidded container, like an old mint tin, a pill organizer or a zip bag, that lives inside the ornament box. Then the hooks come back out with the ornaments next year instead of disappearing.