DIY Hoop Wreaths
To make a hoop wreath, attach greenery to the inner ring of an embroidery hoop with 22 gauge floral wire, add an accent like a pinecone, then hang it with ribbon. Swap the greenery each season and you can use the same wreath all year.

If you’re looking for an affordable and simple DIY wreath that will fit any decor style then this is it! This is one of the easiest projects I’ve done, but it ended up being one of my favorite decor pieces. Another bonus: You can continue to use these by just changing out the greenery for each season. I plan to switch out the cedar for some lambs ear, cotton, eucalyptus and anything else that I want to try out during the year.
What You’ll Need:
-
Greenery (real or artificial) I used real cedar because I recently found out you can order bundles on Amazon! I’m obsessed!
-
Embroidery Hoops in different sizes
-
Floral Wire 22 gauge
-
Ribbon to hang the wreaths
-
Any extra details to add like pinecones, bows, etc.

Step 1.
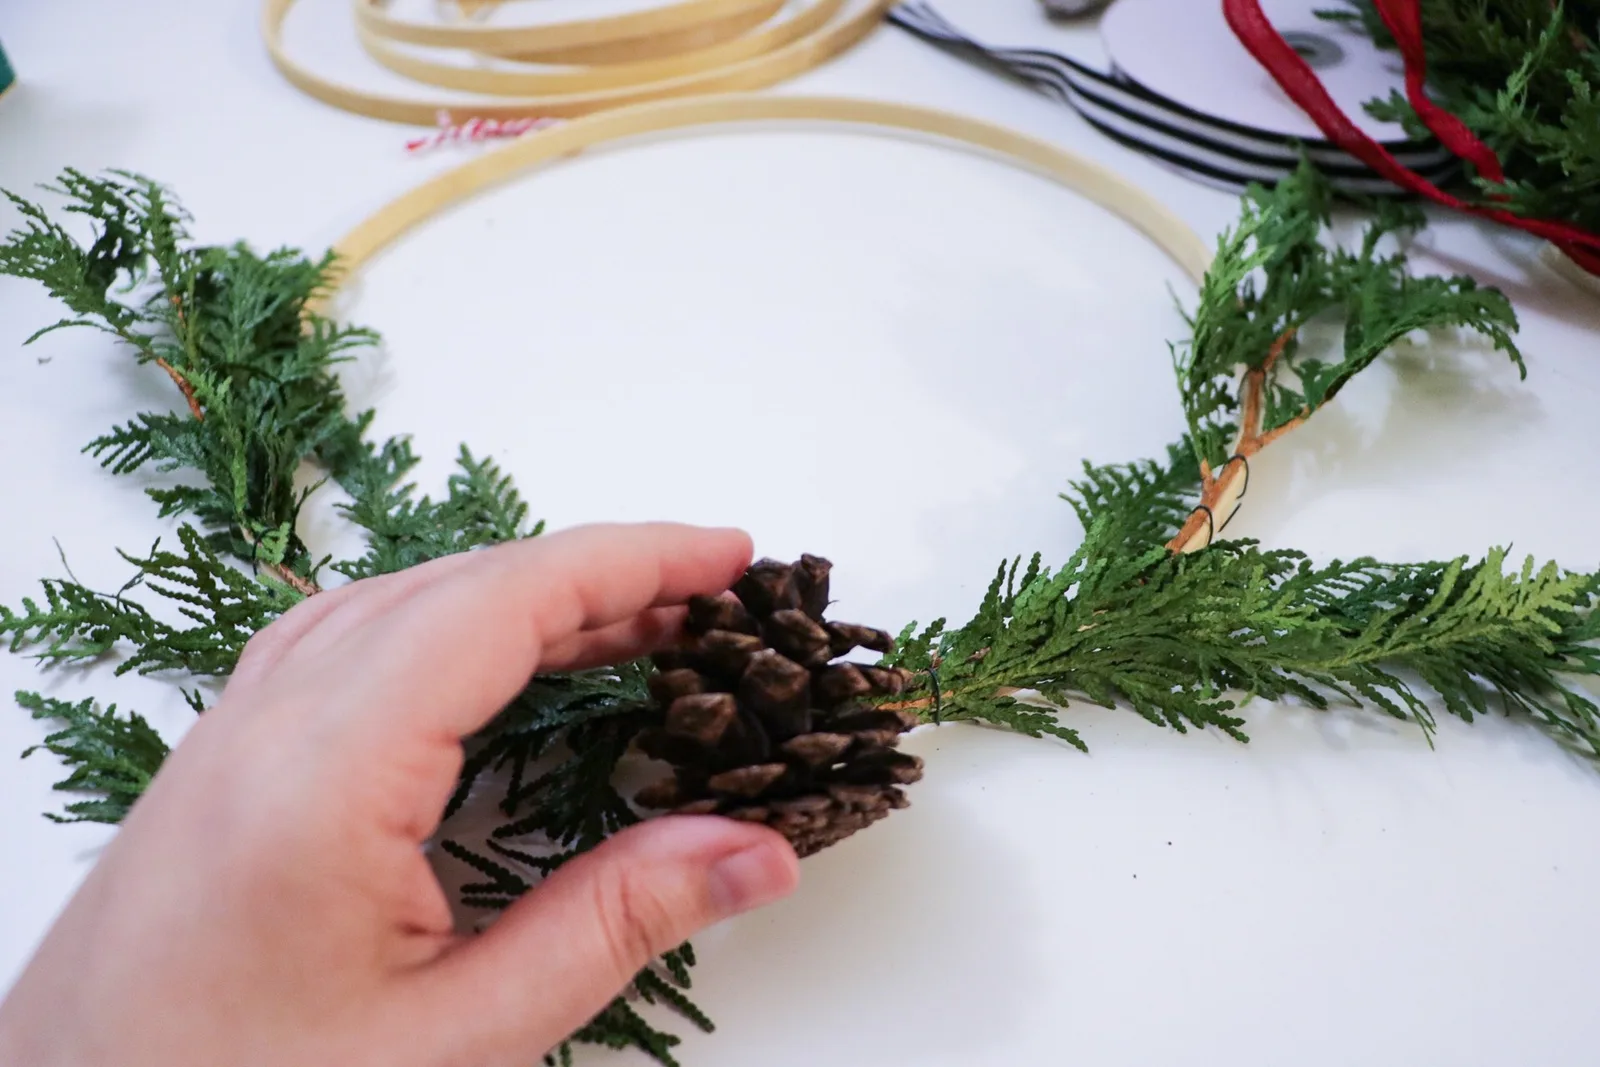
Once you’ve decided on a design (I did a different design for each wreath) and separated the embroidery hoops, attach the greenery with floral wire to the inner hoops. (the hoops that don’t have metal hardware) You might have to trim pieces, especially if you use real greenery like I did. I just used my wire cutters because the twigs were so small. If you want a fuller look, just layer the branches, but I recommend only attaching one at a time.
Step 2.
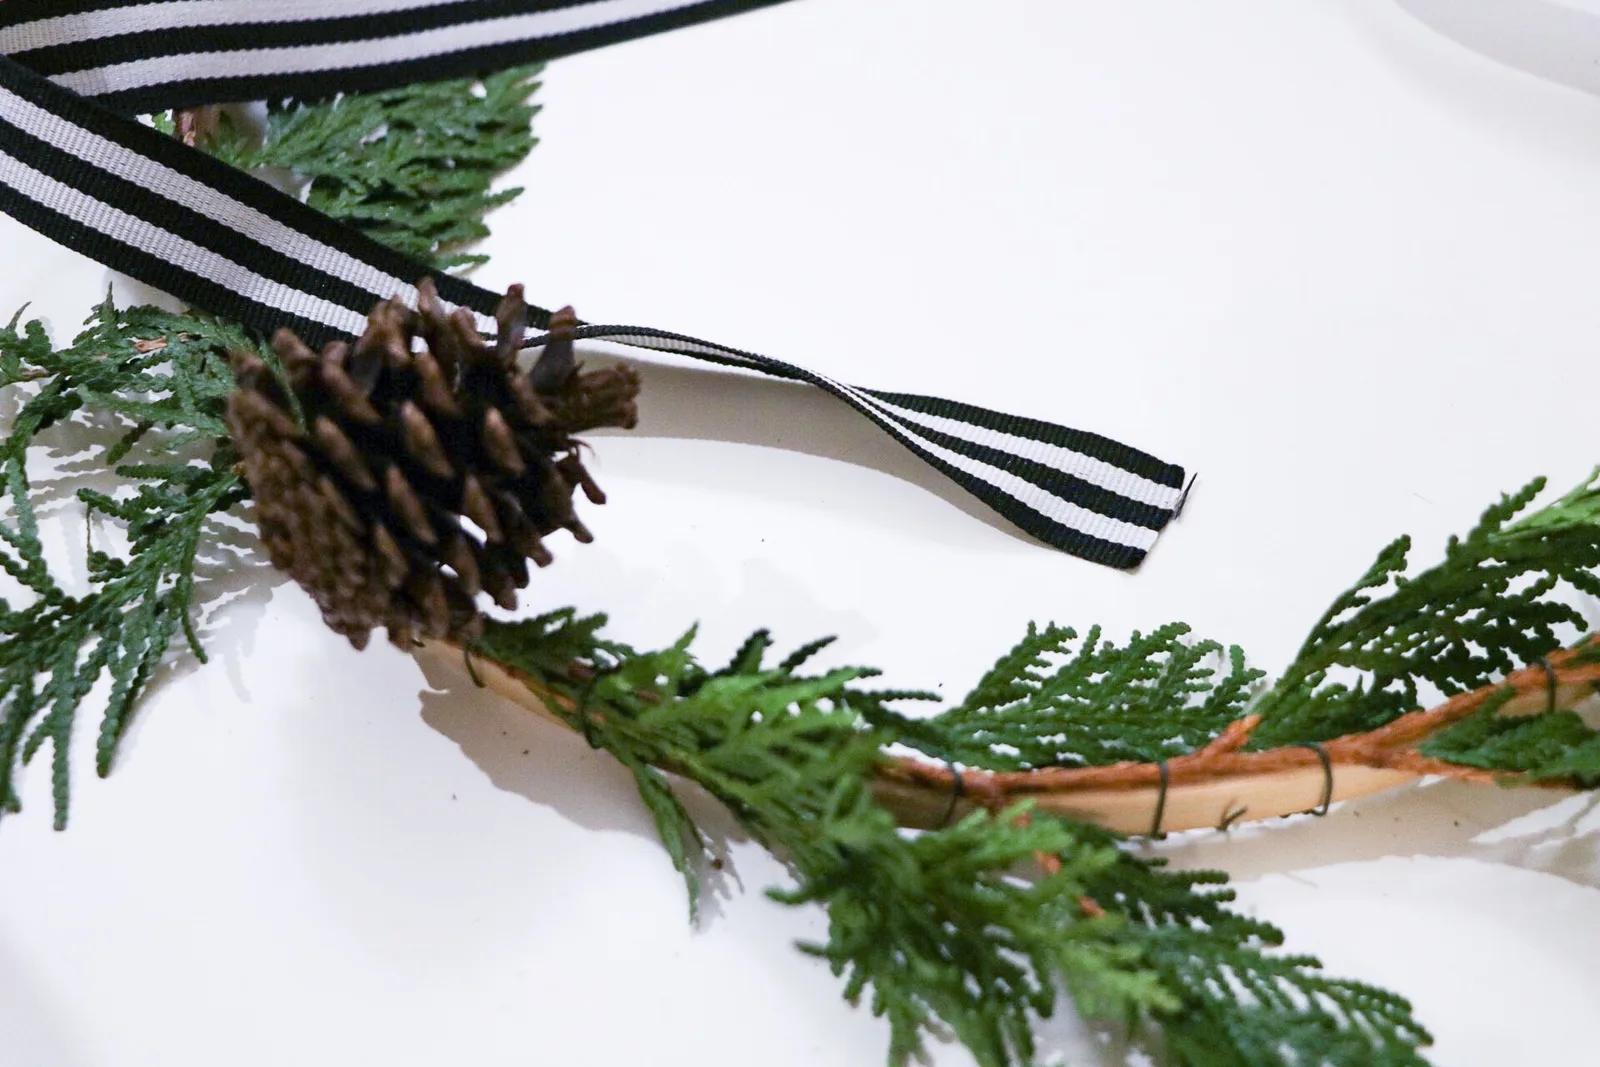
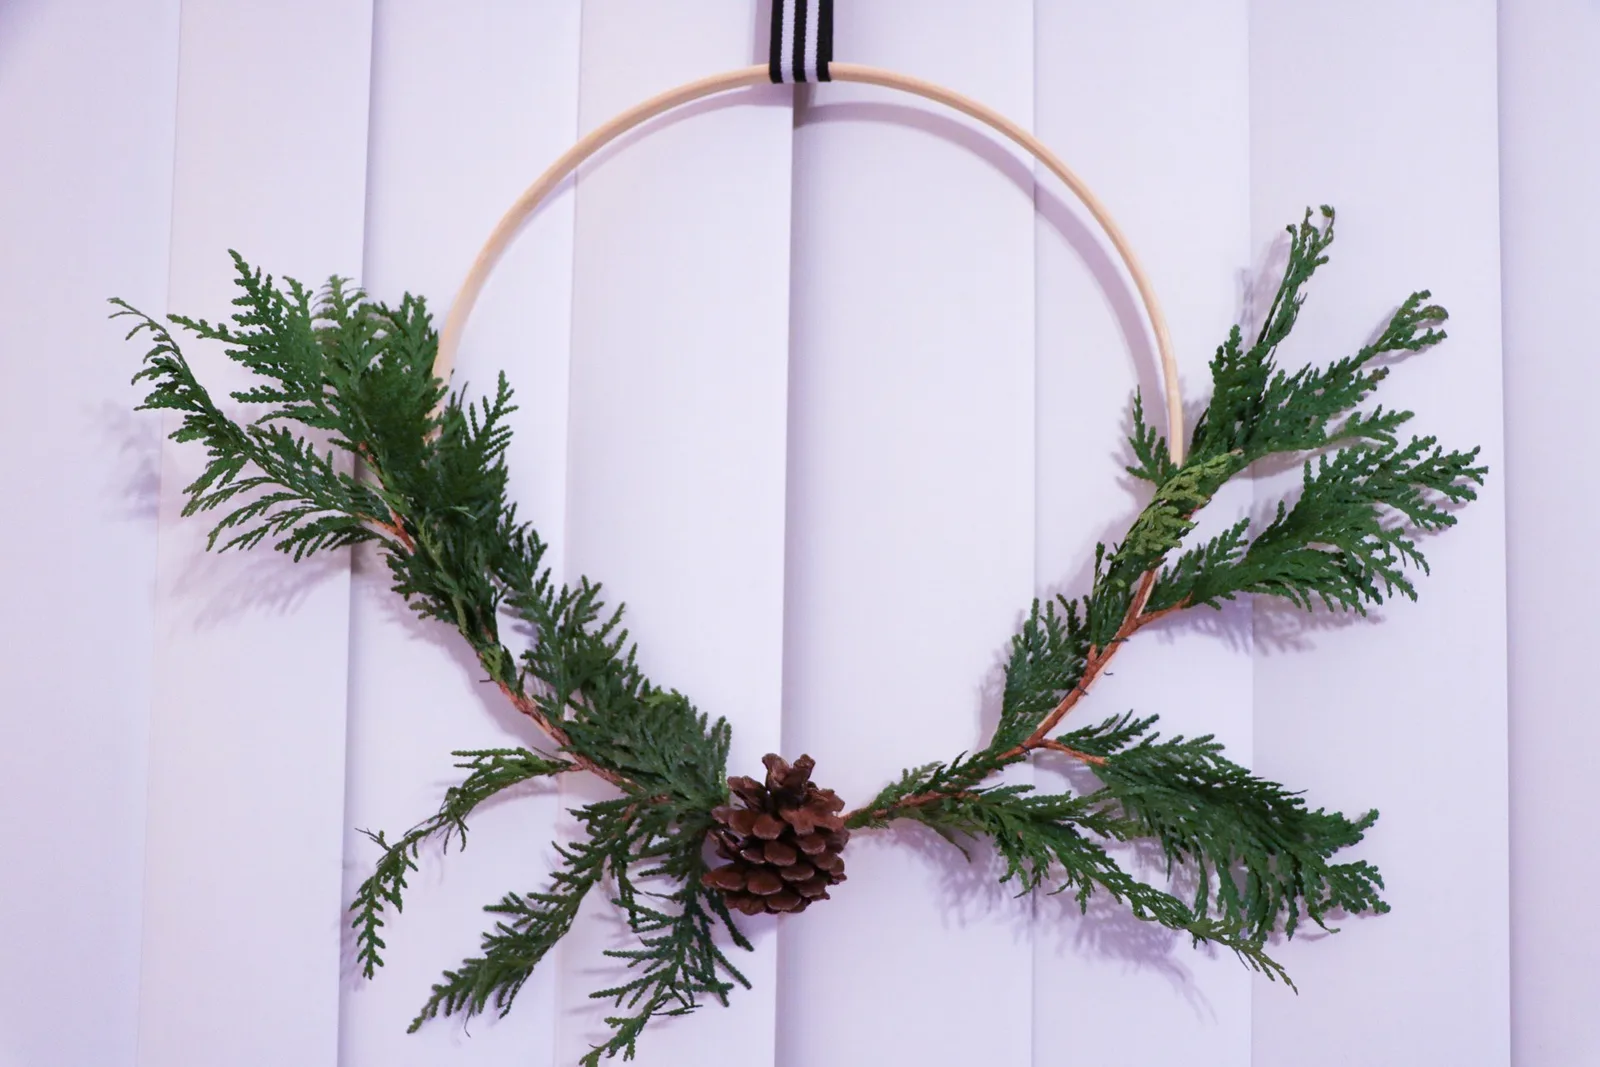
After you have all your greenery attached, choose an accent piece (this is totally optional) and add it on. I used a pinecone on this particular wreath and put it on with the same floral wire.

Step 3.
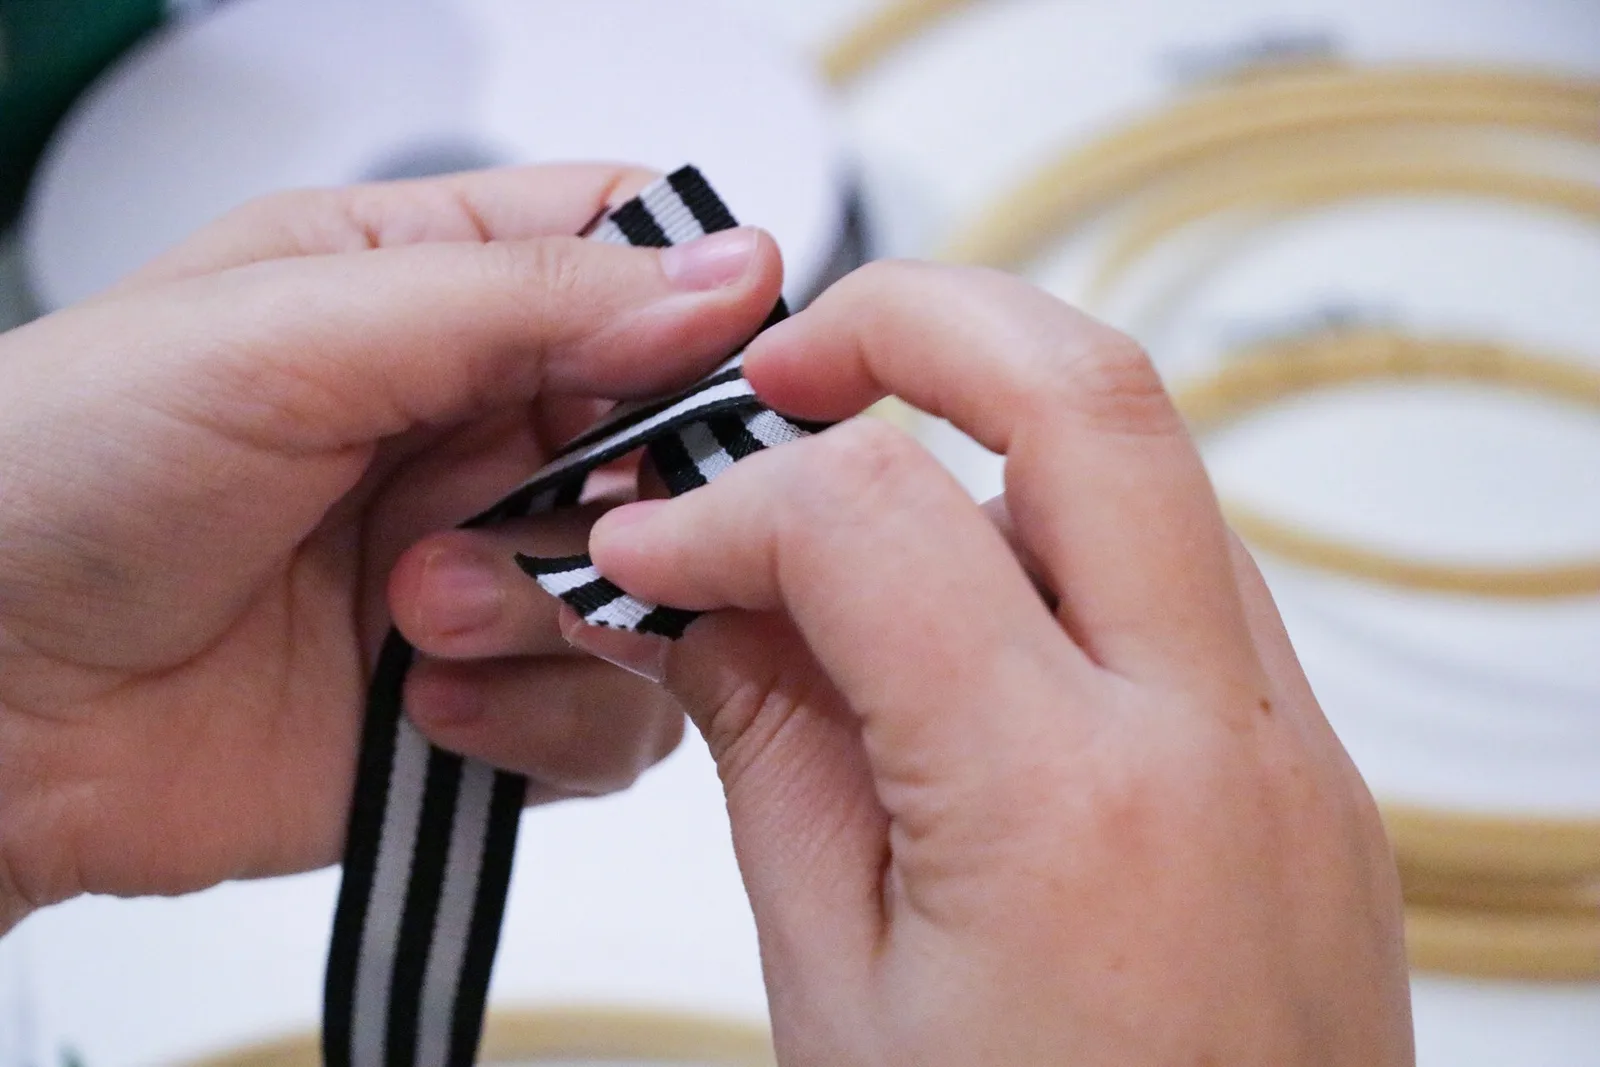
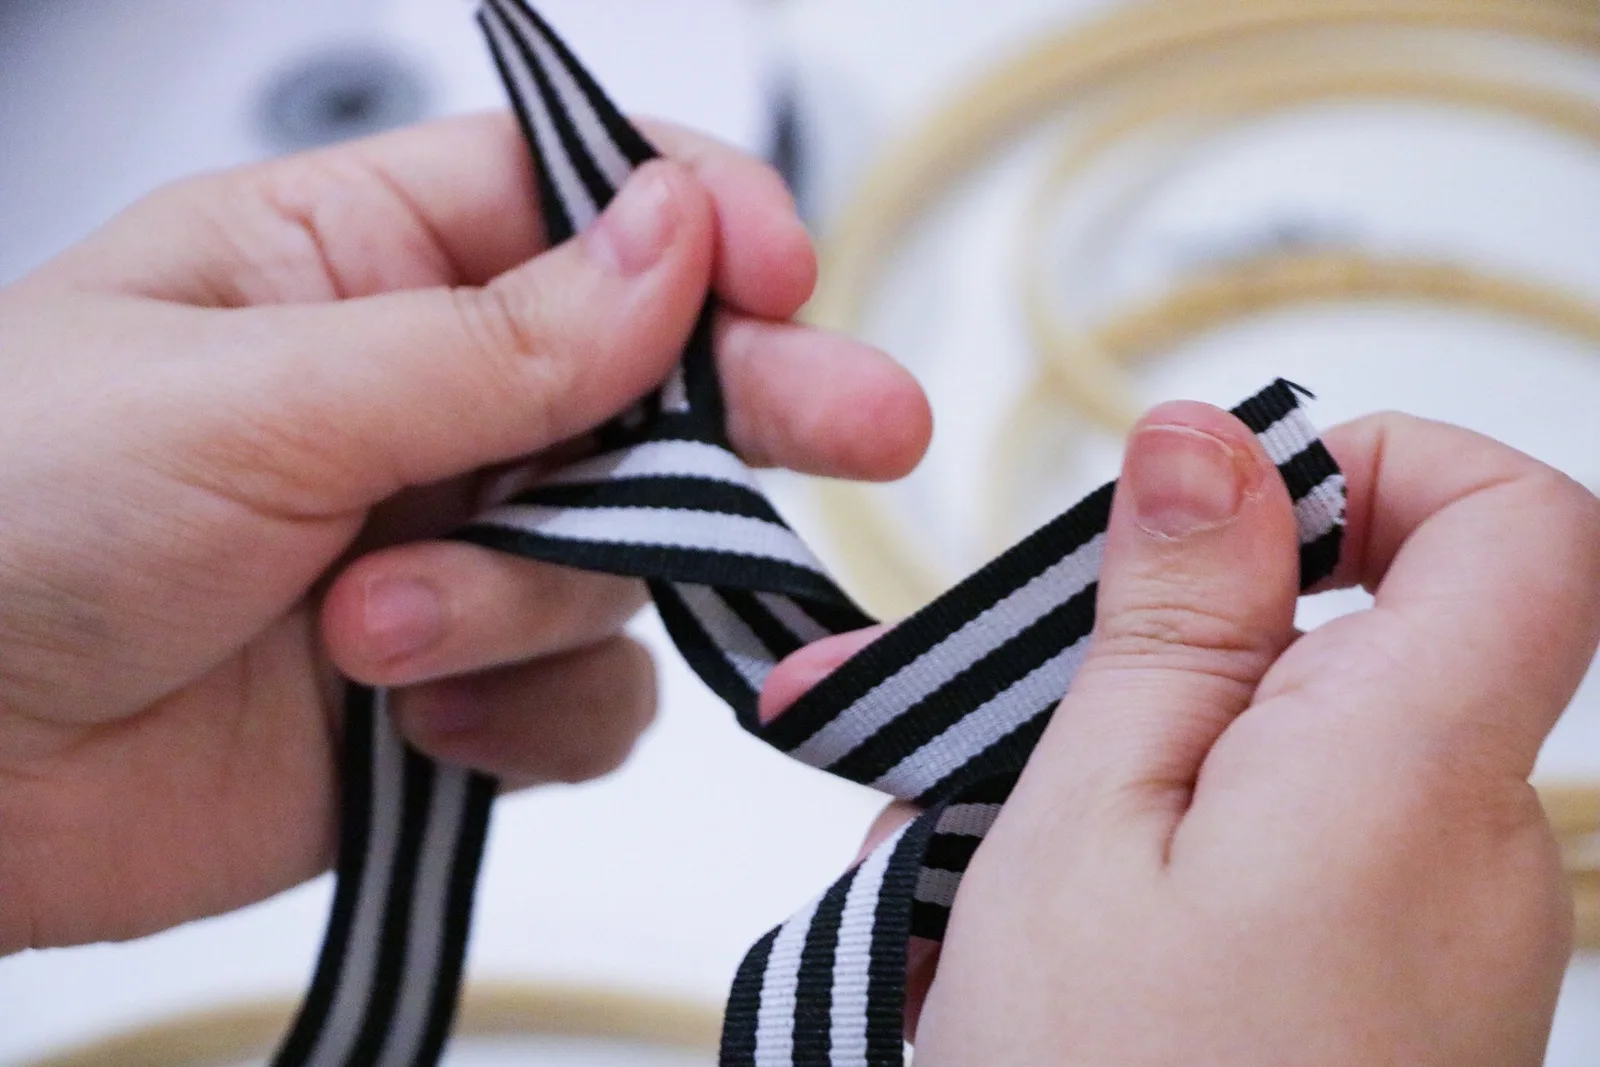
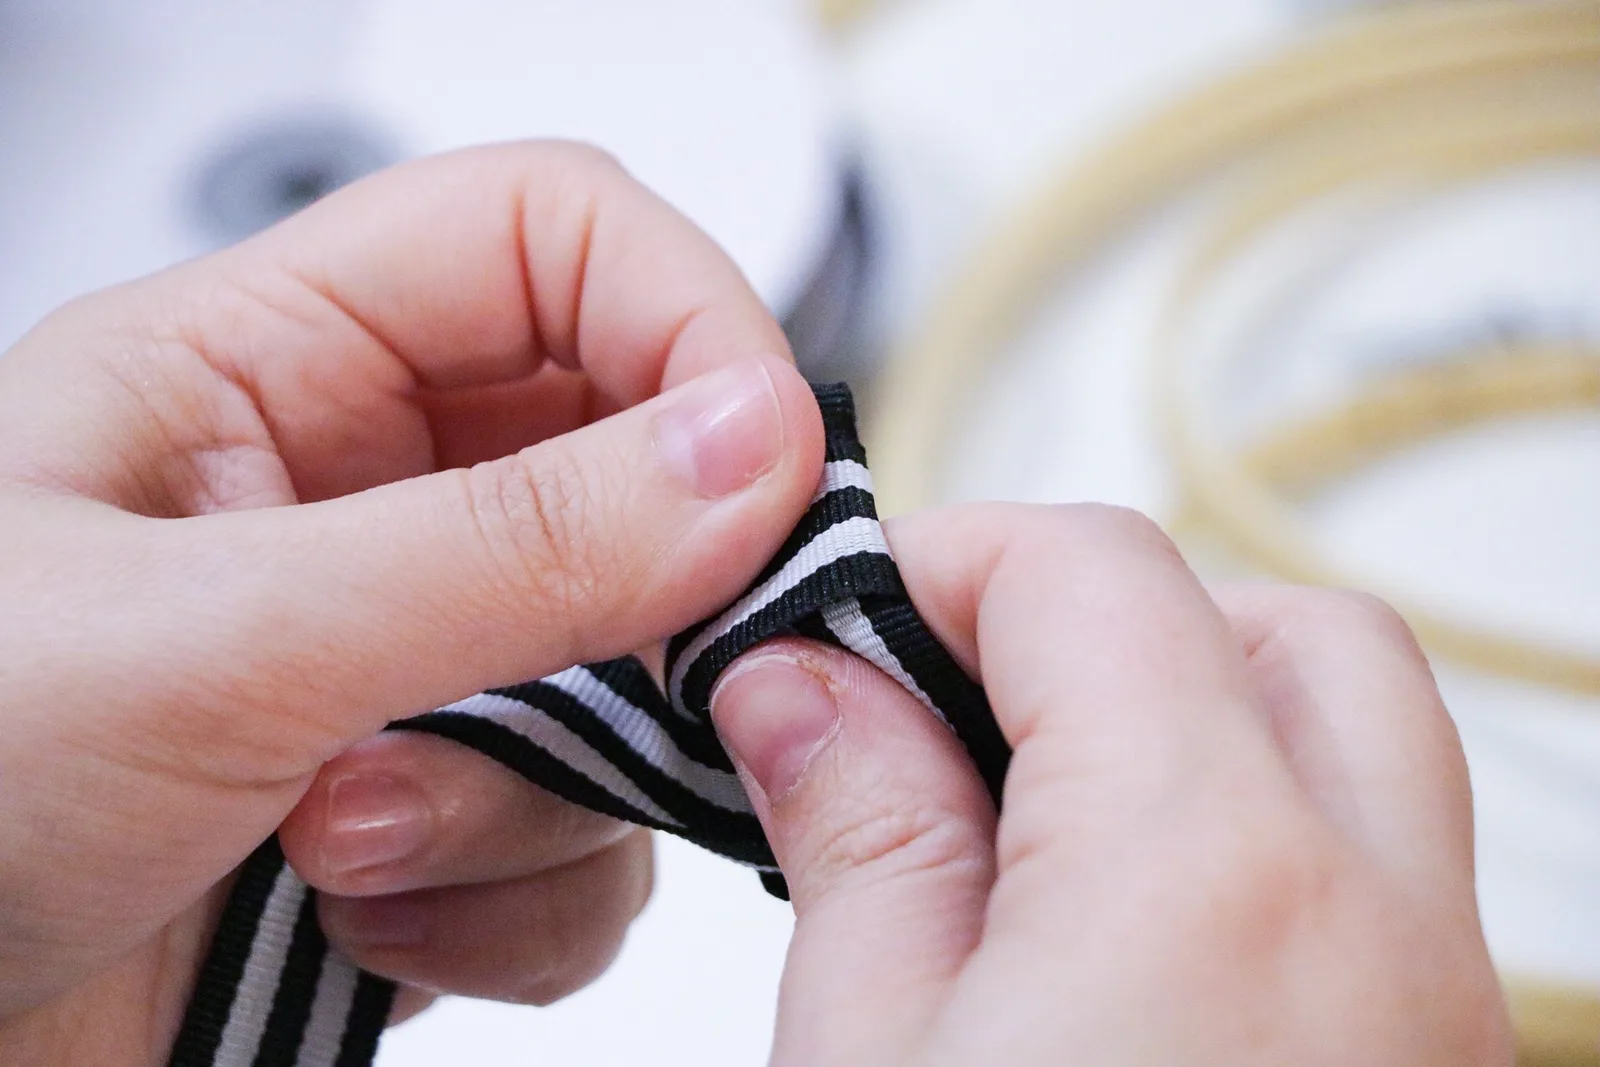
Measure out the ribbon you’re using to hang the wreaths to cut. How much you need will all depend on how you hang it, so be sure you figure that out beforehand.
Step 4.
If you’re hanging the wreath on the wall with ribbon (and not by the hoop itself) you can go ahead and tie the ribbon in a bow and loop through it to attach to the hoop. If you plan to hang the wreath similarly to how I did, don’t tie off your ribbon just yet.


Step 5.
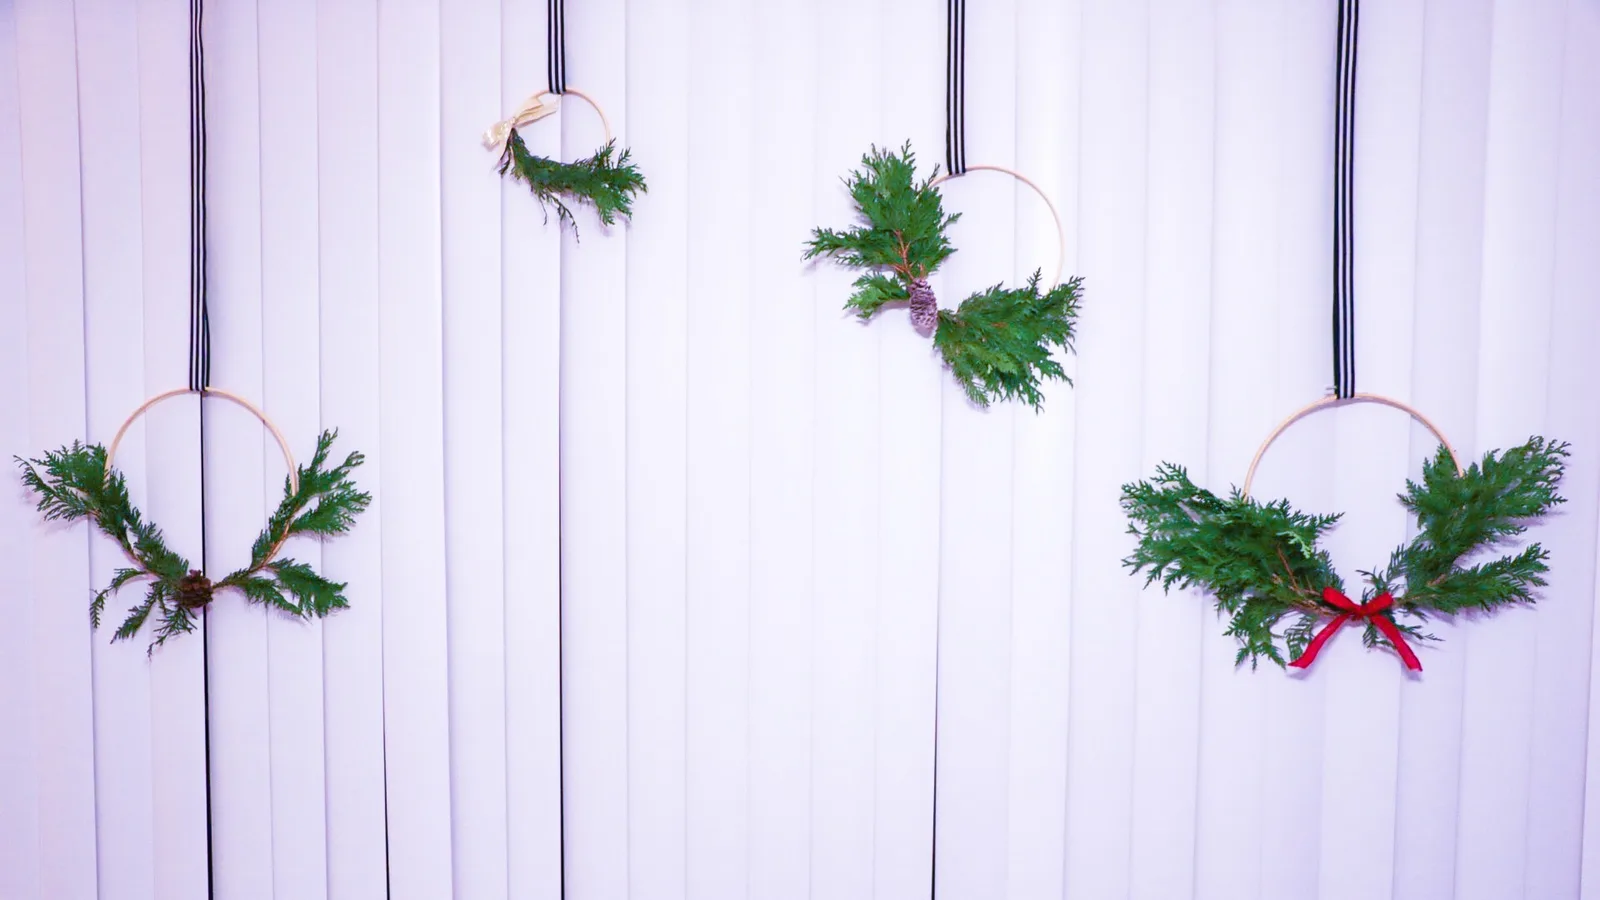
Get creative! Try out different designs on the different sizes of hoops. This is a simple DIY, but you can do a lot to make it your own. My first wreath was very minimalist, my second had a touch of glam with some gold ribbon, I added layers of greenery to my third wreath with a flocked pinecone, and my third had a very traditional feel with red ribbon and multiple layers of greenery.
Step 6.
Hang your wreaths and enjoy them! These wreaths have turned one of my least favorite things in our home (these giant vertical blinds) into a favorite area. They would look great in windows or even on a wall.
If you make these wreaths, be sure to post photos and tag me on instagram (@sugardesignco) because I want to see the beautiful decor y’all make!
-Ciera
Made something with this? Tag me @sugardesignco — I love seeing them.
Questions I get asked
- What do I need to make a hoop wreath?
- Greenery (real or artificial), embroidery hoops in different sizes, 22 gauge floral wire, ribbon to hang the wreaths, wire cutters, and any extra details you want to add like pinecones or bows.
- Which part of the embroidery hoop does the greenery go on?
- The inner hoops, the ones that don't have metal hardware. If you want a fuller look, just layer the branches, but I recommend only attaching one at a time.
- Can I use these wreaths after Christmas?
- Yes! Just change out the greenery for each season. I plan to switch out the cedar for some lambs ear, cotton, eucalyptus and anything else that I want to try out during the year.