How Many Lights Your Tree Actually Needs (I Was Way Off)
Plan on 100 lights per foot of tree height as your bare minimum and 150 to 200 per foot if you want the tree to glow in photos. That's 900 to 1,200 lights on a 6 ft tree, 1,050 to 1,400 on a 7 ft tree, and 1,350 to 1,800 on a 9 ft tree. Wrap each branch from the trunk outward instead of draping strands around the outside.
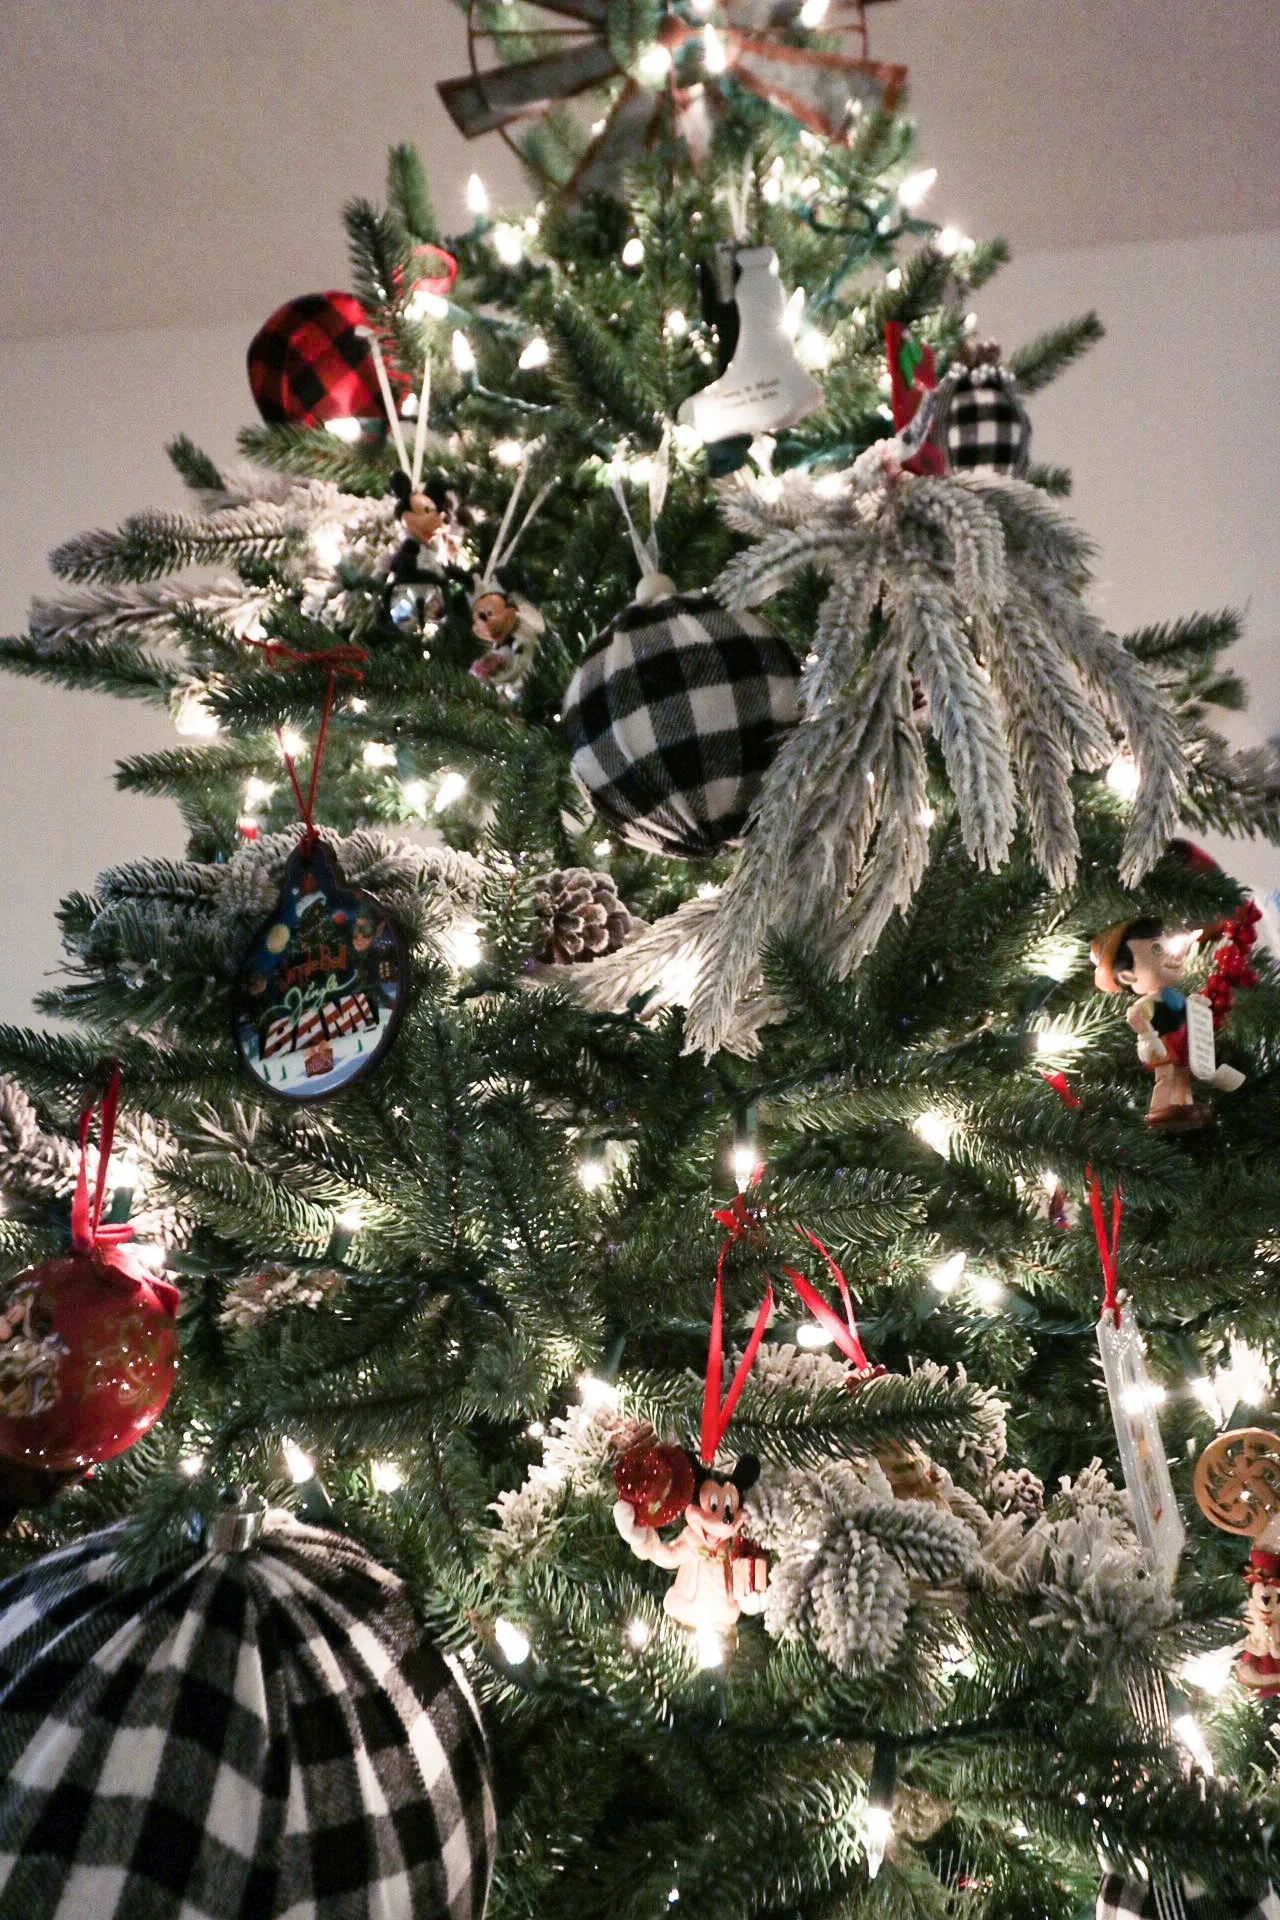
A few years ago I took what I thought was going to be my favorite tree photo ever. Everything was up, the ornaments were exactly where I wanted them, my daughter was in her Christmas pajamas, and I hit the button. And the tree in the photo looked… gray. Sort of dim and sad in the middle with a little ring of bright dots around the outside. I stood there squinting at my phone and then at the actual tree, trying to figure out what I did wrong, because in person it looked fine!
It took me two more seasons and a lot of unhelpful googling to figure out the answer, and honestly it was embarrassing when I finally sat down and counted! I had four boxes of 100 count lights on a 7 ft tree. Four hundred lights! I was using less than a third of what that tree needed.
So this year I counted everything I put on my own tree, wrote it all down, and I’m giving you the real numbers!
1. Count what you already have first
Before you buy a single box, go pull your light bin out and count the sets, not the strands. A “strand” is meaningless, because a 100 count set and a 300 count set look completely identical rolled up in a tub! Write the count on the box with a Sharpie while you’re at it (I do this every January now and it has saved me so much guessing).
This is the boring step, and it’s also the one that tells you whether you need to buy two boxes or nine!
2. The number: 100 lights per foot is the floor, not the goal
Here’s the rule I wish somebody had told me in year one. 100 lights per foot of tree height is the absolute minimum. That’s the number on the back of the box, and it’s the number that made my tree look gray in photos!
What I actually use is 150 to 200 lights per foot, and that’s for a normal-width artificial tree, not a skinny pencil tree.
| Tree height | Bare minimum | What I actually use |
|---|---|---|
| 6 ft | 600 | 900 – 1,200 |
| 7 ft | 700 | 1,050 – 1,400 |
| 9 ft | 900 | 1,350 – 1,800 |
On my 7 ft tree I landed on 1,200. That’s six sets of 200 count, and it took me about an hour and a half to get them all on there! The difference in photos is genuinely ridiculous! Same tree, same ornaments, same phone.
Two things that change the number: a slim or pencil tree needs less (I’d take about a third off, since there’s simply less branch to cover), and a flocked tree needs more, because all that white flocking eats the glow instead of bouncing it around.
3. Warm white LED mini string lights
These are the sets I use for the bulk of the tree. They’re 200 count on a 66 ft green wire, and the 66 ft part is the bit I’d underline — the short 20 ft sets run out halfway up a branch and then you’ve got a plug hanging in the middle of your tree.
Two things I’d tell you before you buy anything:
Buy every set at once, from one seller, in one order. Warm white is not one color! It ranges from almost-candlelight to almost-blue, and if you buy three boxes now and three more in December you will end up with a tree that’s two different temperatures. Mine was, for a whole season, and I could not unsee it!
Go LED. Not for the energy savings (though sure), but because you can connect far more sets end to end than you can with incandescent, which is the whole ballgame when you’re putting 1,200 lights on one tree!
If you want a smaller set for filling in, these 100 count ones on green wire are 35 ft and connectable, and they’re what I use for my little 4.5 ft table tree.
4. Wrap each branch from the trunk out (this is the actual fix)
Okay, this is the part that changed my tree more than the count did.
Most of us were taught to walk around the tree in circles, draping the strand across the front of the branches. That gives you a ring of light sitting on the outside surface of the tree and a completely dark hole in the middle. In person your eye fills in the gap. A camera does not — it just sees a dark tree with dots on it.
Here’s what I do instead, one branch at a time:
- Start at the bottom, at the trunk. Plug in and set the whole tree glowing before you start so you can see what you’re doing.
- Take one branch. Wrap the strand around it, starting at the trunk and spiraling out toward the tip.
- When you get to the tip, spiral back in toward the trunk on the same branch.
- Move to the next branch and repeat. Work in a section (about a quarter of the tree) from bottom to top before you rotate.
Out and back on every branch. Yes, it takes longer. Yes, it’s worth it! What you end up with is light coming from inside the tree at three different depths, so the tree glows from within instead of glittering on the surface, and every ornament you hang gets lit from behind.
One more thing that made a big difference for me: don’t pull the wire tight. Leave it a little loose as you spiral. Tight wire flattens the branch down and you lose all the fullness you fluffed in.
5. Clear-wire fairy lights for the deep interior
After the mini lights are on, I add two sets of these down near the trunk. They’re 33 ft with 100 tiny LEDs on a bendable silver wire, and they come with a plug-in adapter so you’re not swapping batteries in December.
The wire is so thin it disappears completely, which is exactly why they work for this. I bunch them loosely in the interior of the tree, close to the trunk, in the spots where the branches are thin and you can see straight through. It’s the difference between a tree that has depth and a tree that has a hollow middle. And on a white or flocked tree, clear wire is the only thing I’ll use — green wire shows up like a scribble!
6. Battery fairy lights for the top and the awkward spots

The very top of a tree is where everybody runs out of both patience and cord, and it’s also the part everybody photographs! These are battery operated with a remote, and I tuck one set into the top 18 inches so the top of my tree isn’t noticeably darker than the rest of it.
They’re also what I use on the garland over the mantel, on wreaths, and on the little tree in my daughter’s room where I flat out do not want a cord running across the floor. The remote has a timer, which I use constantly. (Every single night. It’s the laziest thing I own and I love it.)
7. A green extension cord up the trunk
This one is not glamorous but it fixed a real problem for me. It’s a 12 ft cord with nine outlets spaced along it, in green, and I run it straight up the inside of the trunk and zip tie it in a couple of places.
Then every set plugs into the cord where it starts, instead of every set having to reach all the way back down to the wall. Before I did this I had a bundle of white plugs sitting at the bottom of my tree like a nest, visible through the branches, and I’d have to unplug half the tree to swap one dead set. Now everything plugs in at the height where it lives!
8. A remote control outlet so you stop crawling under the tree
If you only take one product off this list, take this one! It’s an outlet you plug into the wall, then you plug your tree into it, and it comes with a remote. Three outlets on one remote, so my tree, my garland and my table tree all go on and off at the same time from the couch.
I bought mine the year my daughter was two and the tree skirt became her personal reading nook. Reaching under a fully decorated tree to find a switch every single night, twice a night, gets old fast — and every time I did it I knocked an ornament off. Now I press one button!
What I’d do differently
If I could go back and tell my dim-tree self two things, it’d be these: buy roughly twice as many lights as you think you need, and wrap the branches instead of the tree. That’s it. That’s the whole thing. Everything else on this list is just making those two things easier.
And give yourself an evening for it, with a movie on. This is not a fifteen minute job, but it’s the job that makes every other decision you make about your tree look better, so it’s the one I’d spend the time on.
If you re-light your tree this year, please post it on Instagram and tag me @sugardesignco — I would genuinely love to see the before and after, because y’all know I’ve been there!
-Ciera
Made something with this? Tag me @sugardesignco — I love seeing them.
Questions I get asked
- How many lights do I need for a 7 foot Christmas tree?
- 700 is the absolute minimum, but that's the number that made my tree look dim. I use 1,050 to 1,400 on a 7 ft tree, which is three to four boxes of 300 count or six to seven boxes of 200 count.
- Why does my tree look dim in photos even though the lights are on?
- Almost always because the lights are only on the outside of the tree. Draped strands give you one flat ring of light with a dark hole behind it. Wrapping each branch from the trunk out puts light deep inside the tree so it glows instead of sparkles.
- How many strands can I plug into each other safely?
- Check the tag on your specific set, but most LED sets let you connect far more end to end than incandescent ones do. That's the main reason I switched. I still run a green extension cord up the trunk instead of daisy chaining everything to one wall outlet.
- How many lights do I need for a 7 foot real Christmas tree?
- The same per-foot rule works for a real tree: 700 at the bare minimum and 1,050 to 1,400 if you want it to really glow. Real trees vary a lot in width, so a full, wide tree needs the higher end and a skinnier one needs less. I'd use LED lights on a real tree because they run so much cooler than incandescent.